Page 10 of 15
Re: First Scratch Build: Maple Walnut neck through-RD
Posted: Tue Jun 28, 2011 8:12 pm
by ForcedFire
Re: First Scratch Build: Maple Walnut neck through-RD
Posted: Wed Jun 29, 2011 3:34 am
by quarterpound
god that is gorgeous.
Re: First Scratch Build: Maple Walnut neck through-RD
Posted: Wed Jun 29, 2011 8:23 am
by craicaddict
Wow man, absolutely gorgeous! Congrats and keep up the good work. Can't wait to see the finished product. Best to you.
Re: First Scratch Build: Maple Walnut neck through-RD
Posted: Wed Jun 29, 2011 3:45 pm
by ForcedFire
I was looking at some old school wood-working methods for breaking the edges on the guitar. I know there are roundover planes but then I found out about "scratch stocks". It's a tool you make yourself and can put any custom edge on wood.
I made my scratch stock from a steel paint scraper. I used a hacksaw and chainsaw files to get the profile. My radius is around 3/16".
The key seems to be in how sharp you can get it. I tried it out at first and was getting tear out going cross grain on some scrap maple but once it was sharpened, it seems like it will be okay.
Here's the tool:
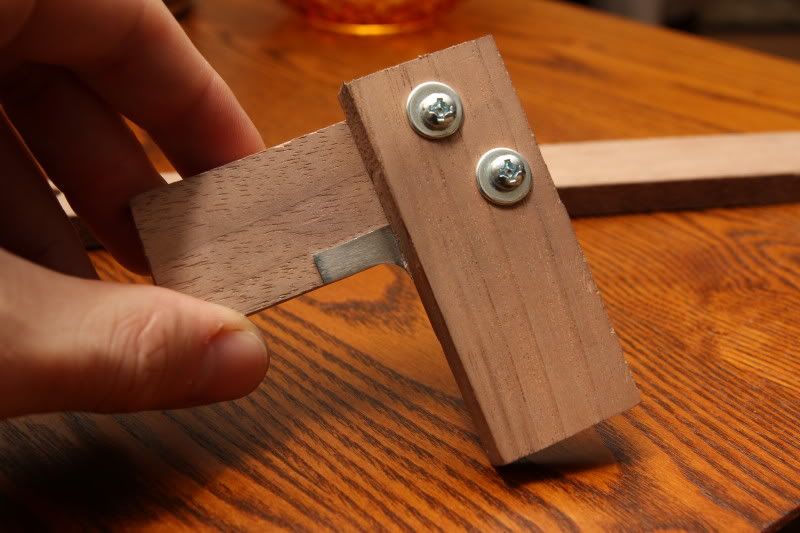
The blade will scrape along the top or side since I only made a simple "L" but it really doesn't cut in, should be okay.
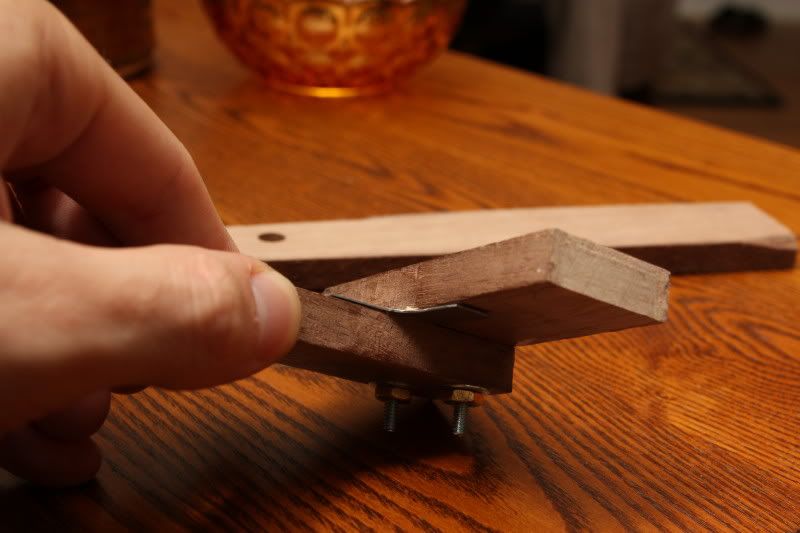
Here's a test on some straight walnut. Works great.
Maybe I'll work up the courage to try it on the guitar tomorrow. If I'm not happy I'll have to move up to 1/4" radius.
Re: First Scratch Build: Maple Walnut neck through-RD
Posted: Thu Jun 30, 2011 7:32 am
by Enrico74
Great work !
I guess you don't have a roundover bit to equip your dremel

Maybe the key is not to get it sharp but to give it a burr just like you would do with a scraper.
Or else, as you said, end grain is likely to tear out.
Re: First Scratch Build: Maple Walnut neck through-RD
Posted: Thu Jun 30, 2011 7:36 am
by craicaddict
Thumbs up for the simple-ingenuity tools. Hope it works out.
Re: First Scratch Build: Maple Walnut neck through-RD
Posted: Thu Jun 30, 2011 7:53 am
by gishuk
thats a great idea. i love working with hand tools, makes me feel like a proper craftsman

Re: First Scratch Build: Maple Walnut neck through-RD
Posted: Thu Jun 30, 2011 11:25 am
by ForcedFire
Enrico74 wrote:Great work !
I guess you don't have a roundover bit to equip your dremel
Maybe the key is not to get it sharp but to give it a burr just like you would do with a scraper.
Or else, as you said, end grain is likely to tear out.
I do
. I broke the router base, Dremel sent me the replacement parts for free but there was a postal strike in Canada for a bit. The mail is flowing so I'm just waiting for those parts... I was just tinkering with this in the meantime...
Re: First Scratch Build: Maple Walnut neck through-RD
Posted: Sun Jul 03, 2011 4:45 pm
by ForcedFire
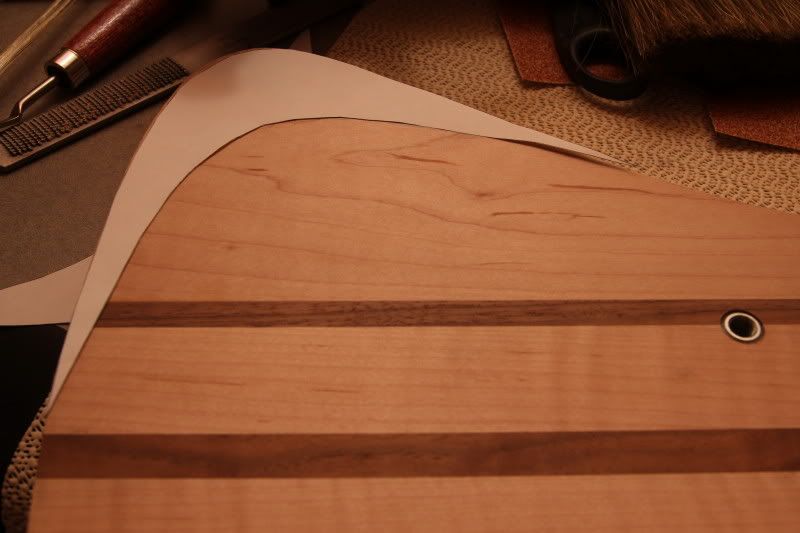
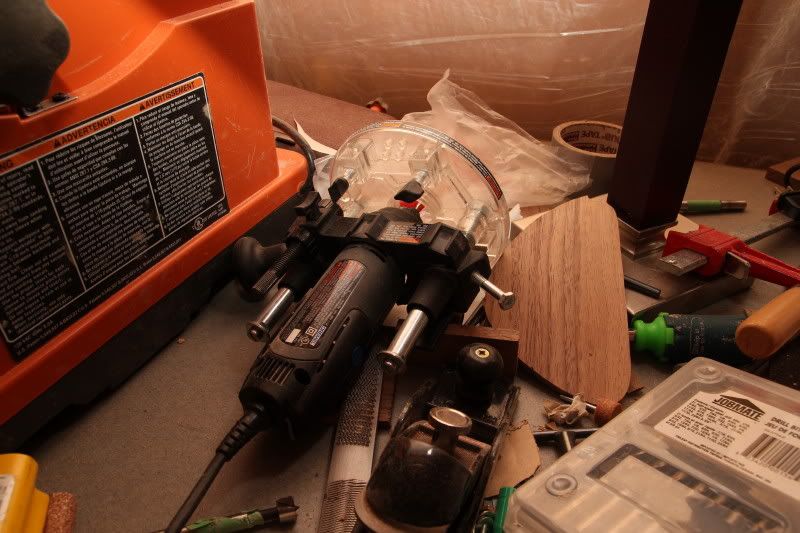
I got sick of waiting on Canada Post. I brought my router base to Home Depot and after trying a few bolts, all I needed was an M6 bolt to temporarily fix the height adjustment handle:
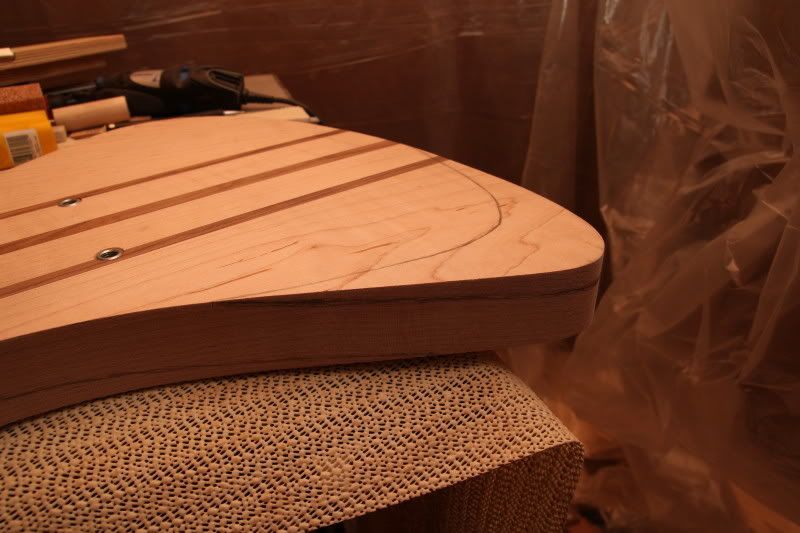
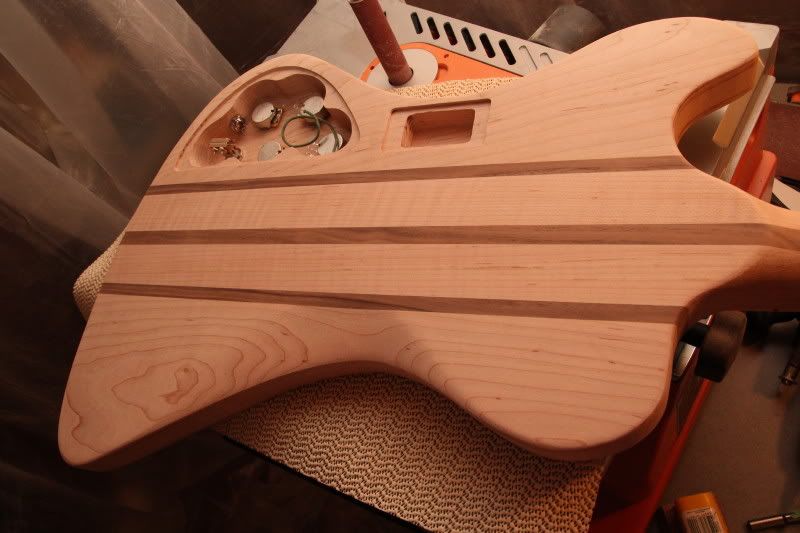
I decided to use the Dremel 1/8" roundover bit. It's pretty crappy but with a bit of clean up it's looking good. Still LOTS of sanding to do.
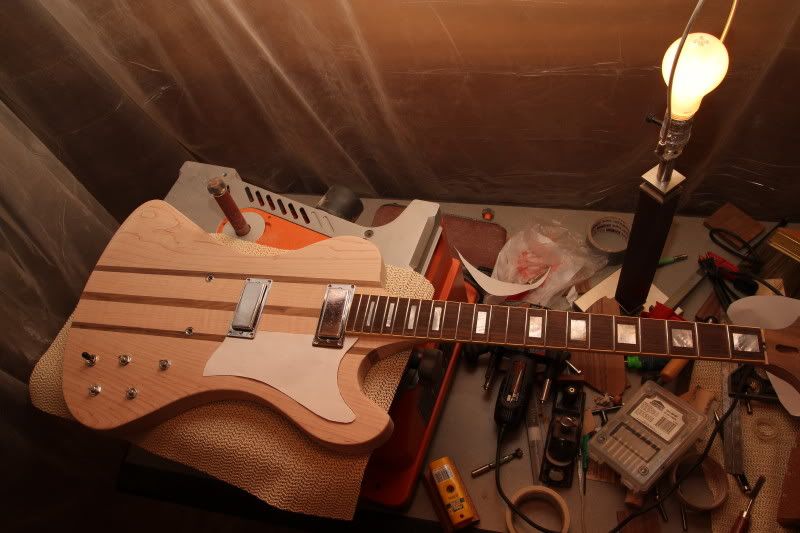
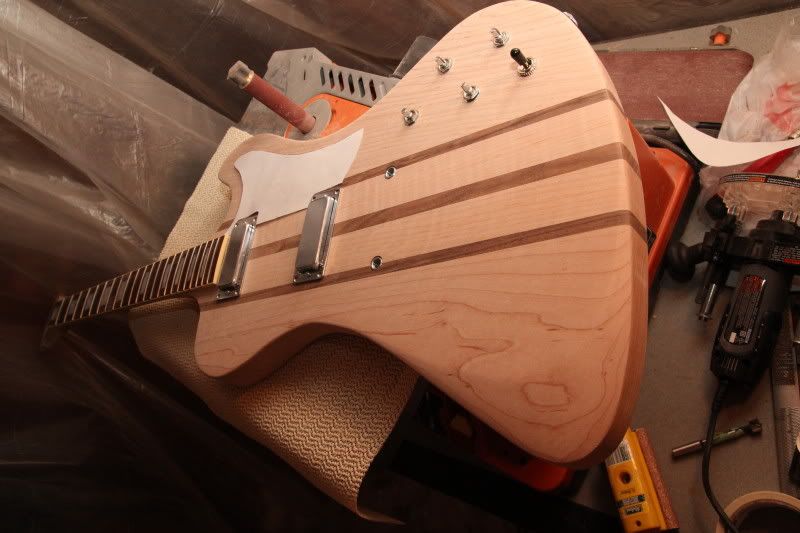
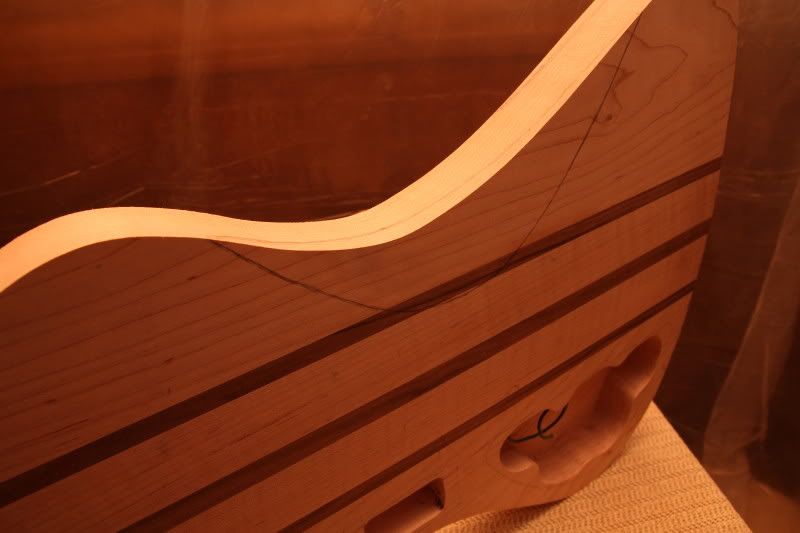
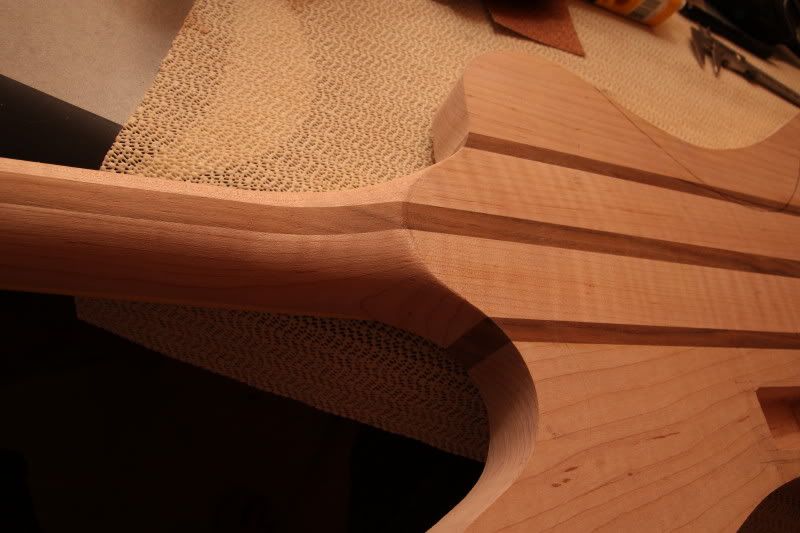
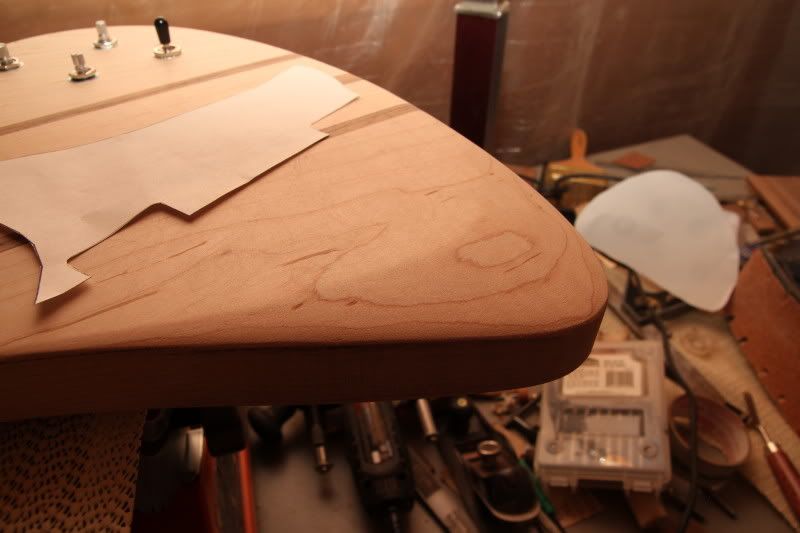
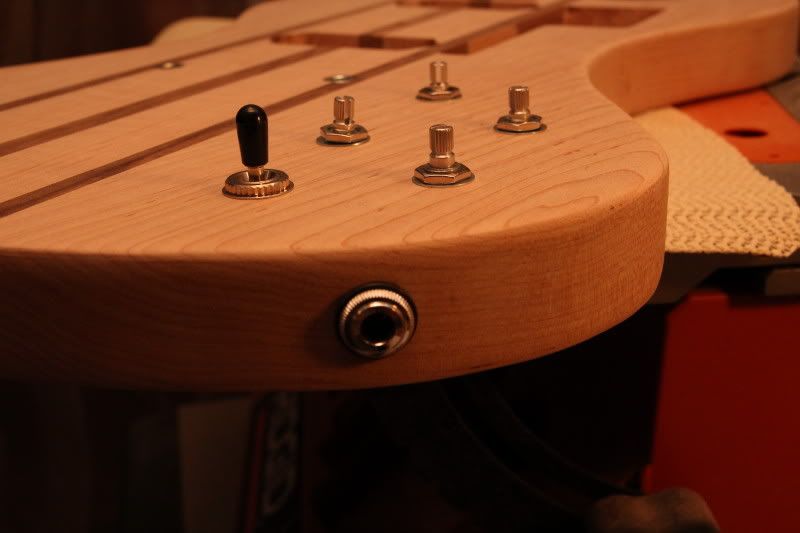
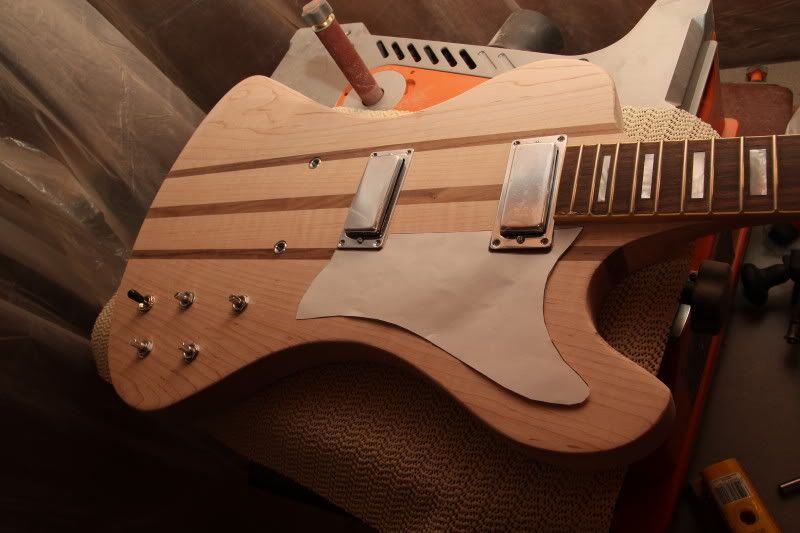
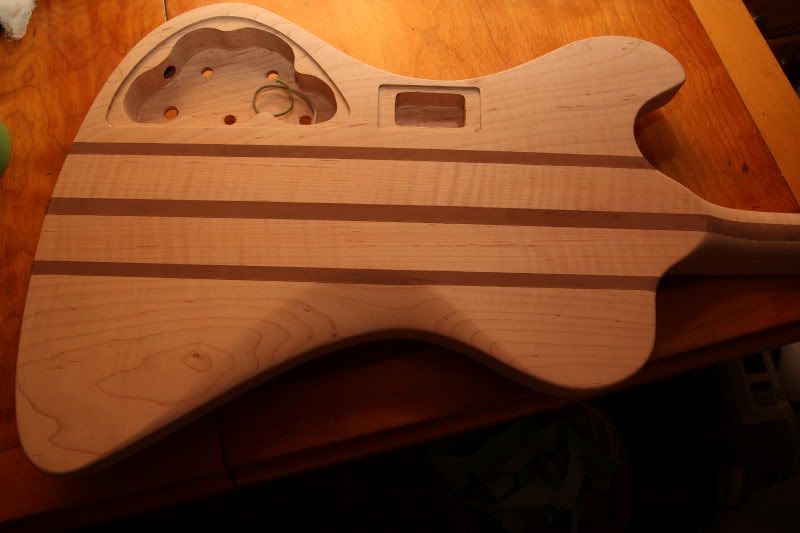
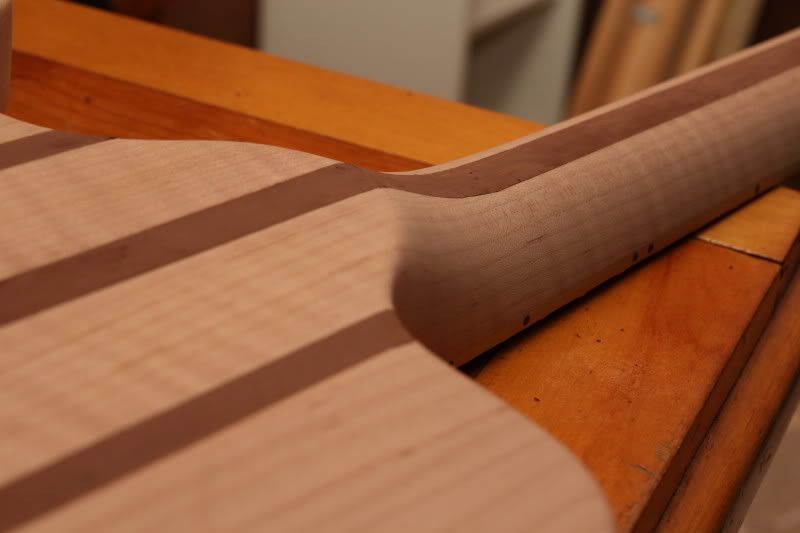
I started the contours. I kind of blended them in, I think it looks cool.
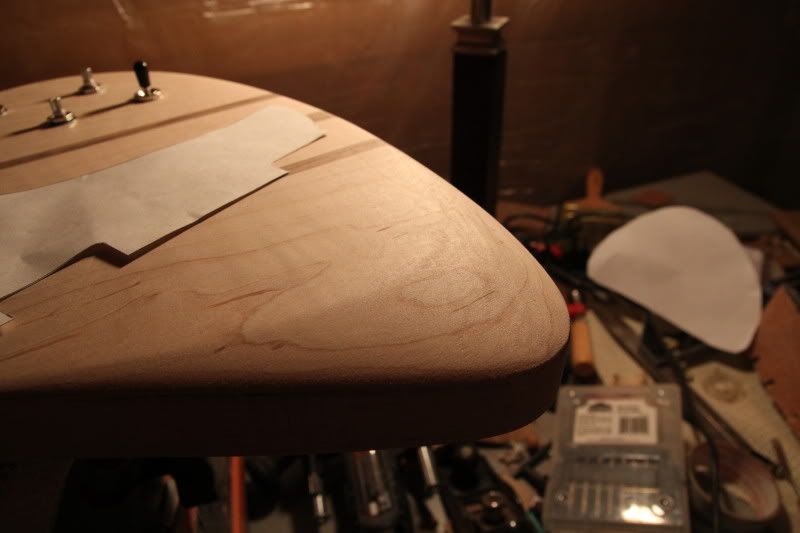
With flash:
Just light bulb:
I'm using this style jack. It's stereo which I can use to switch the battery off when the guitar is unplugged:
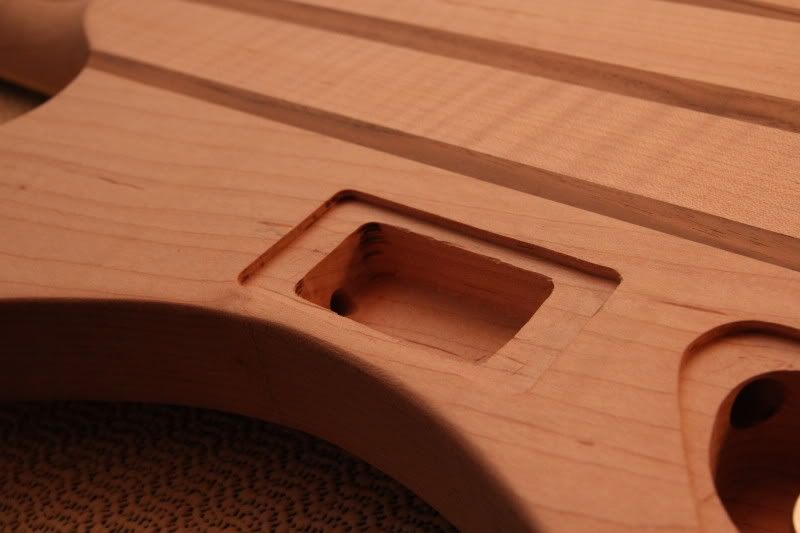
Here is the electronics cavity and pickup wire route:
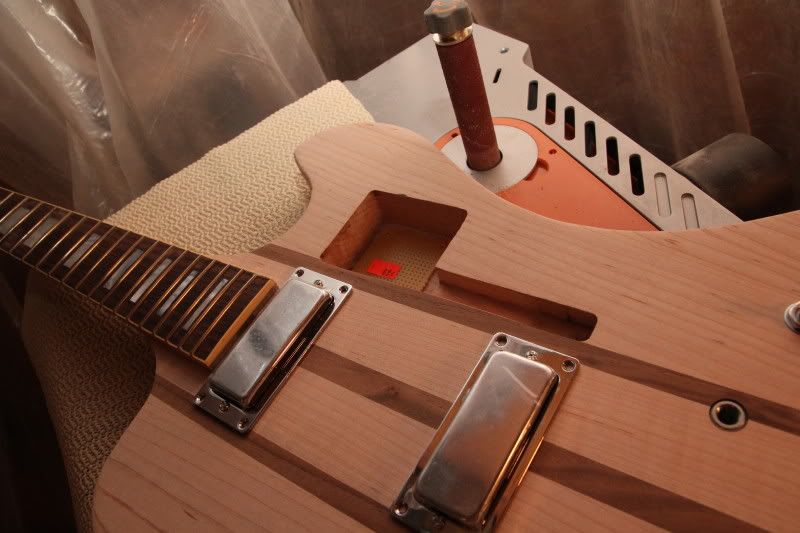
I routed the ledges for the back plates:
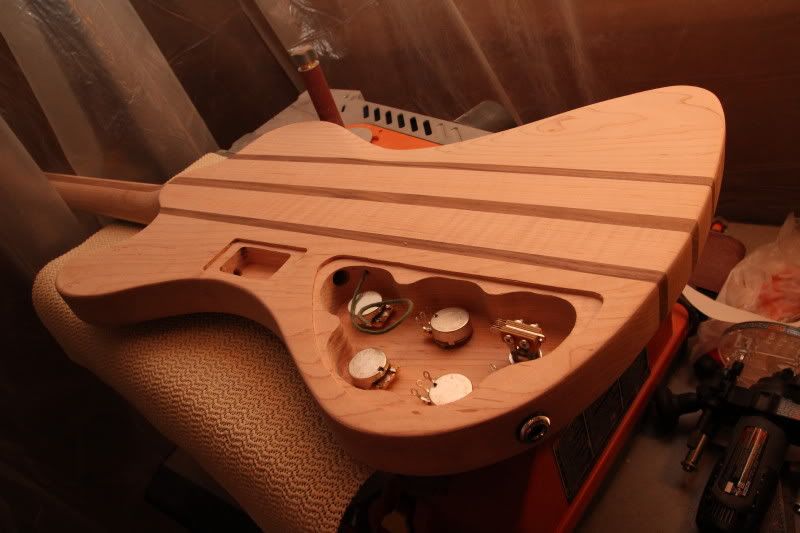
Drilled up to the front for 2 pickup cables and effects send/return wire + battery/effect ground:
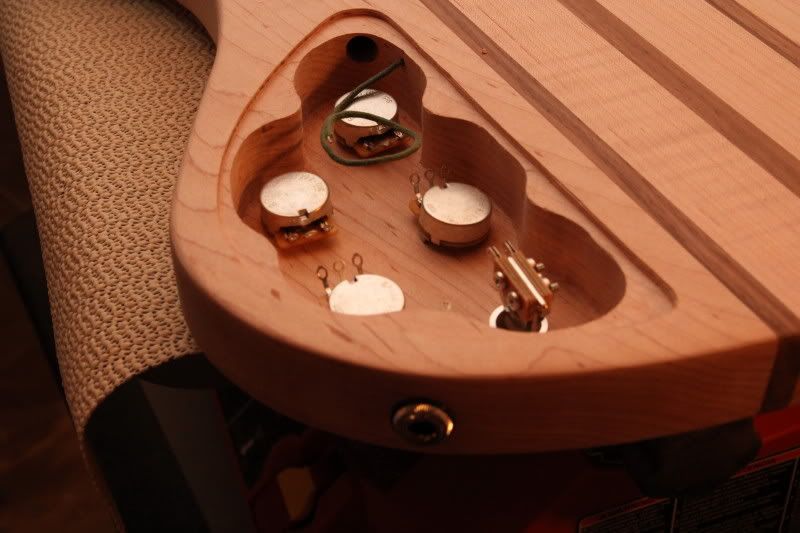
Nailed it:
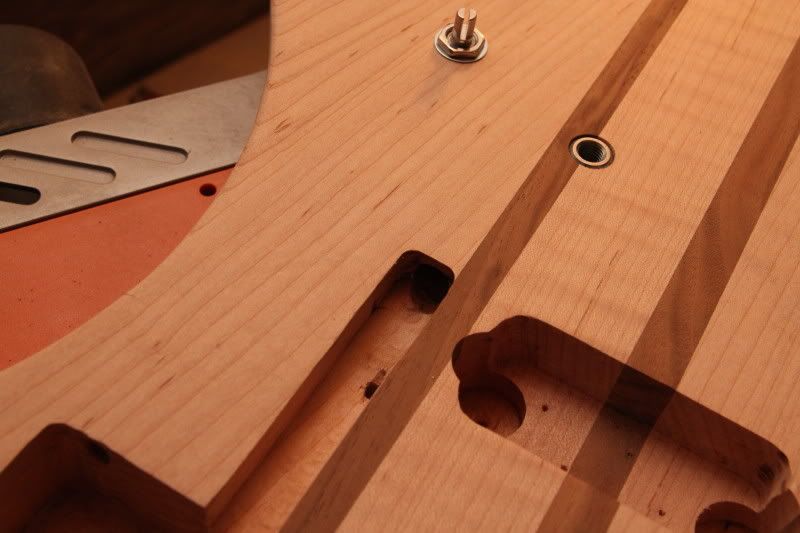
The hole for the battery wires goes through to the electronics cavity:
Re: First Scratch Build: Maple Walnut neck through-RD
Posted: Wed Jul 06, 2011 7:06 pm
by ForcedFire
I've been sanding, sanding, sanding some more...
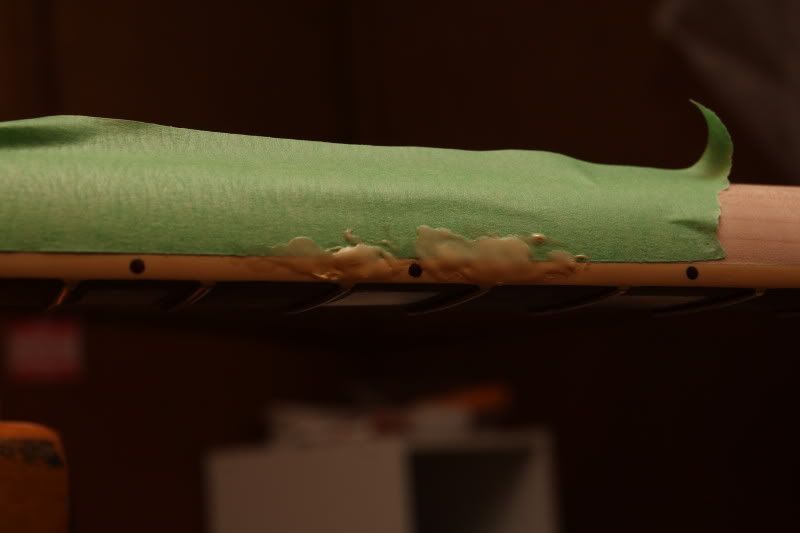
I taped up the maple and applied the grain filler to the walnut:

Re: First Scratch Build: Maple Walnut neck through-RD
Posted: Sun Jul 10, 2011 7:36 pm
by ForcedFire
I caved and went and bought some timbermate in the walnut tint. I used it fairly thick on the bare wood, didn't bleed on the maple at all. I'll sand it off tomorrow once it's well cured:
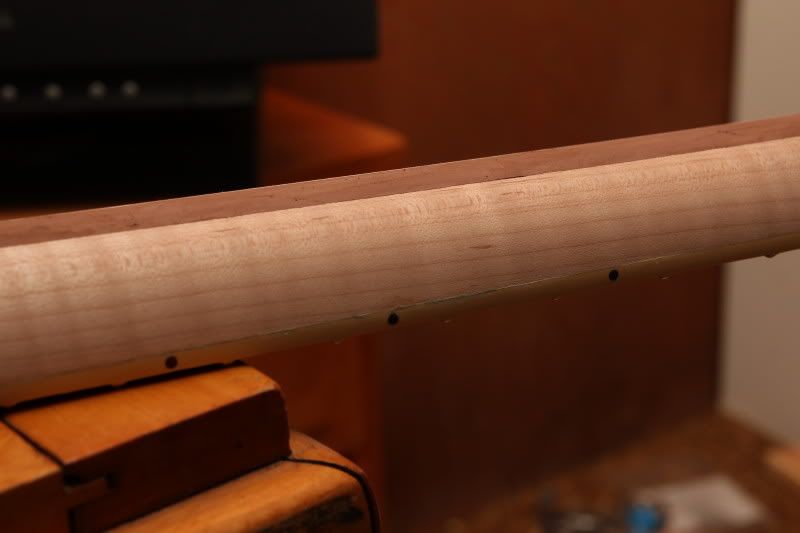
With the neck sanded up to 220 it's showing the figure nicely:
While sanding down the shoulders of the neck I messed up and went through the binding a bit. It's really easy to make some melted binding "paint" in acetone but it's really hard (maybe impossible) to scrape it back and make it look normal without getting too thin again:
I'll try one more time. I'm going to try to brownburst the neck so it might not be as noticeable in the end.
Re: First Scratch Build: Maple Walnut neck through-RD
Posted: Sun Jul 10, 2011 10:29 pm
by andy
Looking great, I love RD's!
Re: First Scratch Build: Maple Walnut neck through-RD
Posted: Sun Jul 10, 2011 10:37 pm
by spookybonus
Wow that is coming along great. Awesome work!
Re: First Scratch Build: Maple Walnut neck through-RD
Posted: Mon Jul 11, 2011 4:59 am
by ForcedFire
Thanks guys! Getting pretty close...
Re: First Scratch Build: Maple Walnut neck through-RD
Posted: Mon Jul 11, 2011 4:26 pm
by the older brother
Grea stuff going on here!