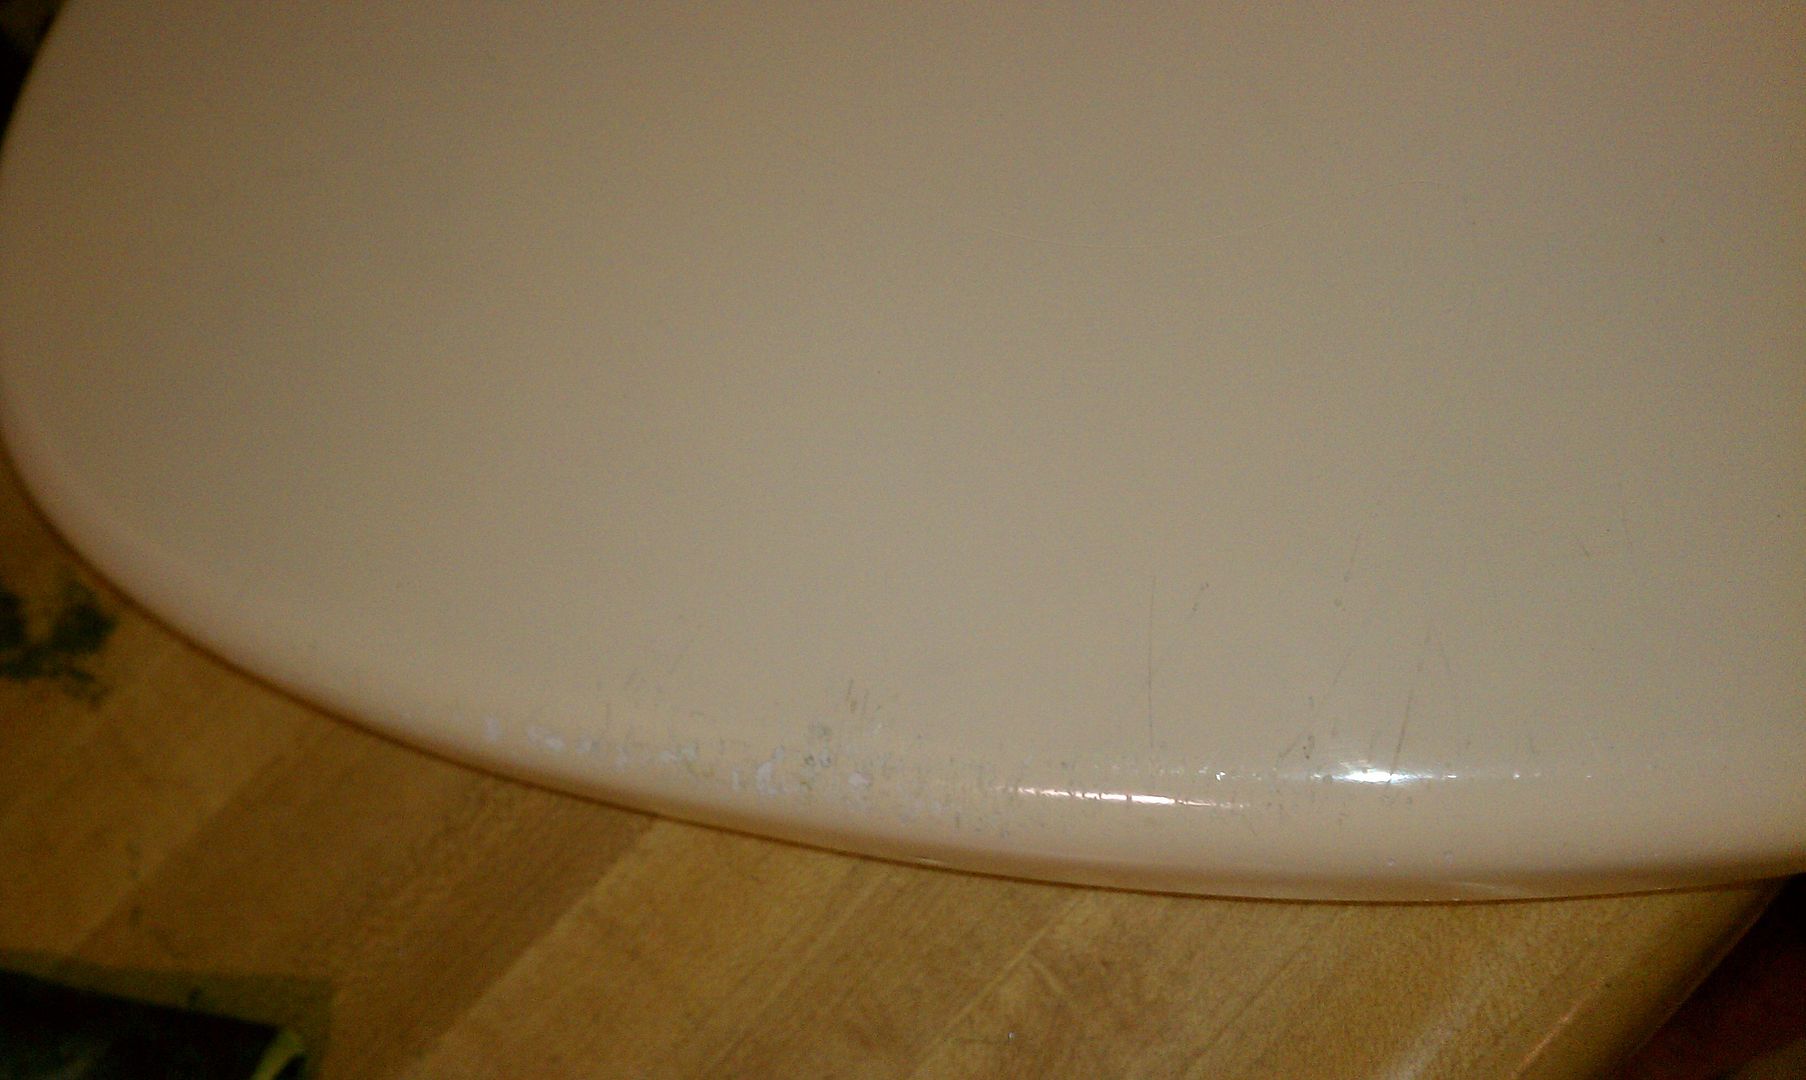
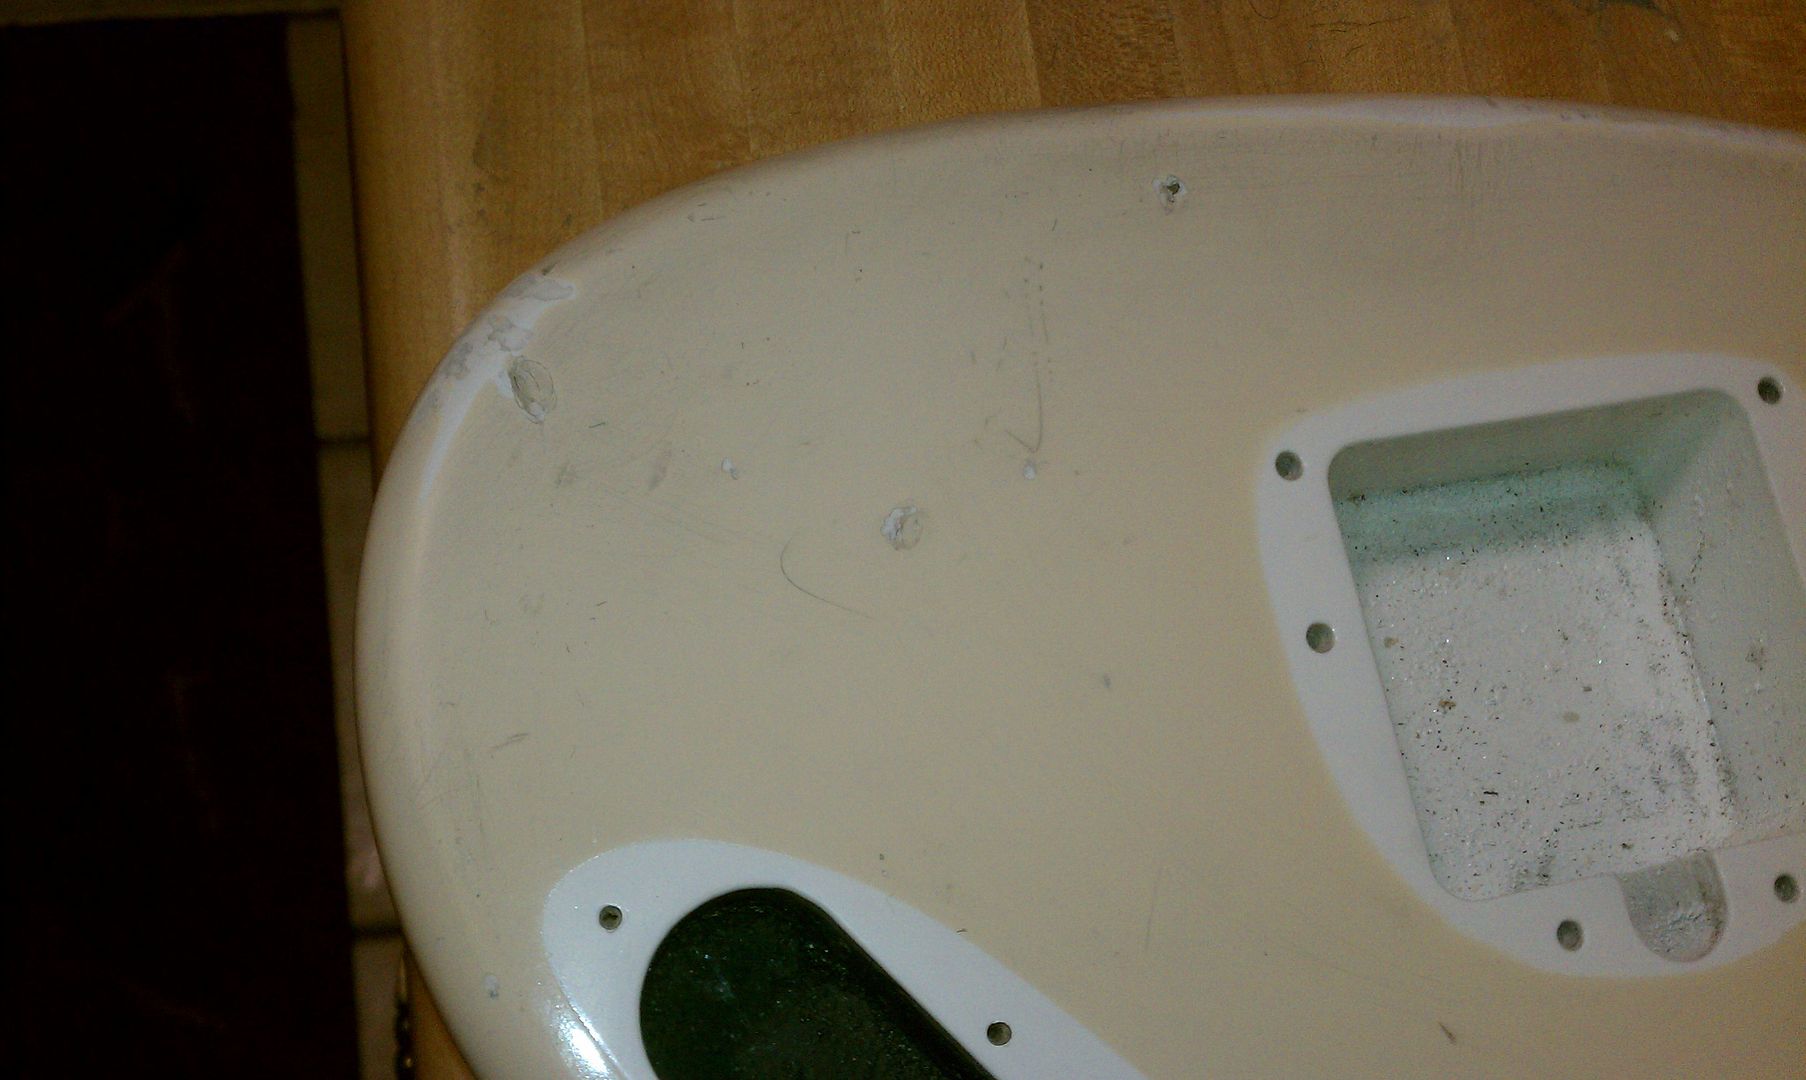
HNB wrote:So the vinegar thing turned out not to really be working so I tried a different approach. I added hydrogen peroxide to the vinegar and also some salt. I then put the metal directly in the solution instead of in a seperate container.
It started working pretty fast. Some browning and a little rust in scratches.
DSC01383 by Hentai No Baka, on Flickr
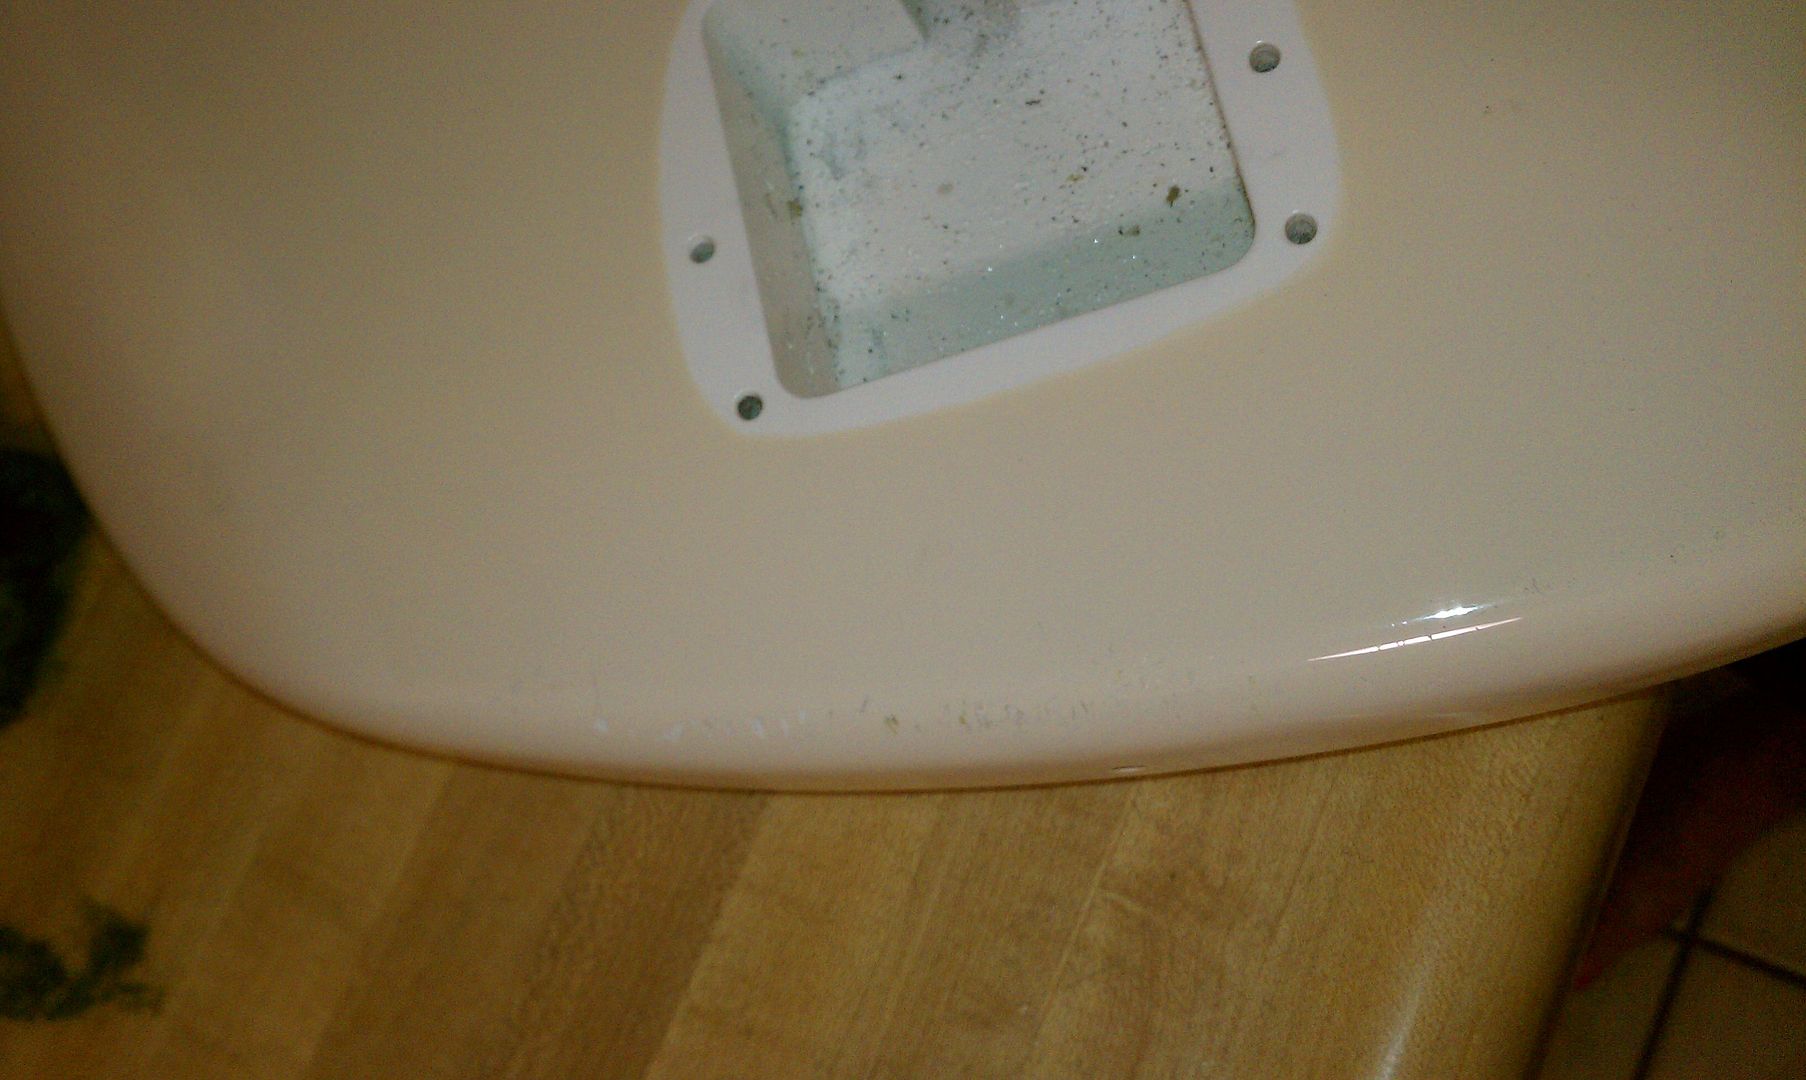
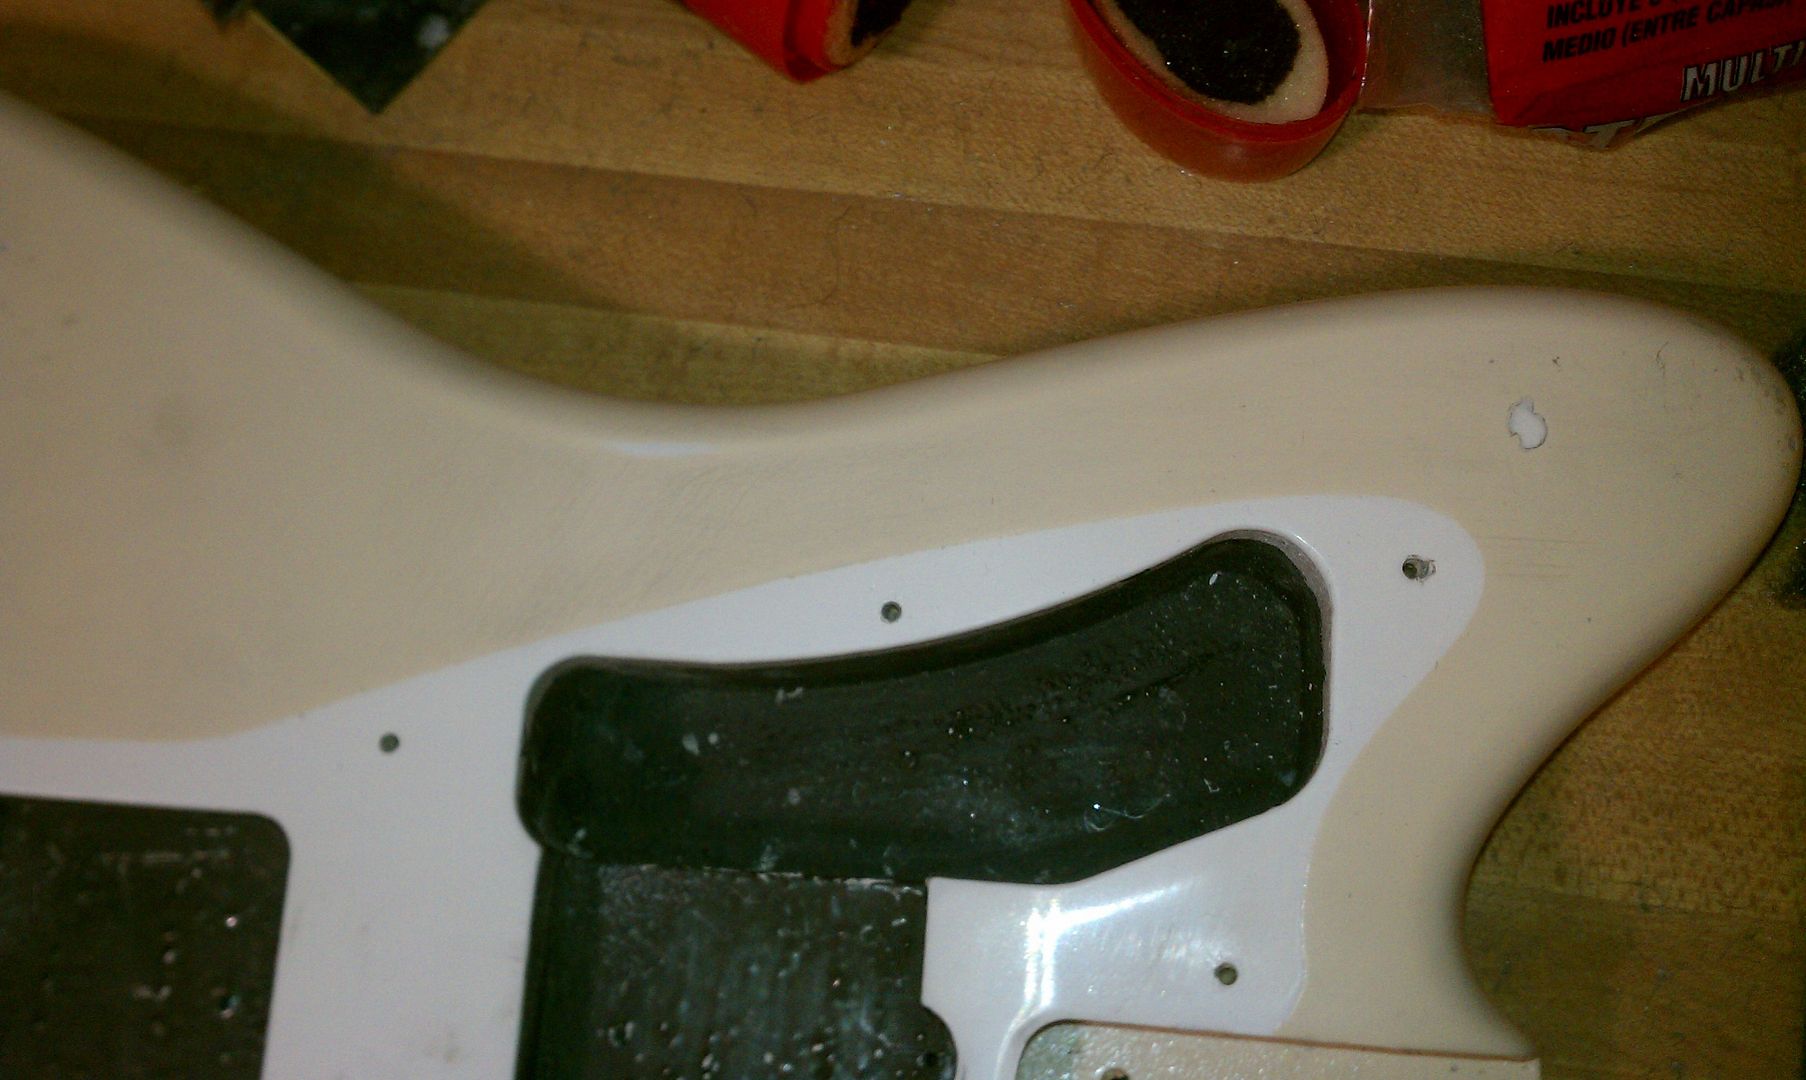
When I took it out, it looked like this.
DSC01385 by Hentai No Baka, on Flickr
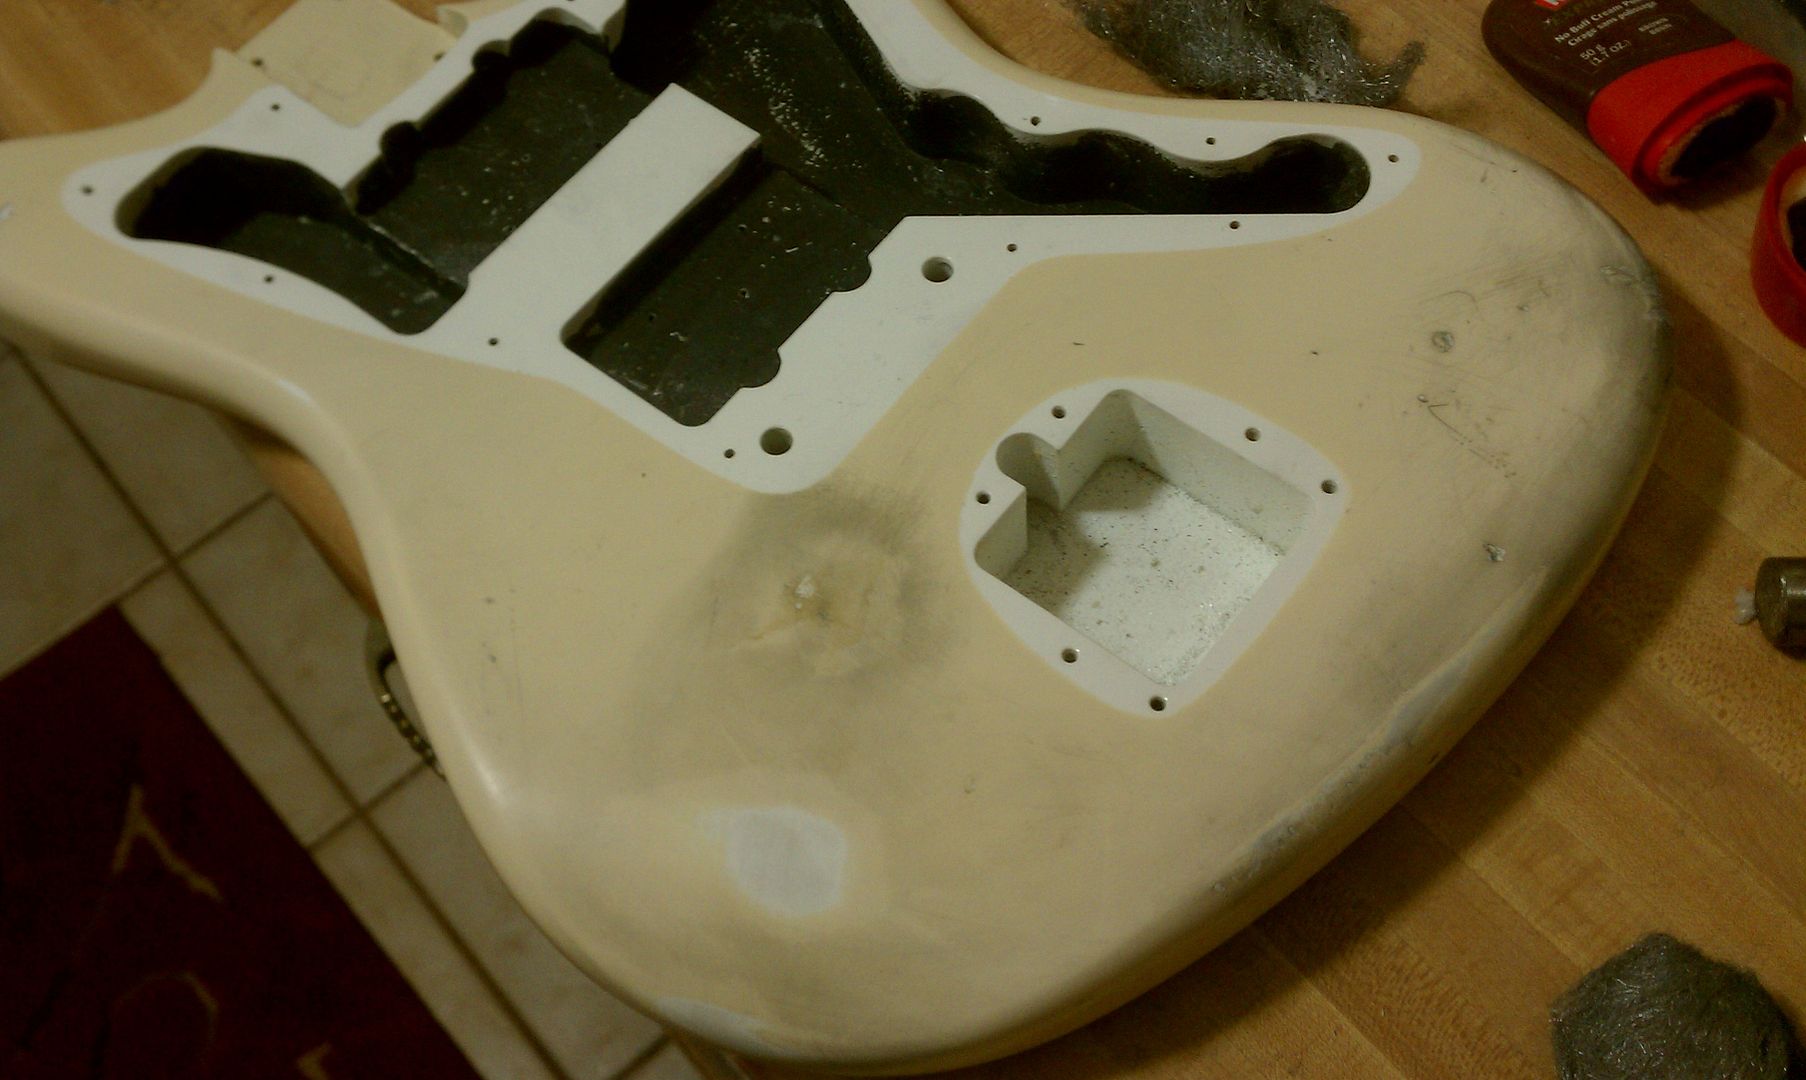
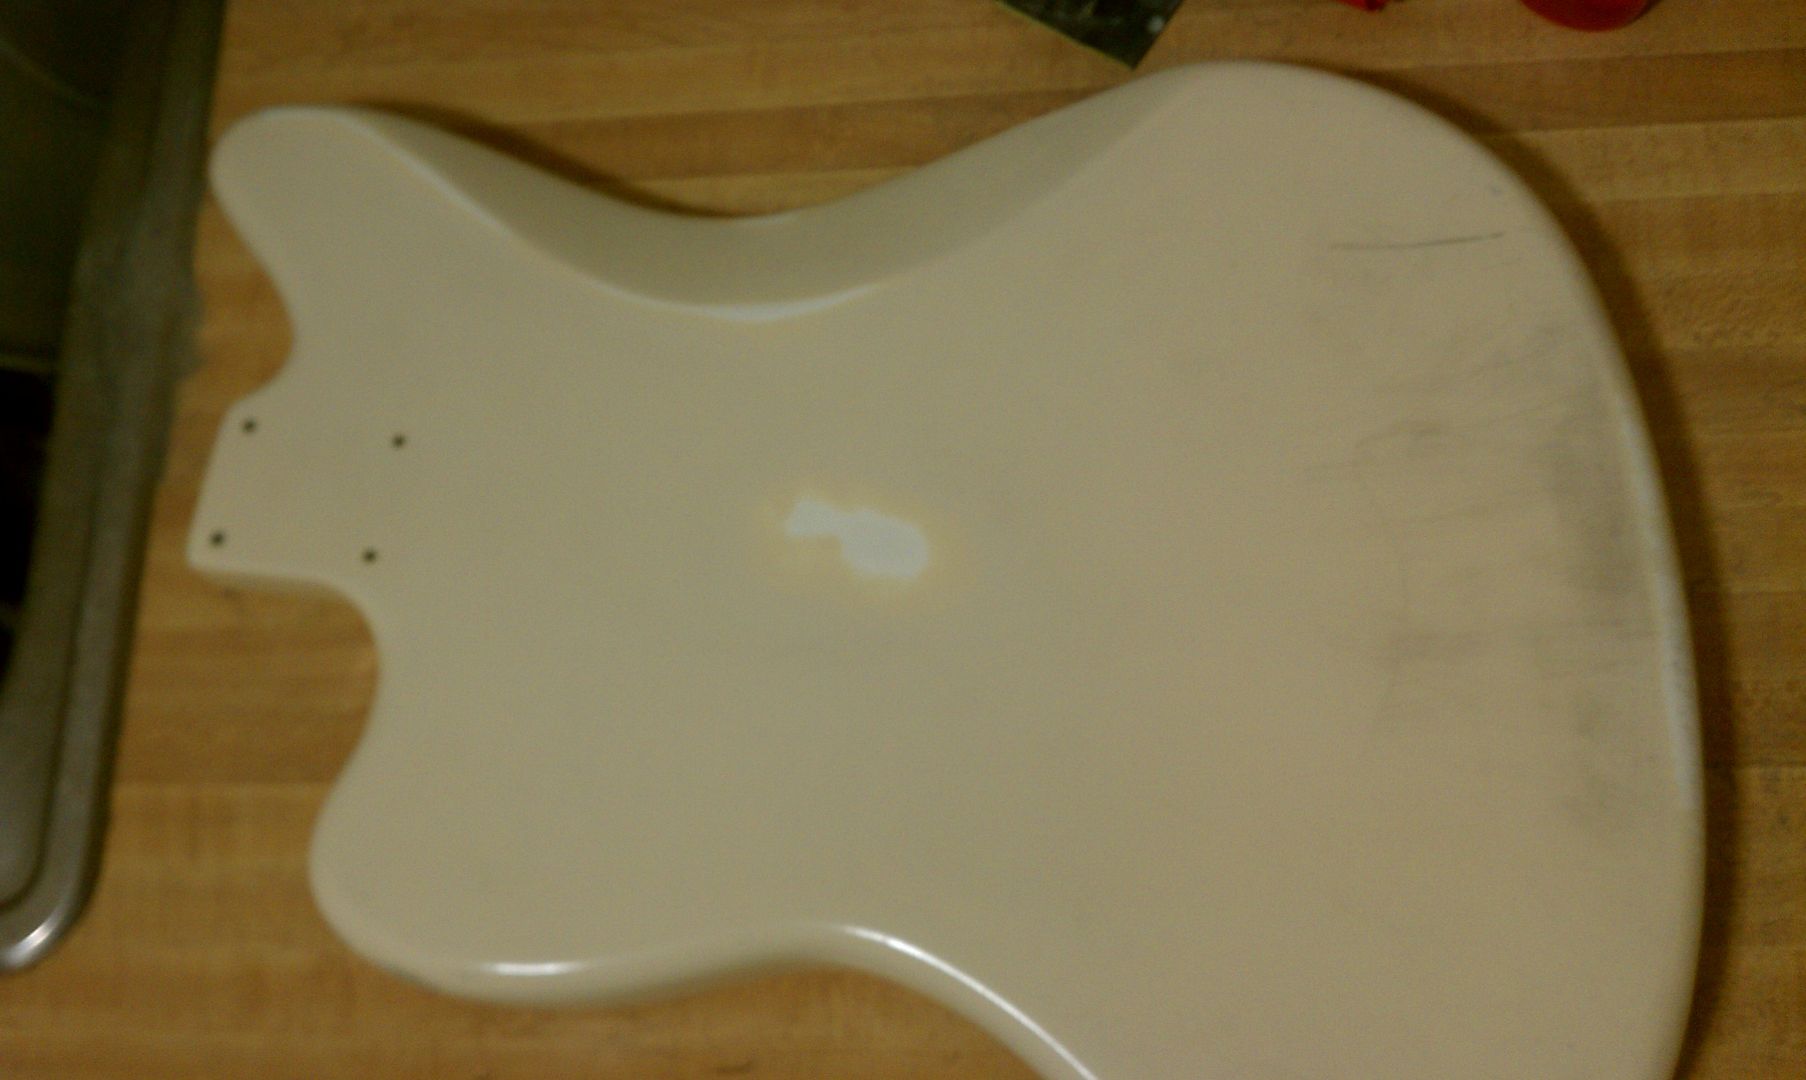
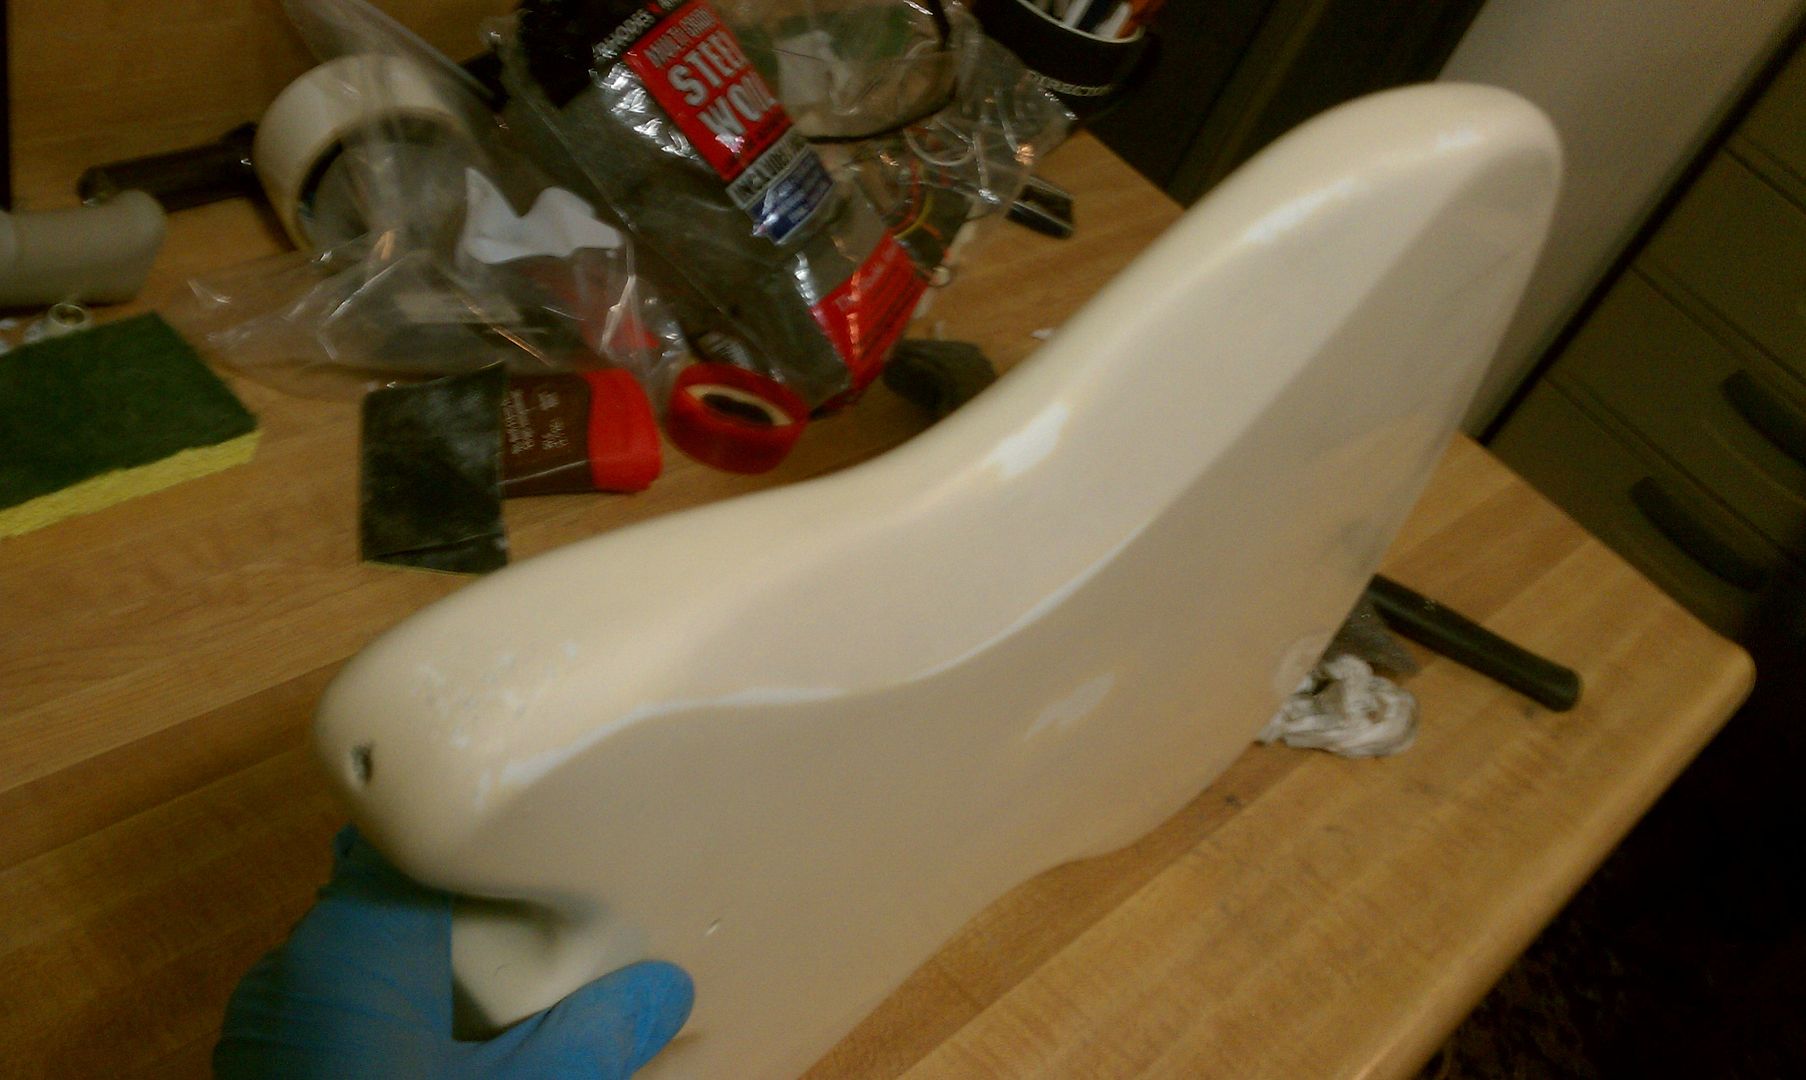
I didn't dig the blotchy stuff too much so I sanded it a bit and scratched it up and gave it another dunk in the mix.
DSC01386 by Hentai No Baka, on Flickr
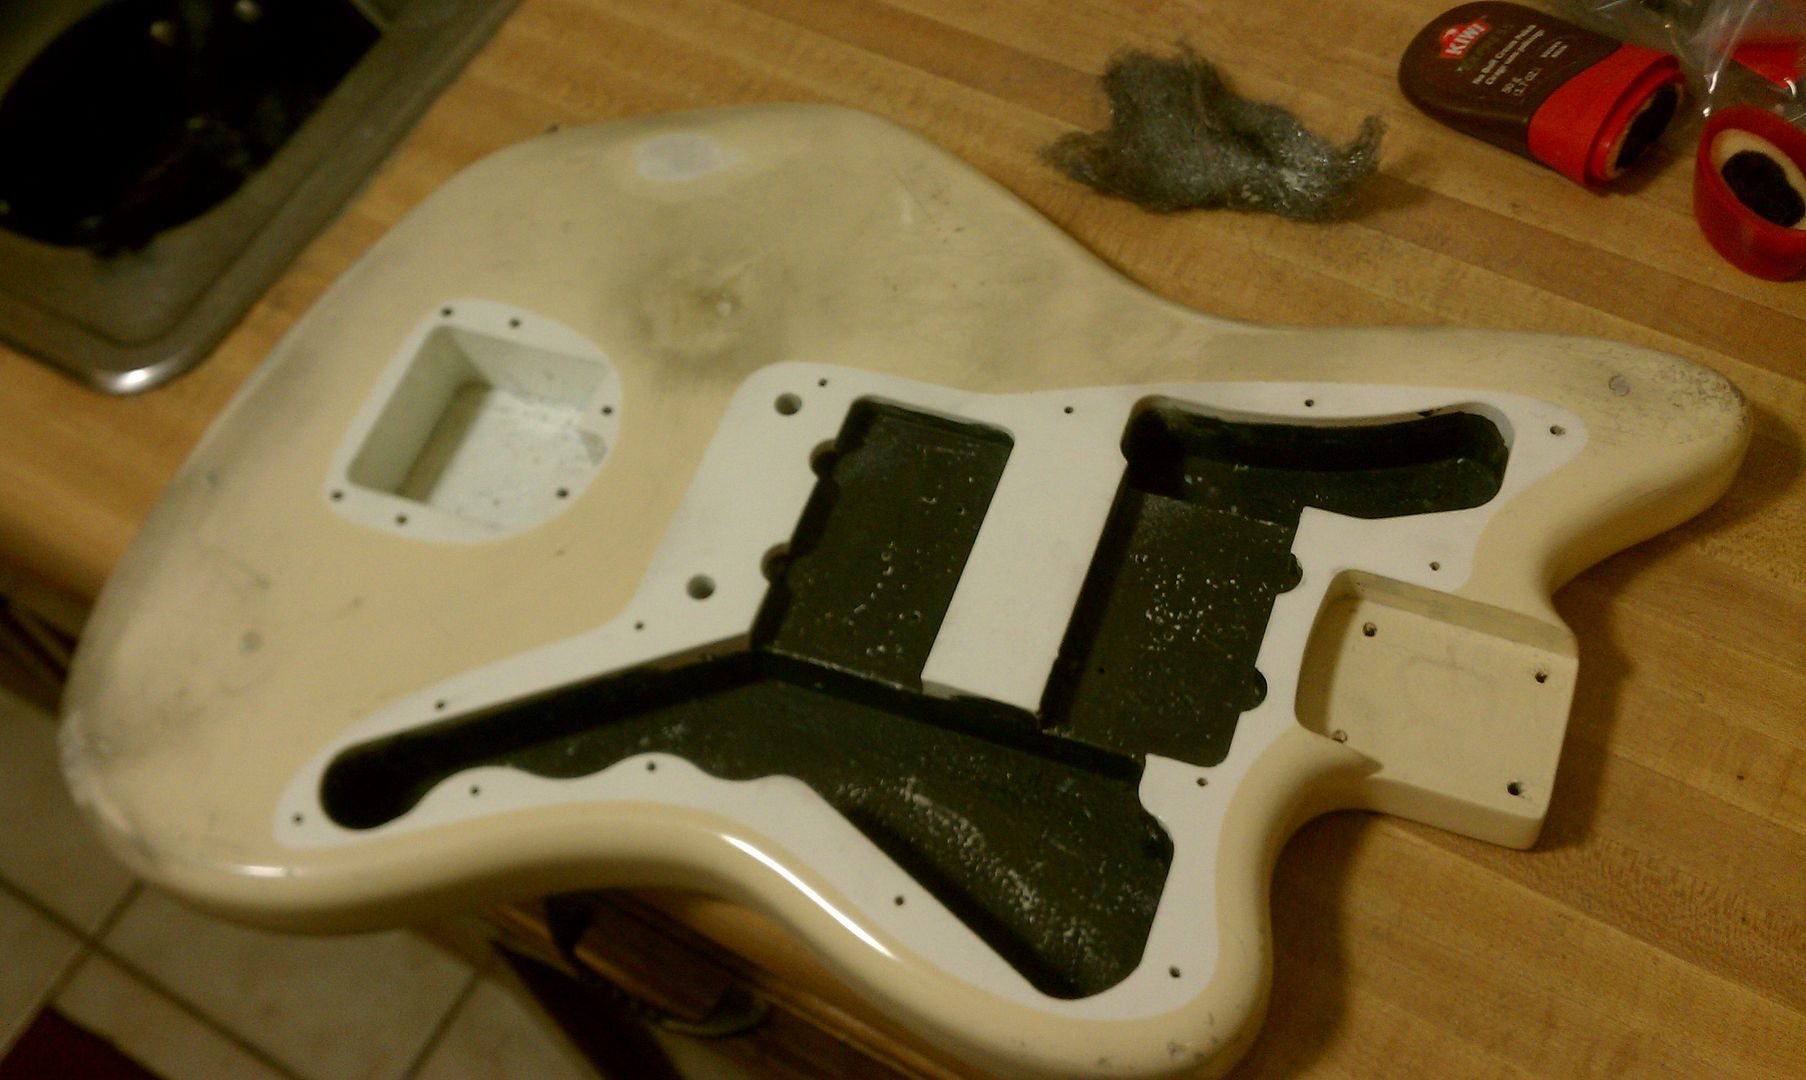
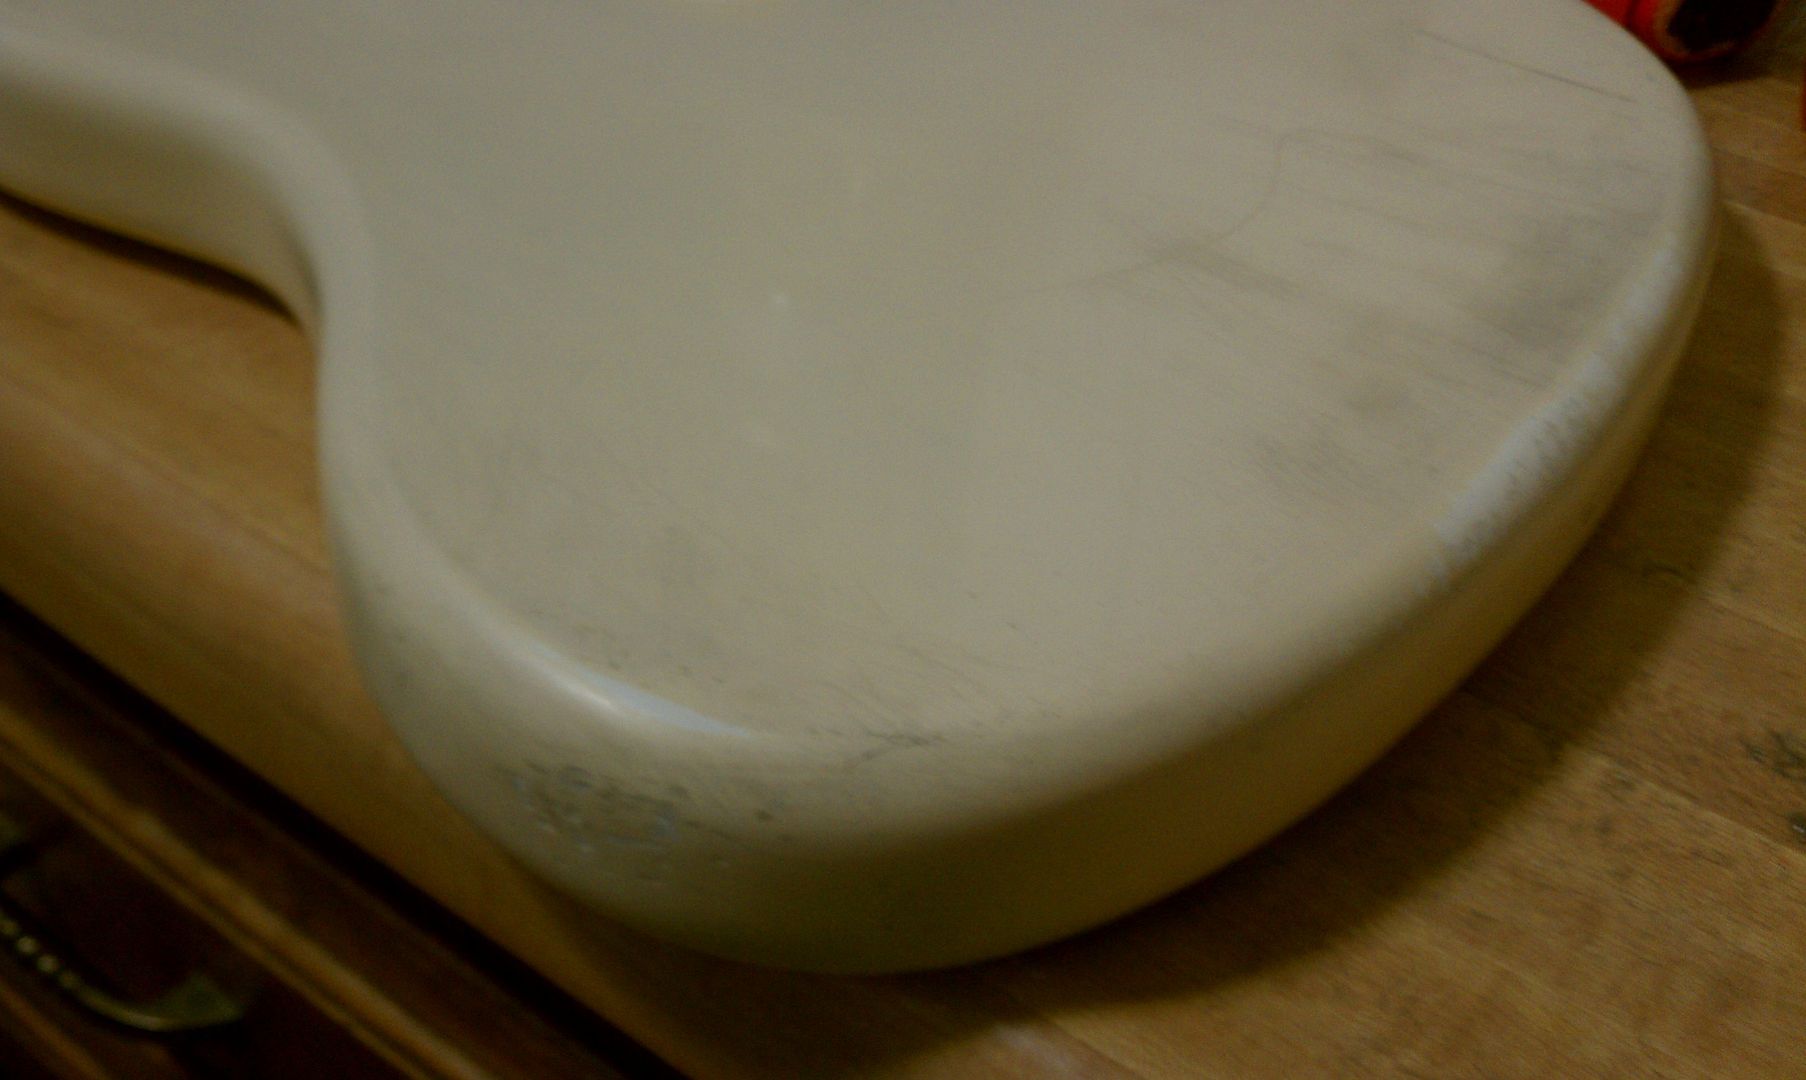
Looks like this now.
DSC01388 by Hentai No Baka, on Flickr
Next to the tuners. Not perfect, but much better in my opinion.
DSC01389 by Hentai No Baka, on Flickr
VM becomes vintage 1963 Jazzmaster Classic (Pick Heavy)
-
HNB

- PAT. # 2.972.923

- Posts: 13928
- Joined: Tue May 10, 2011 7:55 am
- Location: Puyallup, Washington
- Contact:
Re: VM becomes vintage 1963 Jazzmaster Classic (Pick Heavy)
I did it with a P Bass bridge cover. I ended up having to add hydrogen peroxide. I dinged and lightly sanded it first.


Christopher
Lilith Guitars
Lilith Guitars
-
Zork

- PAT. # 2.972.923
- Posts: 1811
- Joined: Thu Jan 19, 2012 7:01 am
- Location: Bremen, Germany
Re: VM becomes vintage 1963 Jazzmaster Classic (Pick Heavy)
I love most of HNBs projects and approaches, but this aging turned out really fake imho. That's far too much! If you look at examples like this one here it is more about getting these pimples and spots and some minor rust than a scratched, matte surface:

…even though I have no idea how to achieve this look…
…even though I have no idea how to achieve this look…
-
mVI

- PAT PEND

- Posts: 28
- Joined: Sun Nov 19, 2006 11:30 am
- Contact:
Re: VM becomes vintage 1963 Jazzmaster Classic (Pick Heavy)
Looks great so far, can't wait to see it finished !!!
-Mike
-Mike
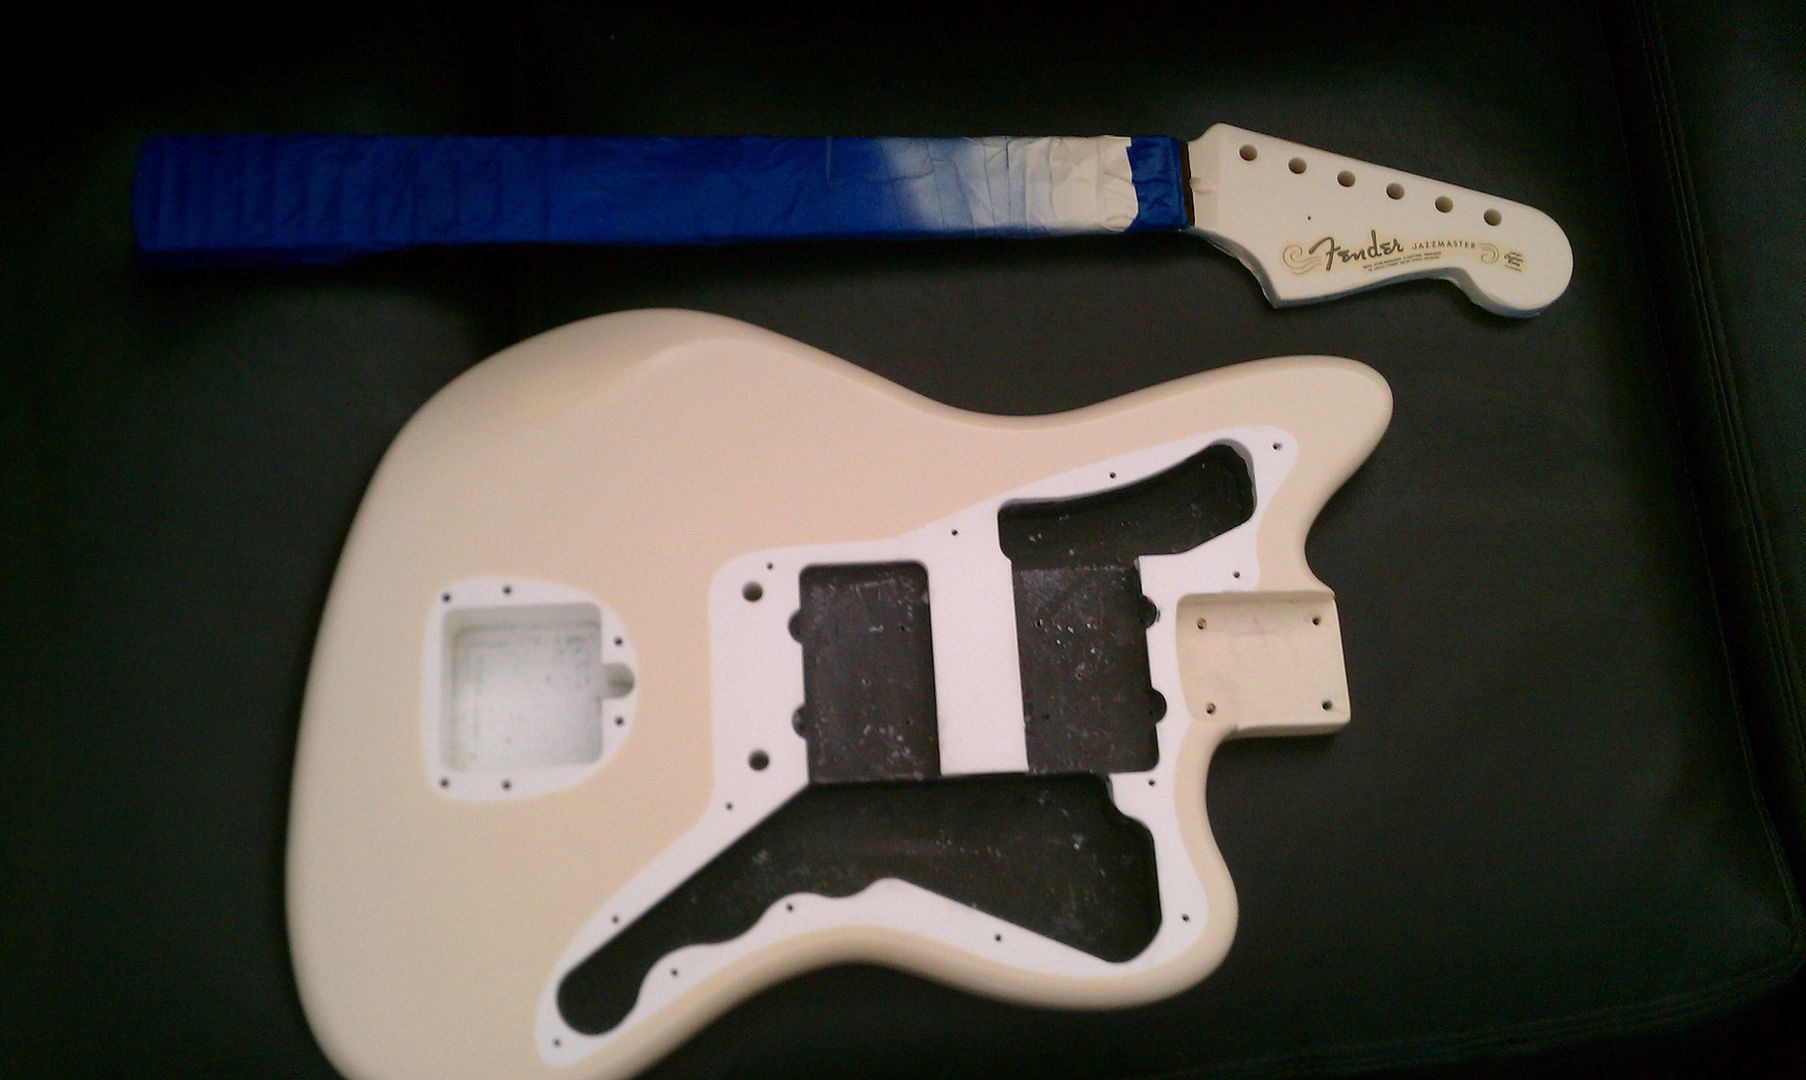
Spitfire7 wrote:Good to go! 5 coats of clear on the body and about 4 coats on the headstock. That should be good right? Now going to let it sit for a week. Than will begin the sanding, polishing, then relic process. Will be working on relicing the hardware as well. I am hearing vinegar will do the trick to rust and wear the chrome hardware. Anyone else tried that? I know there is that stuff at Radio Shack, but I have plenty of vinegar right here. So will give that a shot. HNB Chris, do you have examples of how the vinegar wears the hardware, and for how long do I keep the hardware in the vinegar contraption?


-
Spitfire7

- PAT. # 2.972.923
- Posts: 1894
- Joined: Mon Aug 24, 2009 10:43 pm
- Location: Los Angeles, California USA
- Contact:
Re: VM becomes vintage 1963 Jazzmaster Classic (Pick Heavy)
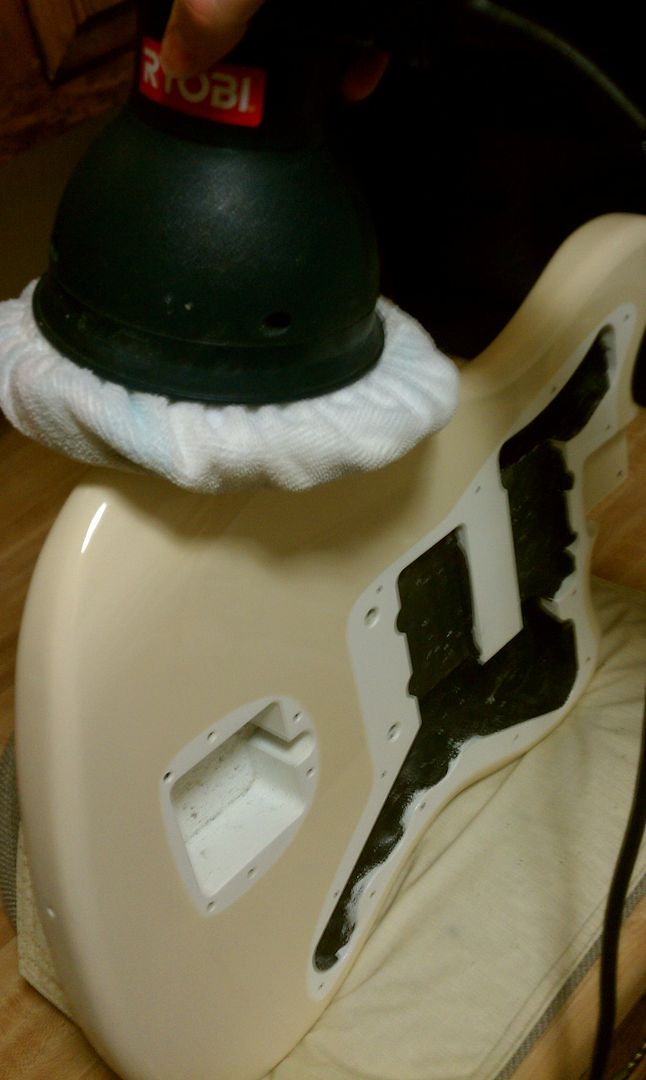
Painting complete
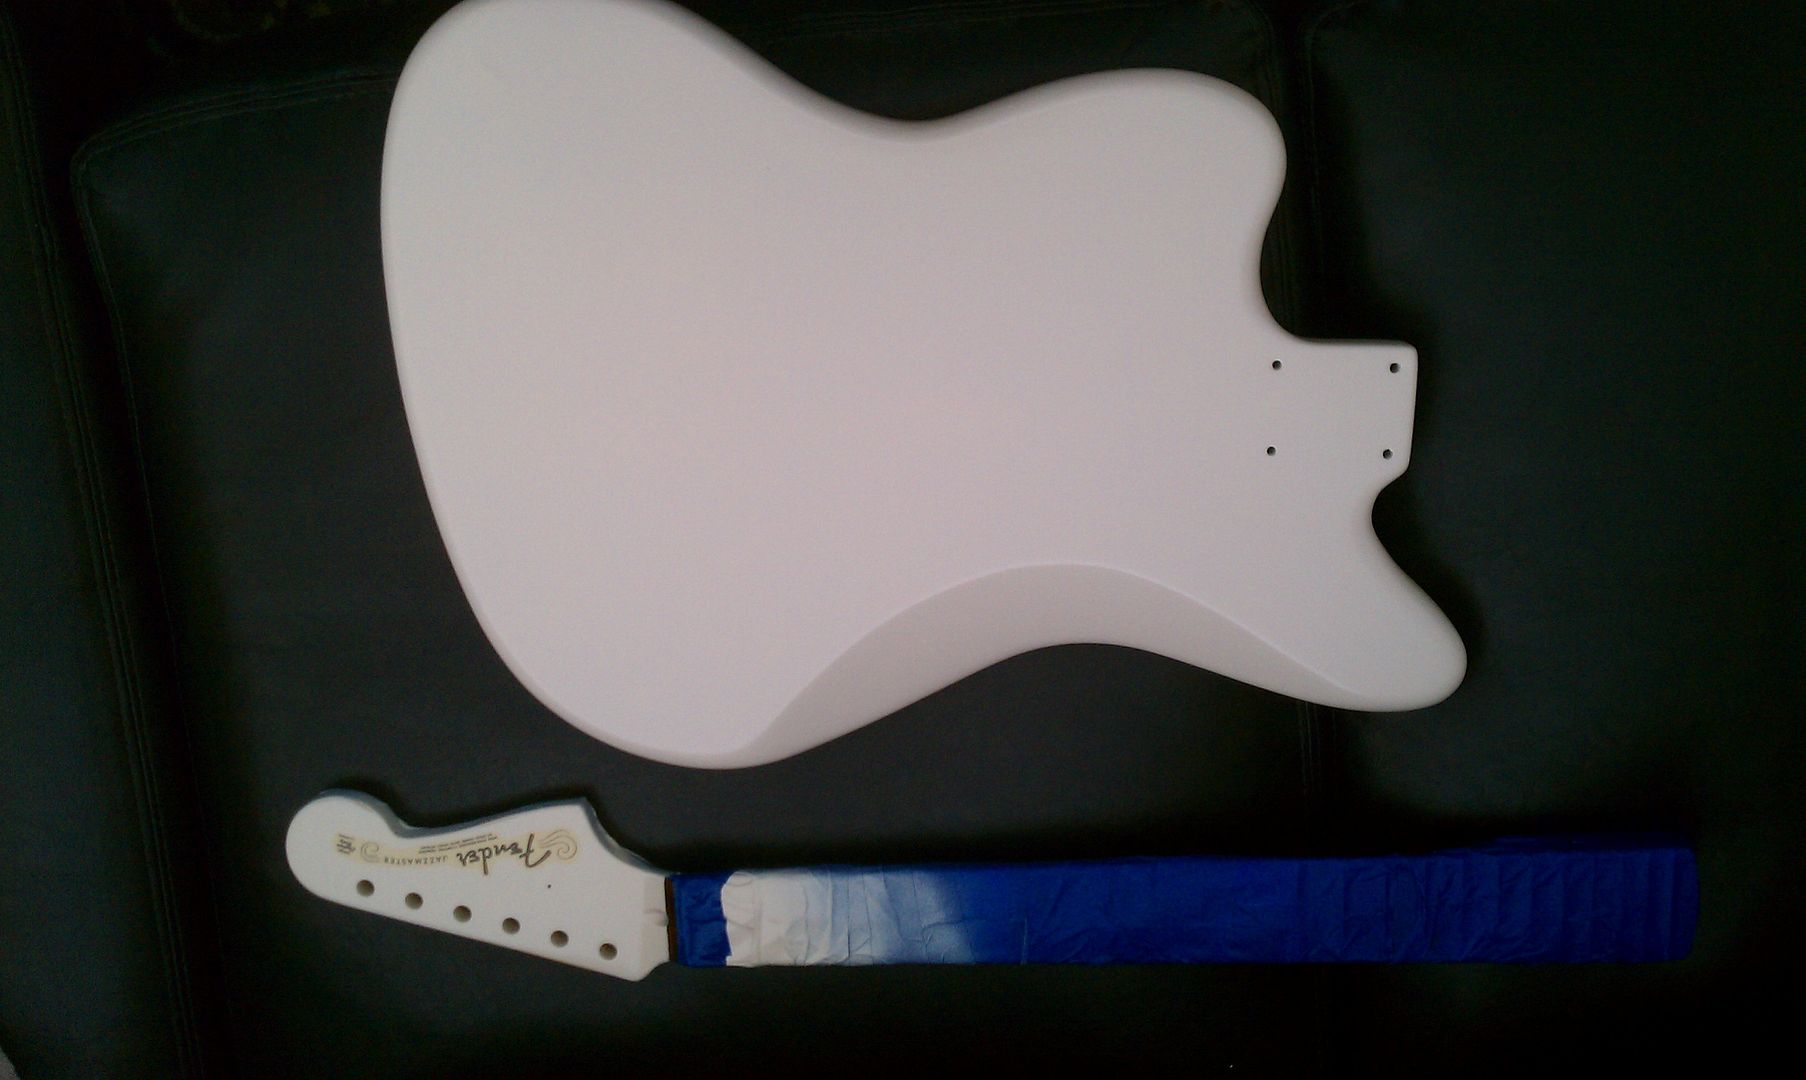
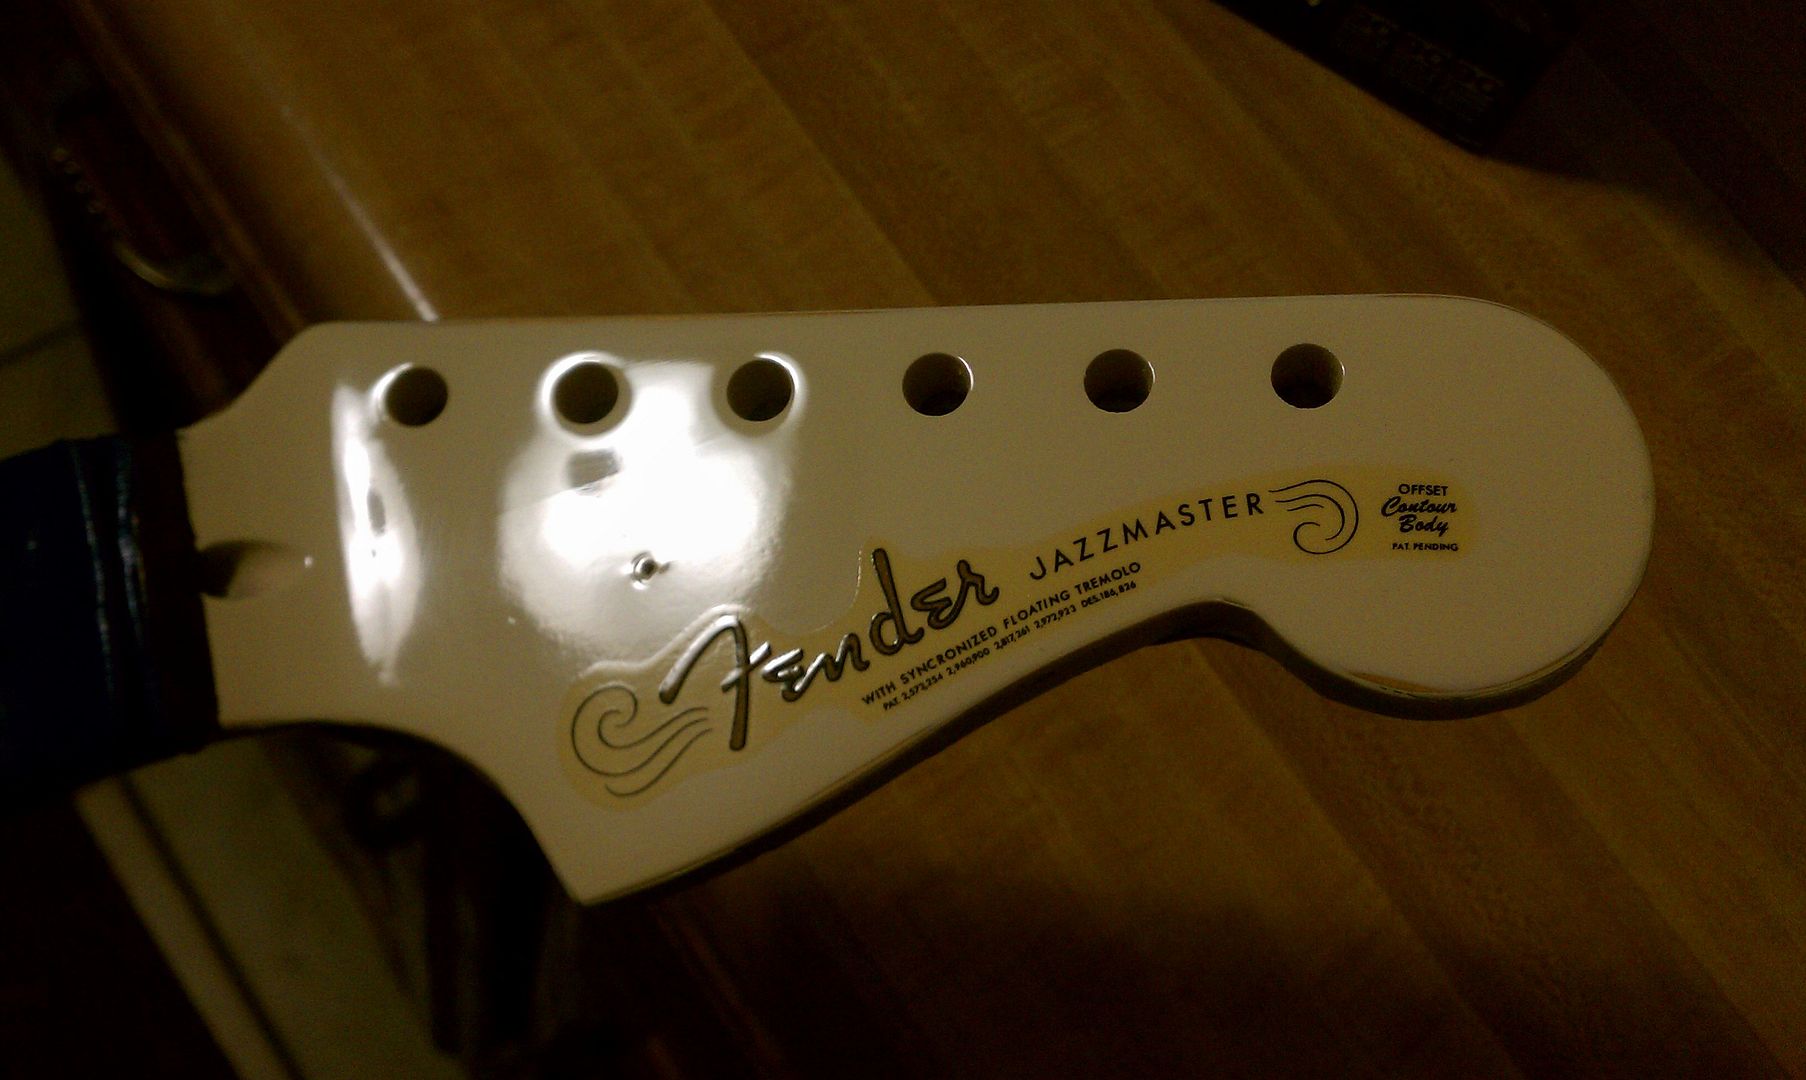
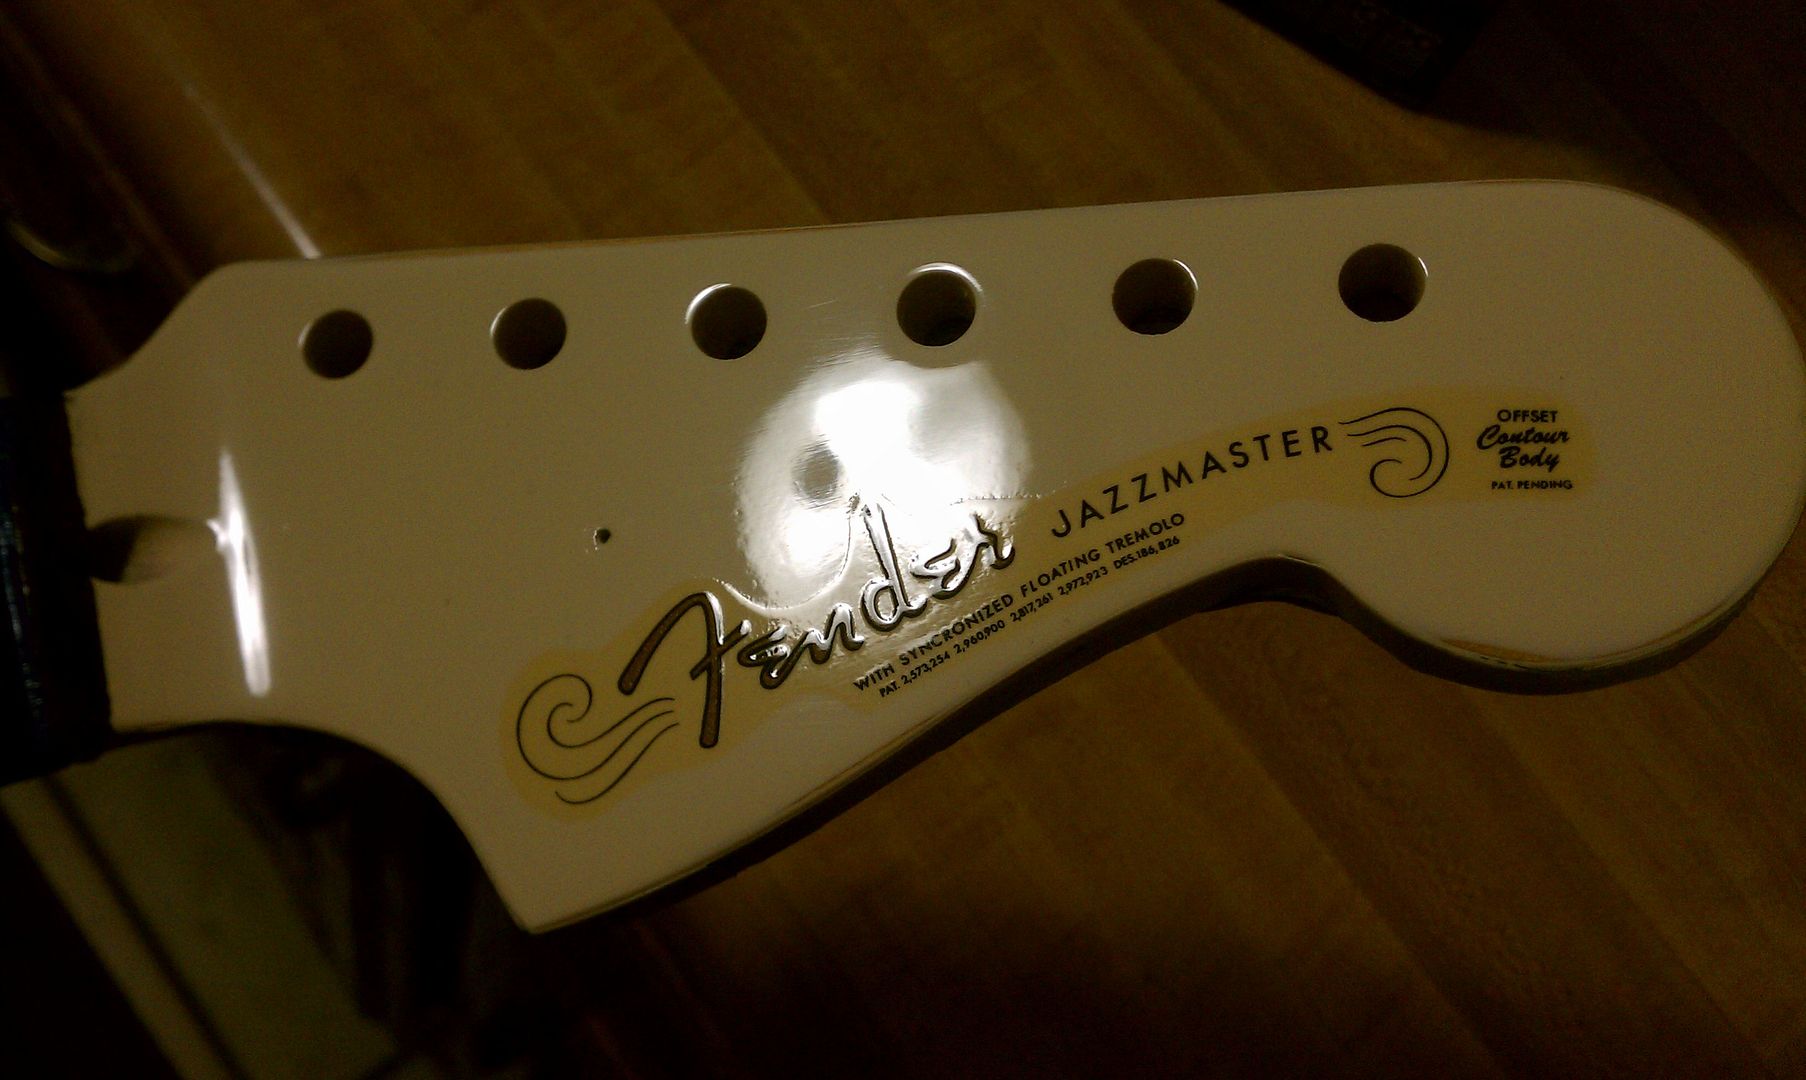
Headstock sanded and polished, complete.
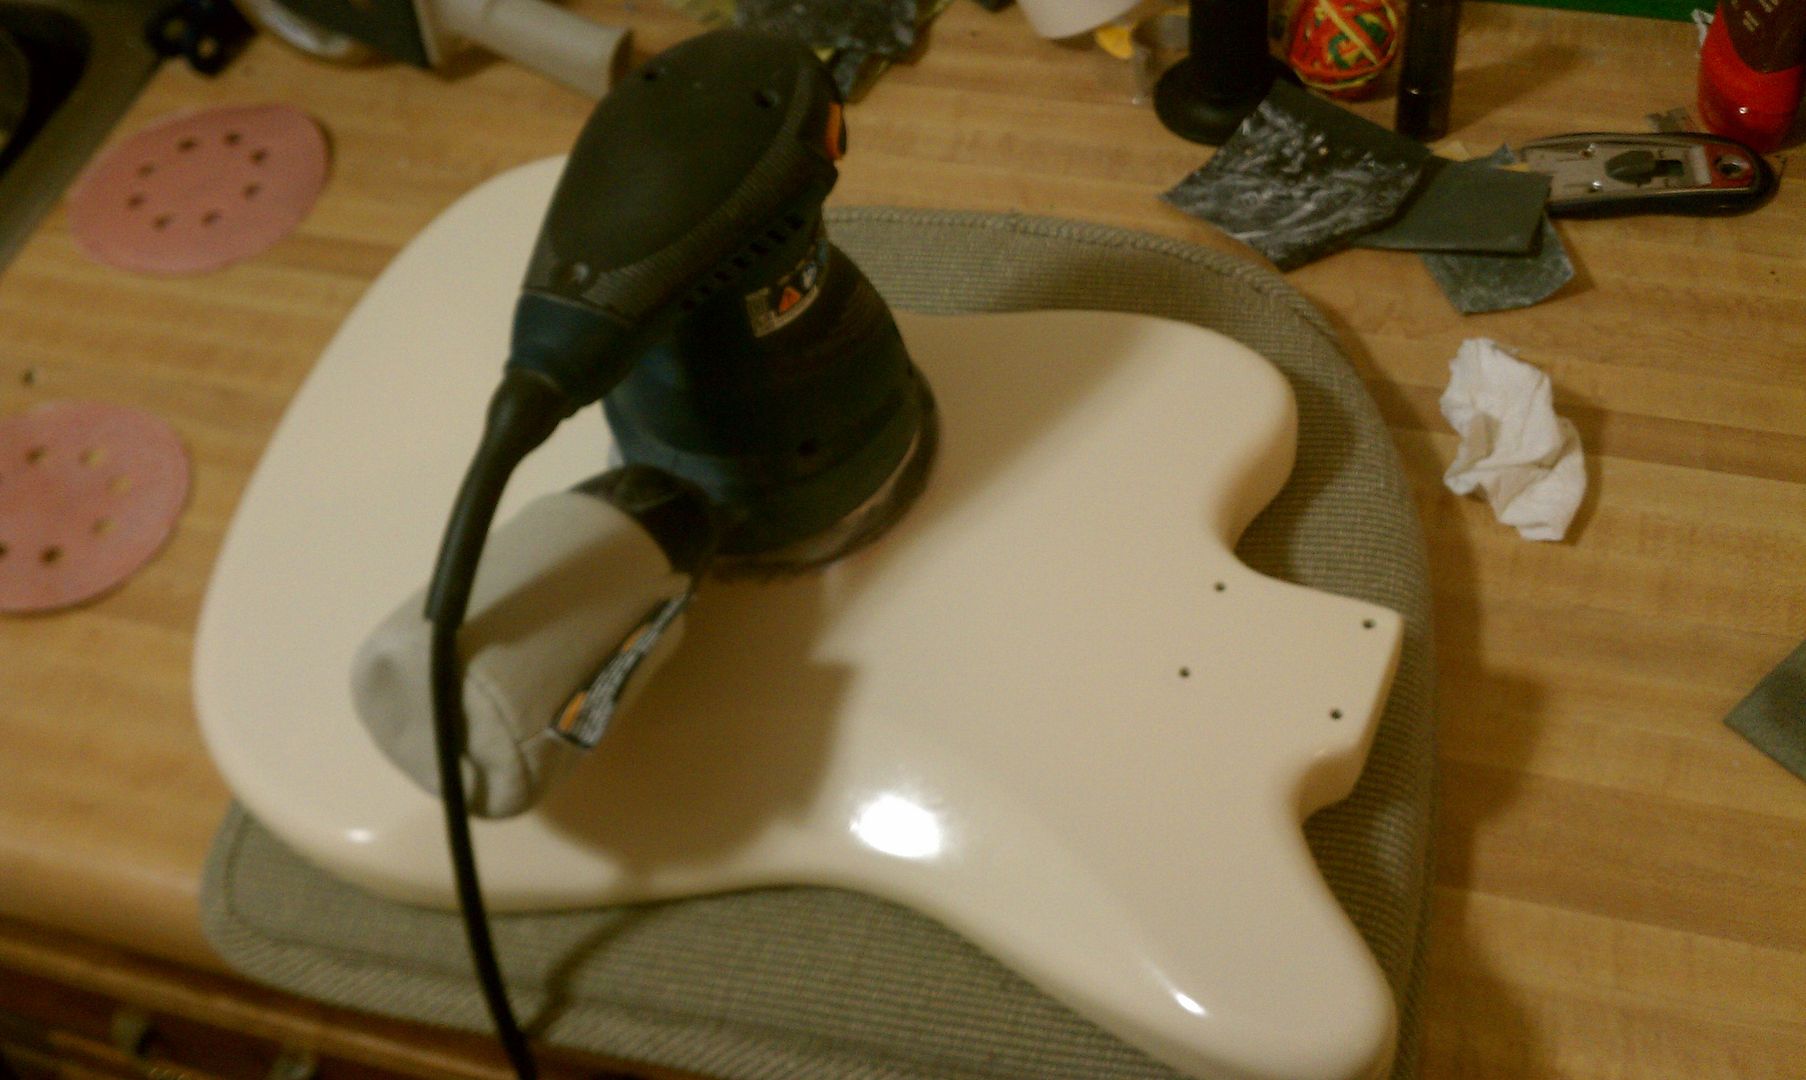
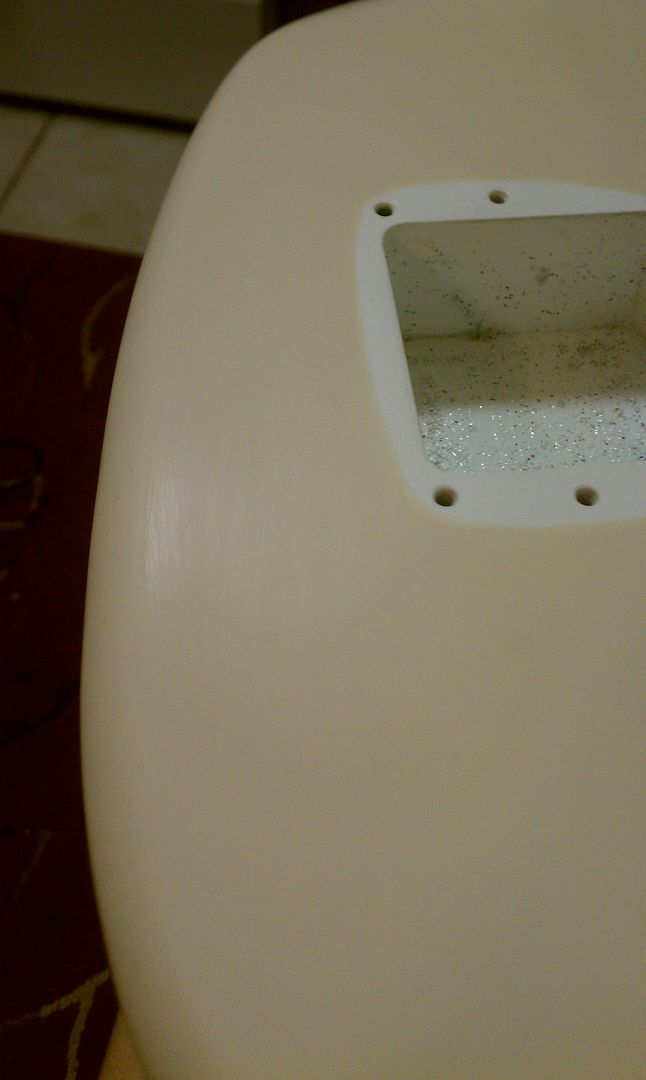
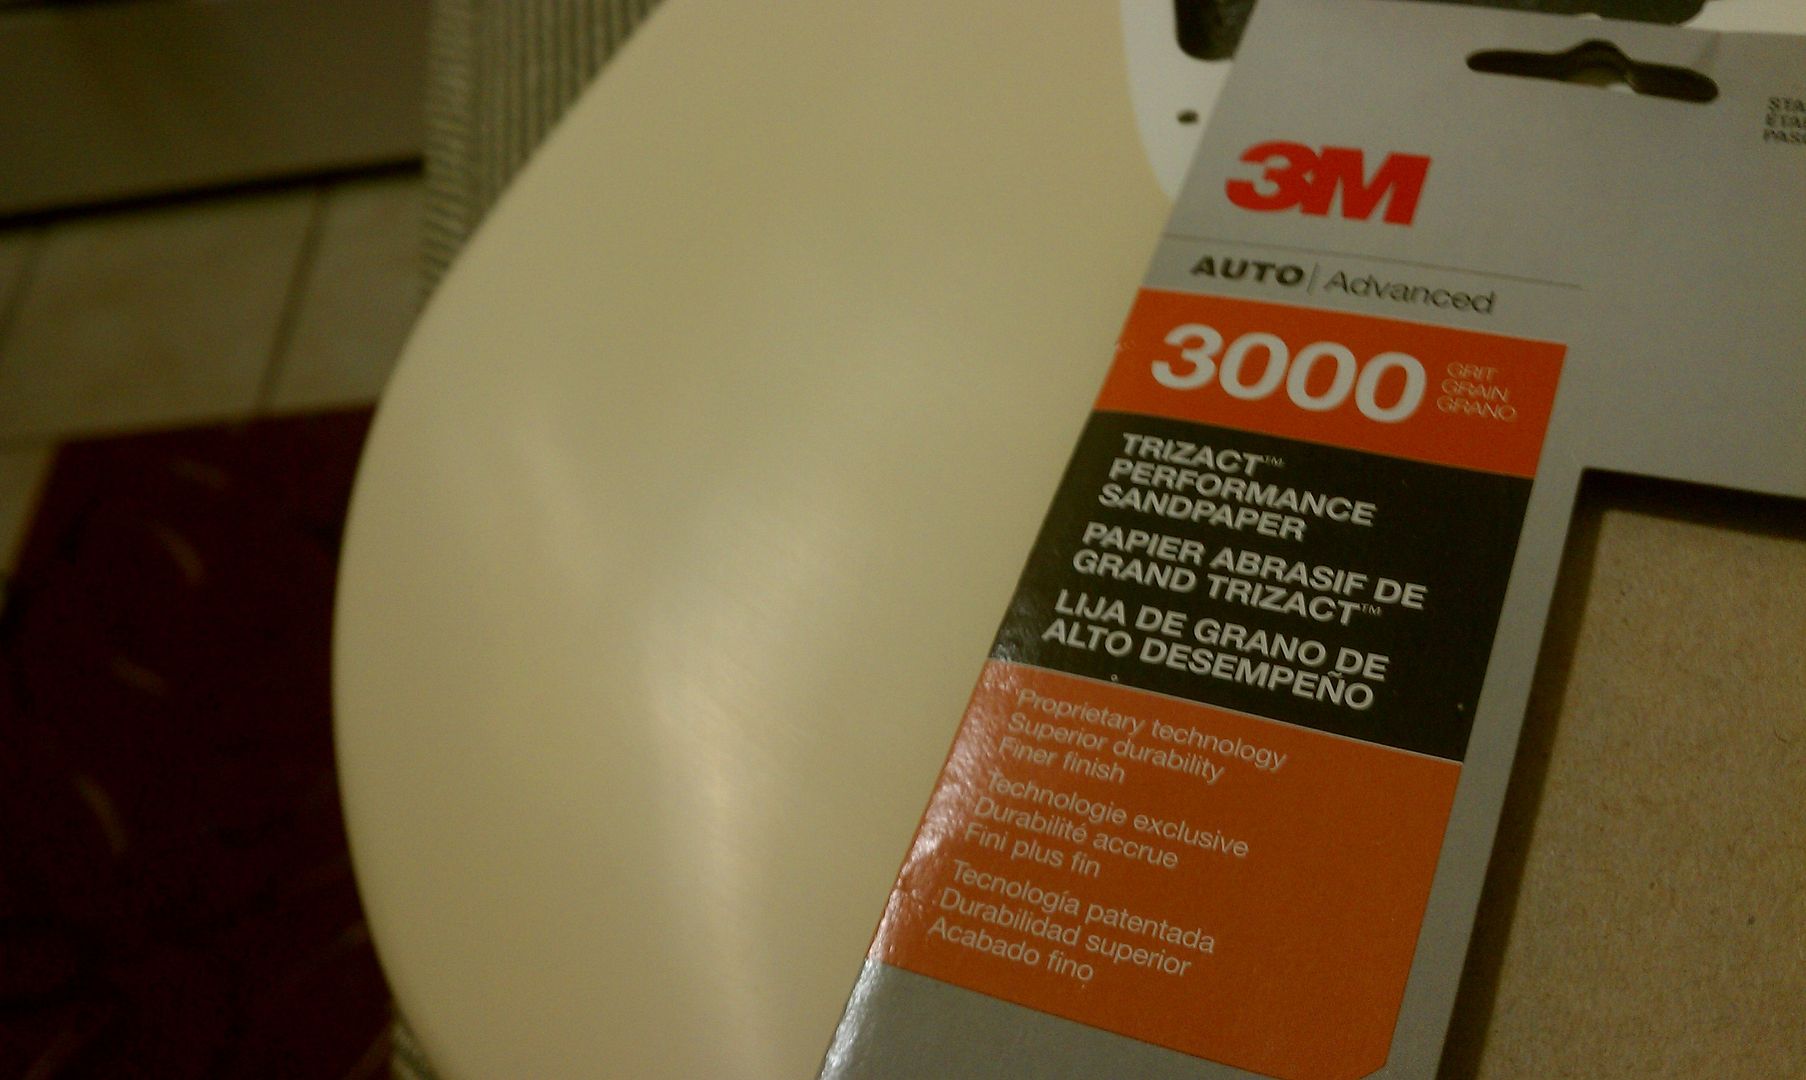
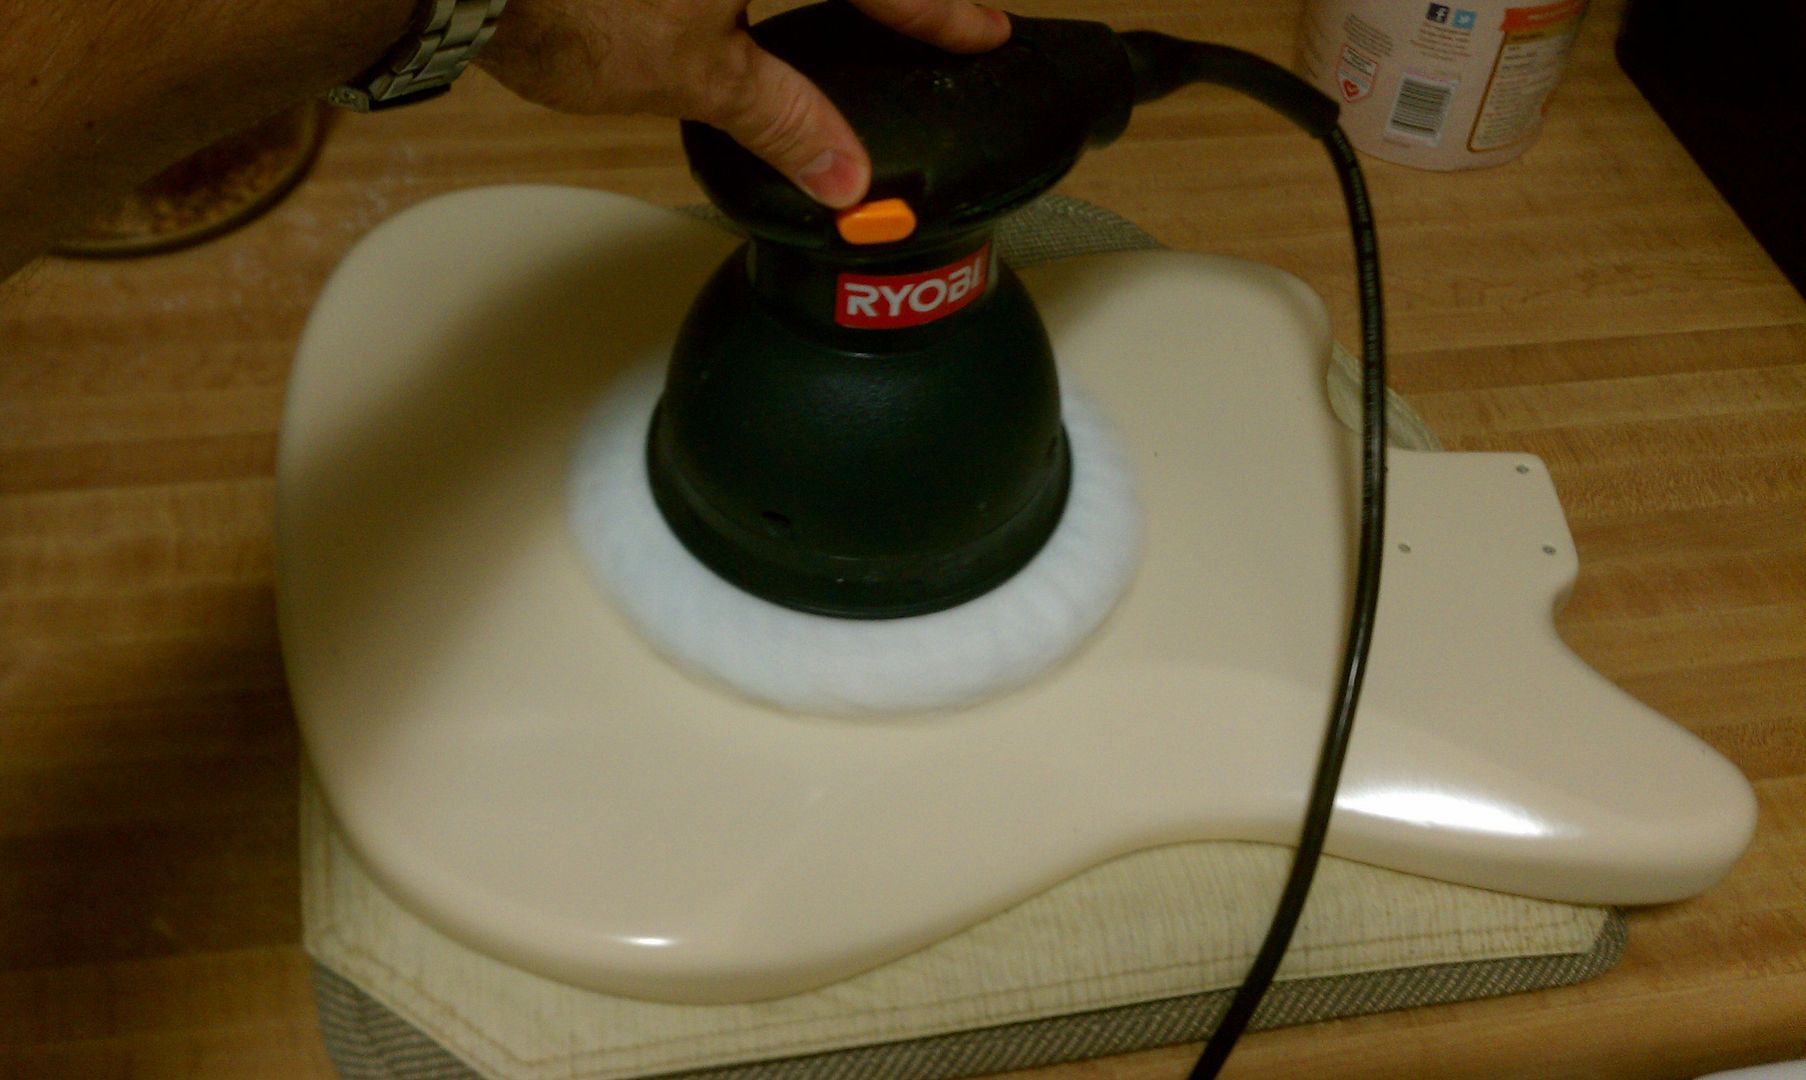
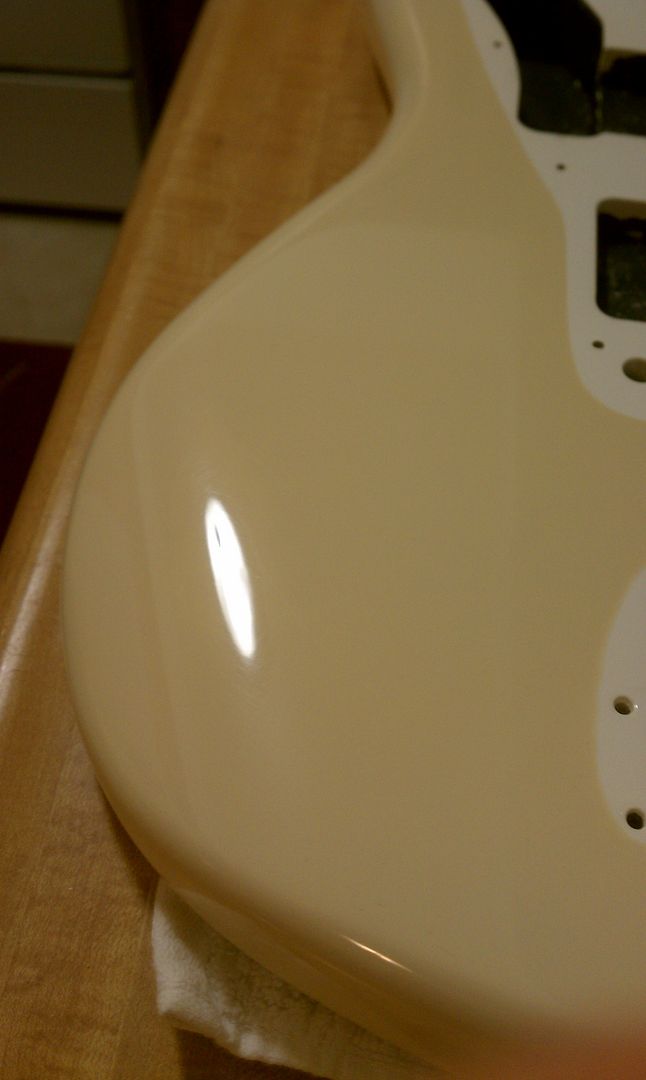
Now to sand the body. I started with a 600 grit. I am so glad I did 5 coats of clear. I totally utilized it. I had to sand deep. The 600 grit was taking too long, so I got my rotary sander and used a brand new 1500 grit. That did the trick and got it to a nice good start. Then finished it up with the 600 grit again by hand. Then used the 3000 grit pad. Finally I used car polish and my rotary buffer and polished to a perfect glass/mirror like shine.

Will be away from the project this coming week, but will then be working on the relic process and aging the hardware. Guys, let me know your ideas on how to properly age chrome hardware. I am hearing this stuff that you can get at Radio Shack works great. Anyone tried it?


Headstock sanded and polished, complete.


Now to sand the body. I started with a 600 grit. I am so glad I did 5 coats of clear. I totally utilized it. I had to sand deep. The 600 grit was taking too long, so I got my rotary sander and used a brand new 1500 grit. That did the trick and got it to a nice good start. Then finished it up with the 600 grit again by hand. Then used the 3000 grit pad. Finally I used car polish and my rotary buffer and polished to a perfect glass/mirror like shine.


Will be away from the project this coming week, but will then be working on the relic process and aging the hardware. Guys, let me know your ideas on how to properly age chrome hardware. I am hearing this stuff that you can get at Radio Shack works great. Anyone tried it?
There's only one who makes the best vintage tortoise shell pickguards. Spitfire Tort.
http://spitfiretortoiseshellpickguards.wordpress.com/
http://spitfiretortoiseshellpickguards.wordpress.com/
-
soggy mittens

- PAT. # 2.972.923
- Posts: 2089
- Joined: Fri May 02, 2014 2:08 am
- Location: middle of somewhere
Re: VM becomes vintage 1963 Jazzmaster Classic (Pick Heavy)
Yeah this is looking amazing, you've convinced me to use this method on my project jazzy once I can settle on a colour. x)
If OSG has tort me anything...
-
Spitfire7
- PAT. # 2.972.923
- Posts: 1894
- Joined: Mon Aug 24, 2009 10:43 pm
- Location: Los Angeles, California USA
- Contact:
Re: VM becomes vintage 1963 Jazzmaster Classic (Pick Heavy)
Awesome. You might consider using the Dupli-color rattle cans too. I couldn't believe how fast it dried. Literally within 15 min it was very dry to the touch. Then I let it sit over night and the next day it was hard as a rock. I was really impressed. The sunny, dry, California air helps I am sure.soggy mittens wrote:Yeah this is looking amazing, you've convinced me to use this method on my project jazzy once I can settle on a colour. x)
There's only one who makes the best vintage tortoise shell pickguards. Spitfire Tort.
http://spitfiretortoiseshellpickguards.wordpress.com/
http://spitfiretortoiseshellpickguards.wordpress.com/
-
soggy mittens
- PAT. # 2.972.923
- Posts: 2089
- Joined: Fri May 02, 2014 2:08 am
- Location: middle of somewhere
Re: VM becomes vintage 1963 Jazzmaster Classic (Pick Heavy)
I'm in Australia so I'm not sure if that brand is available here, though I'll probably do it super slow over xmas/jan. I have to choose between black and blonde, on tort. If I went black I'd go matte right?
Probably go blonde though, and mess it up a hundred times before getting it right.
http://www.offsetguitars.com/forums/vie ... 14&p=28315

must make that dream come true!
Probably go blonde though, and mess it up a hundred times before getting it right.
http://www.offsetguitars.com/forums/vie ... 14&p=28315
must make that dream come true!
If OSG has tort me anything...
-
MattK
- PAT. # 2.972.923
- Posts: 4010
- Joined: Sun Aug 10, 2008 9:51 pm
- Location: Hobart, Australia
Re: VM becomes vintage 1963 Jazzmaster Classic (Pick Heavy)
Pretty sure Dupli-color is at Supercheap Auto. But you might have an easier time buying a tin of acrylic lacquer and finding someone with a spray rig - a lot of furniture making places have them, for example. I have a friend with one, so the painting takes a couple of minutes, but the drying and sanding takes forever.soggy mittens wrote:I'm in Australia so I'm not sure if that brand is available here
-
spearleaf

- PAT. # 2.972.923
- Posts: 57
- Joined: Mon Sep 01, 2014 3:20 pm
Re: VM becomes vintage 1963 Jazzmaster Classic (Pick Heavy)
Was the clear coat also dupli color brand?
-
Spitfire7
- PAT. # 2.972.923
- Posts: 1894
- Joined: Mon Aug 24, 2009 10:43 pm
- Location: Los Angeles, California USA
- Contact:
Re: VM becomes vintage 1963 Jazzmaster Classic (Pick Heavy)
Yes and seemed even easier to work with than the paint. would dry in almost 5 min, but always gave it the 10 min before applying new coats.spearleaf wrote:Was the clear coat also dupli color brand?
There's only one who makes the best vintage tortoise shell pickguards. Spitfire Tort.
http://spitfiretortoiseshellpickguards.wordpress.com/
http://spitfiretortoiseshellpickguards.wordpress.com/
-
August

- PAT. # 2.972.923
- Posts: 154
- Joined: Mon Mar 01, 2010 11:18 pm
Re: VM becomes vintage 1963 Jazzmaster Classic (Pick Heavy)
Looking forward to seeing the finished product. I might give the DupliColour product a go on a CP I have (probably fill/re-route the tremolo cavity while I'm at it). Wonder if there's a good approximation of Ocean Turquoise in the DC line?
-
Spitfire7
- PAT. # 2.972.923
- Posts: 1894
- Joined: Mon Aug 24, 2009 10:43 pm
- Location: Los Angeles, California USA
- Contact:
Re: VM becomes vintage 1963 Jazzmaster Classic (Pick Heavy)
Big updates today. Just got back and worked all day non stop.
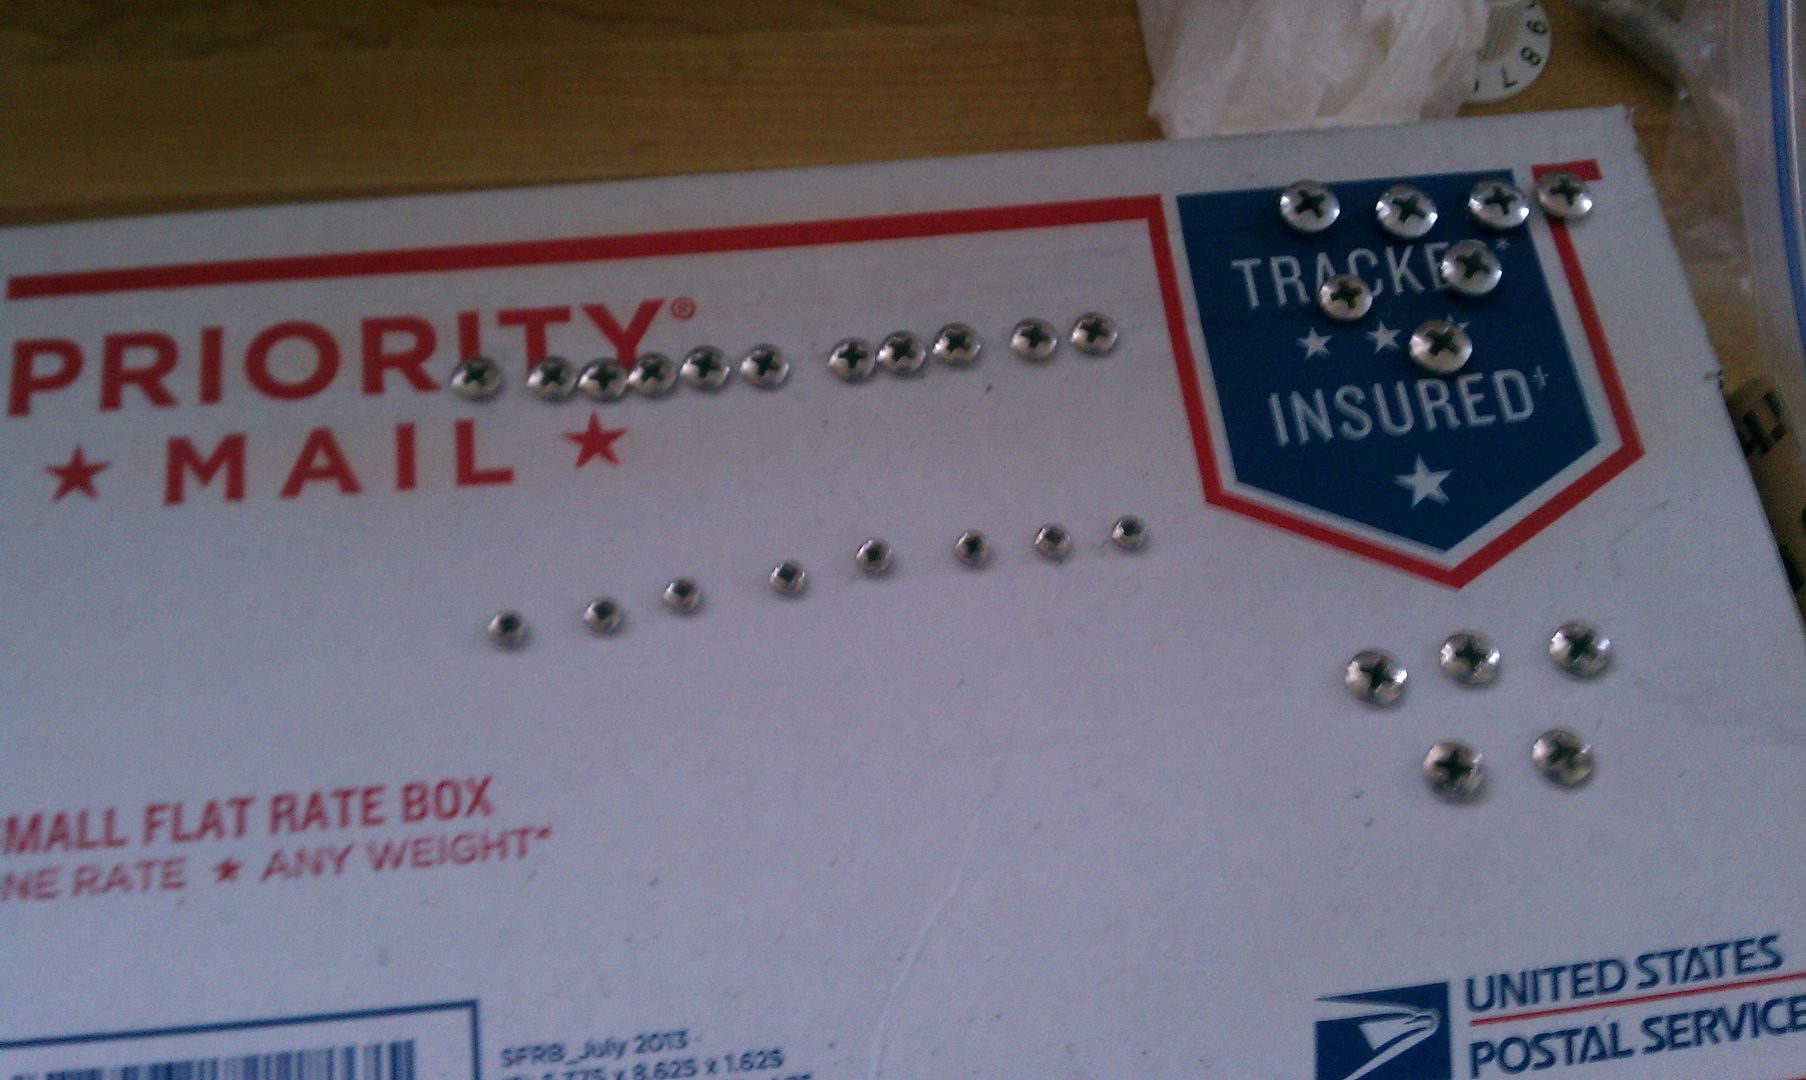
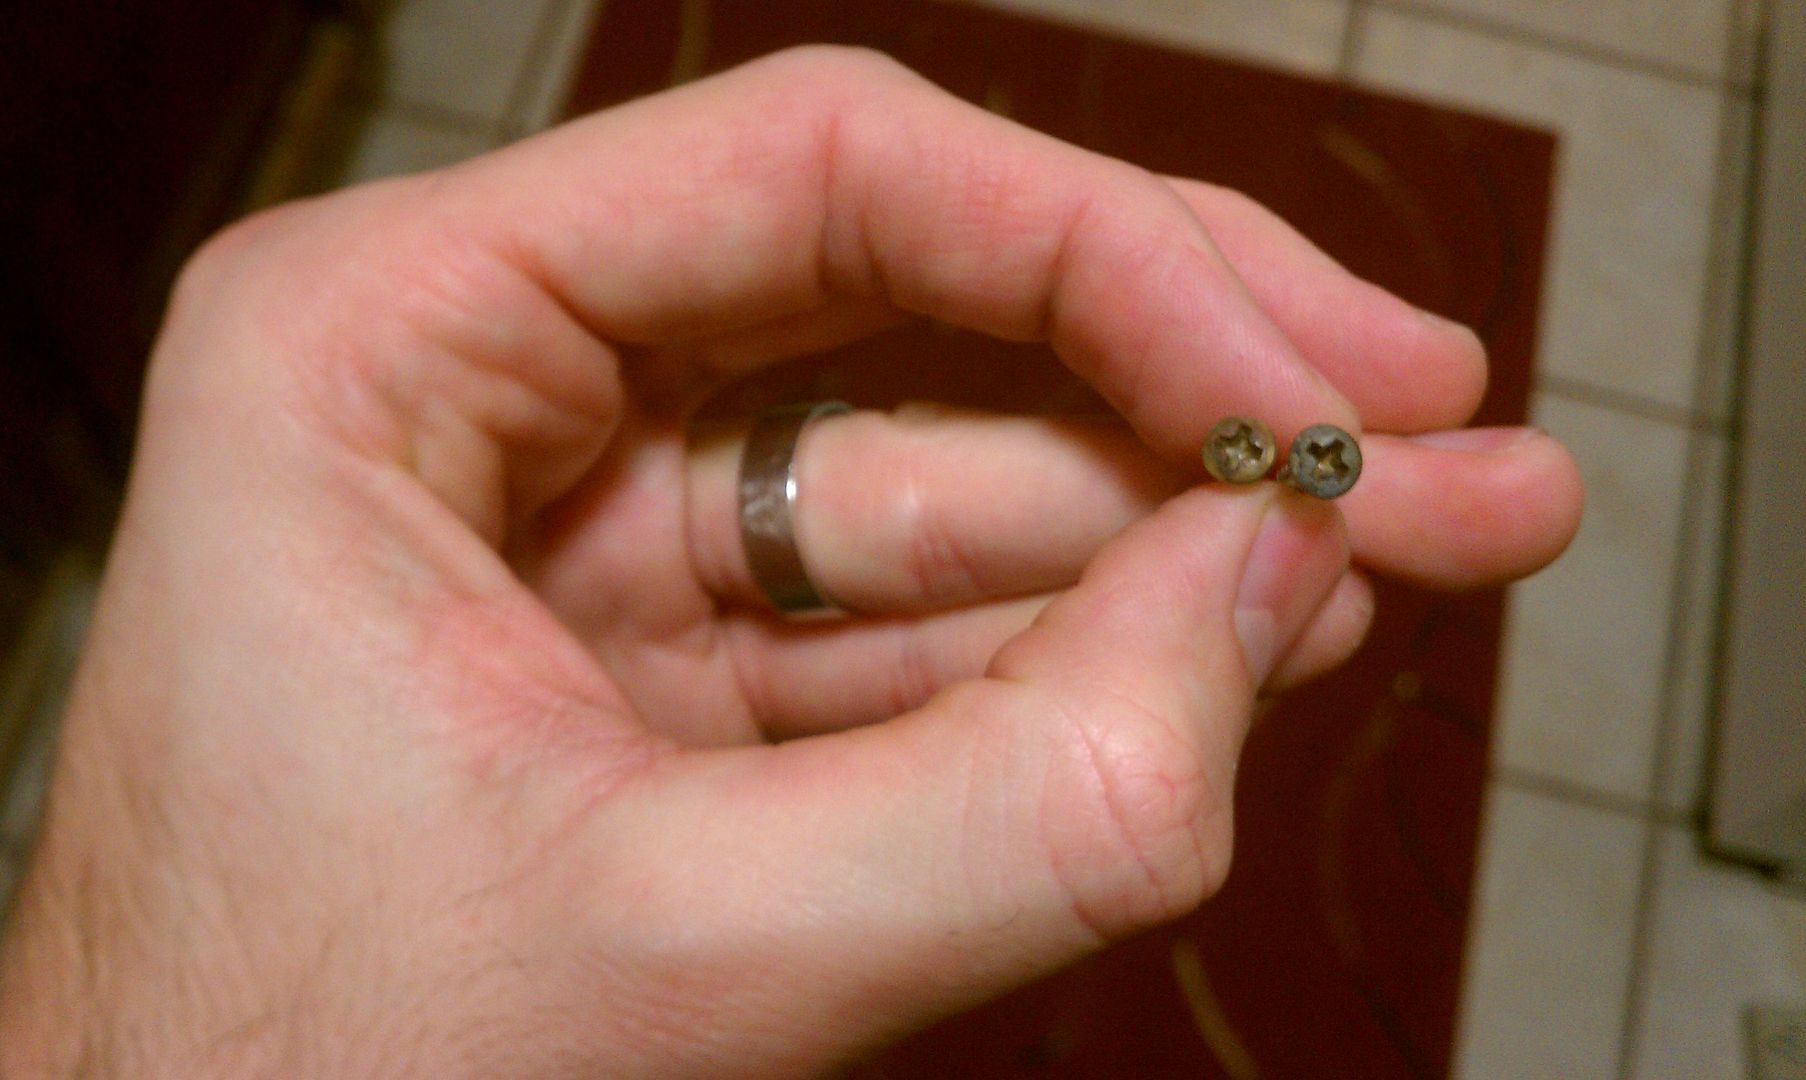
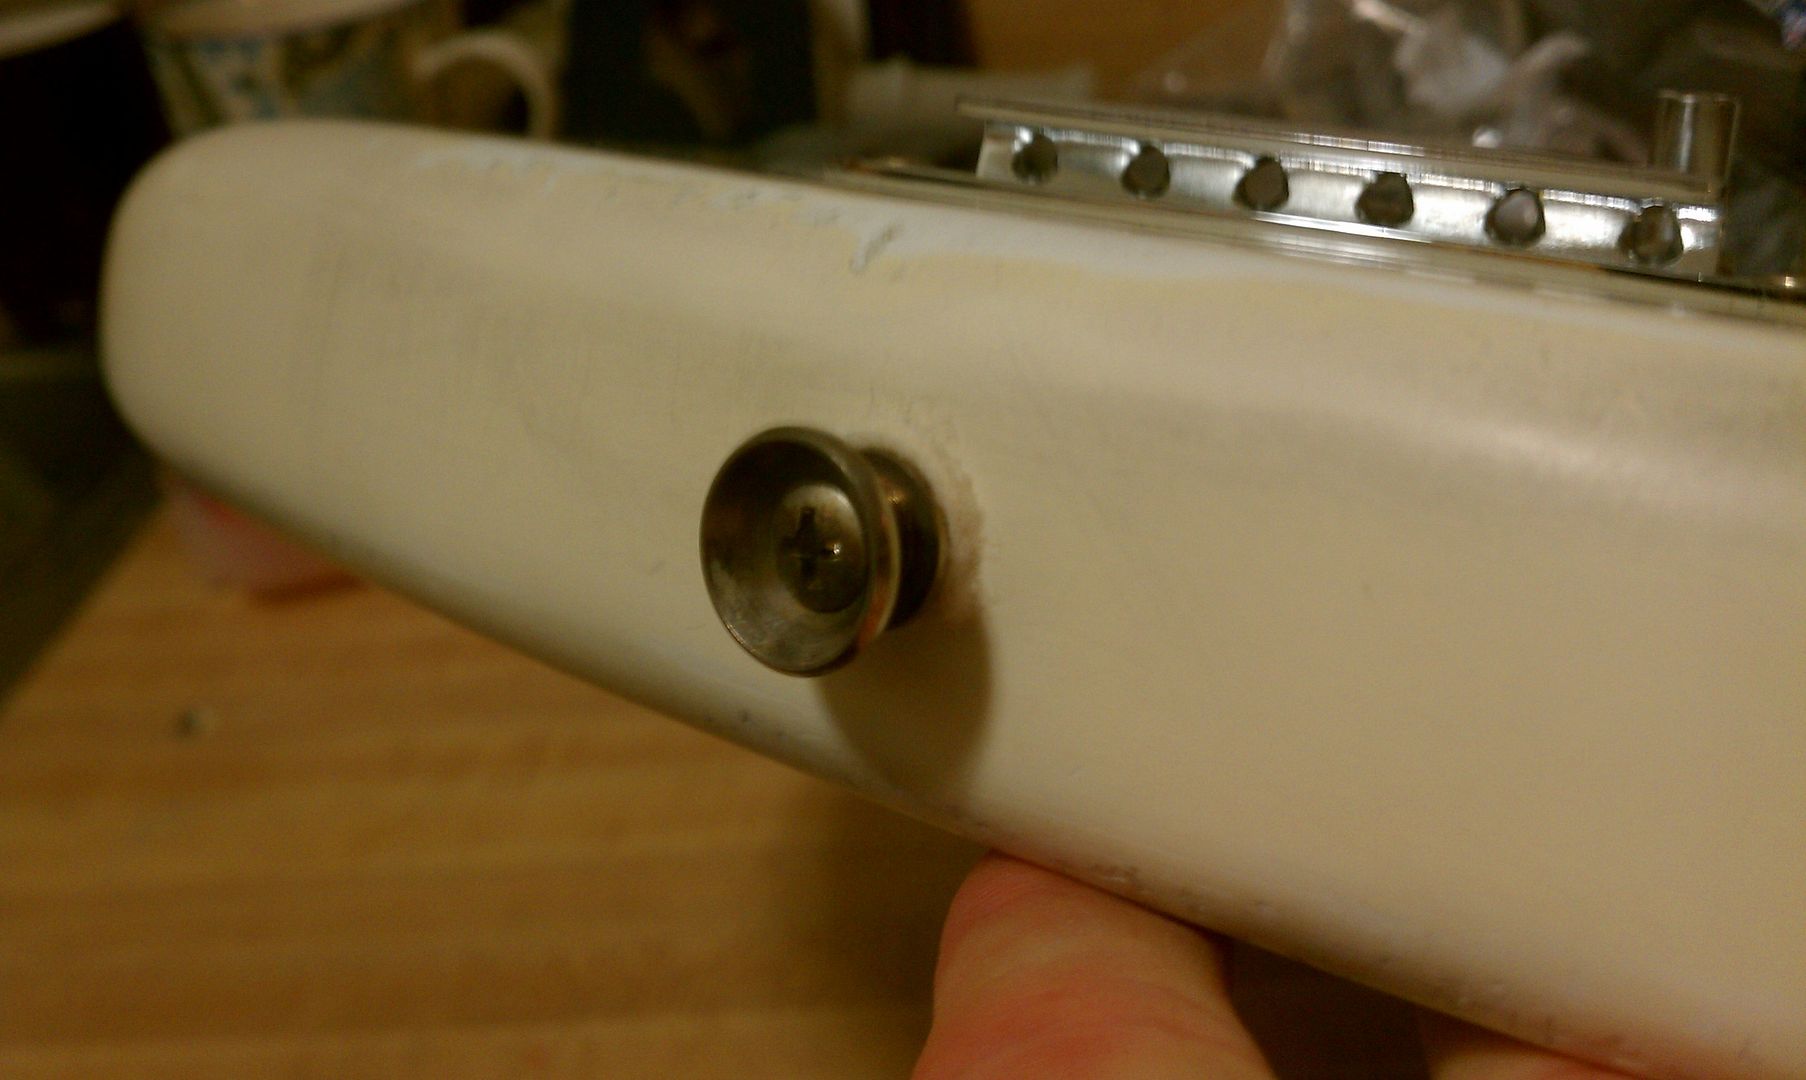
First I bought PCB Etching solution to age the hardware. I read and studied many different methods, but decided to go with this one. I lined up the screws and then covered them in the solution and put a thin tissue over it to hold the solution in place on them.
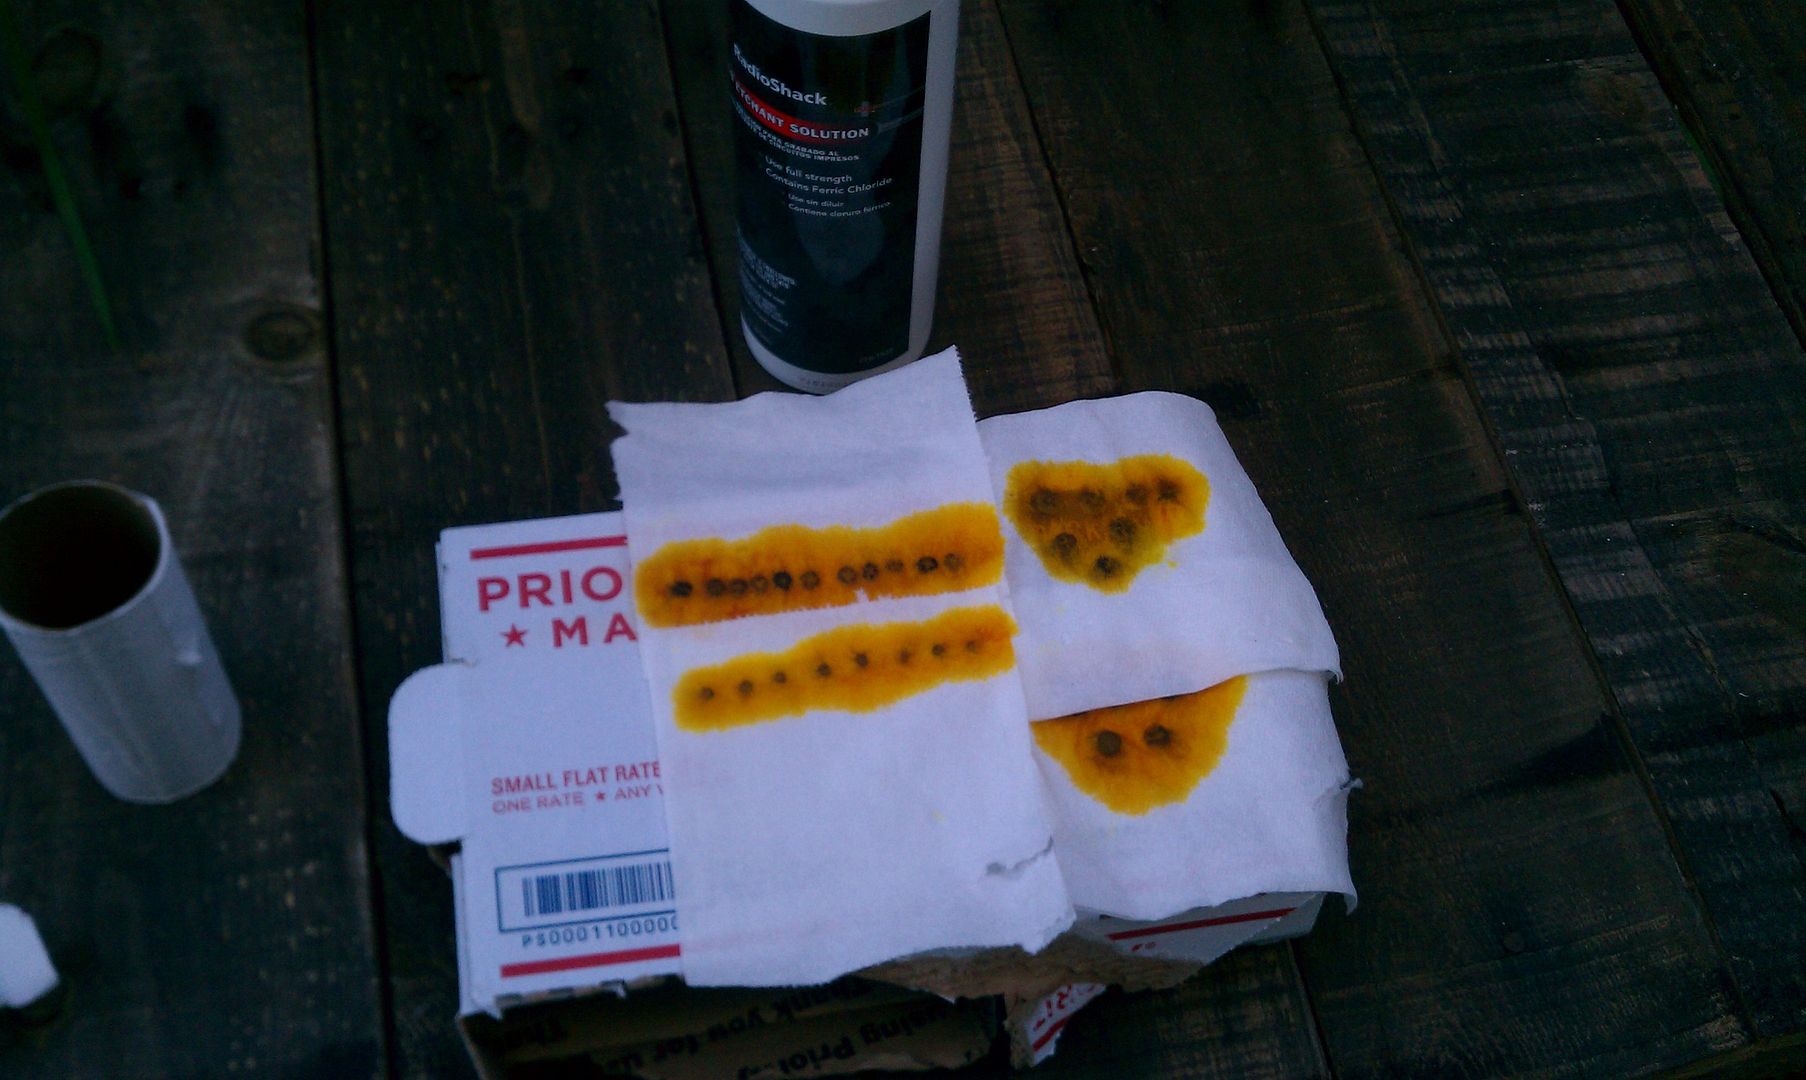
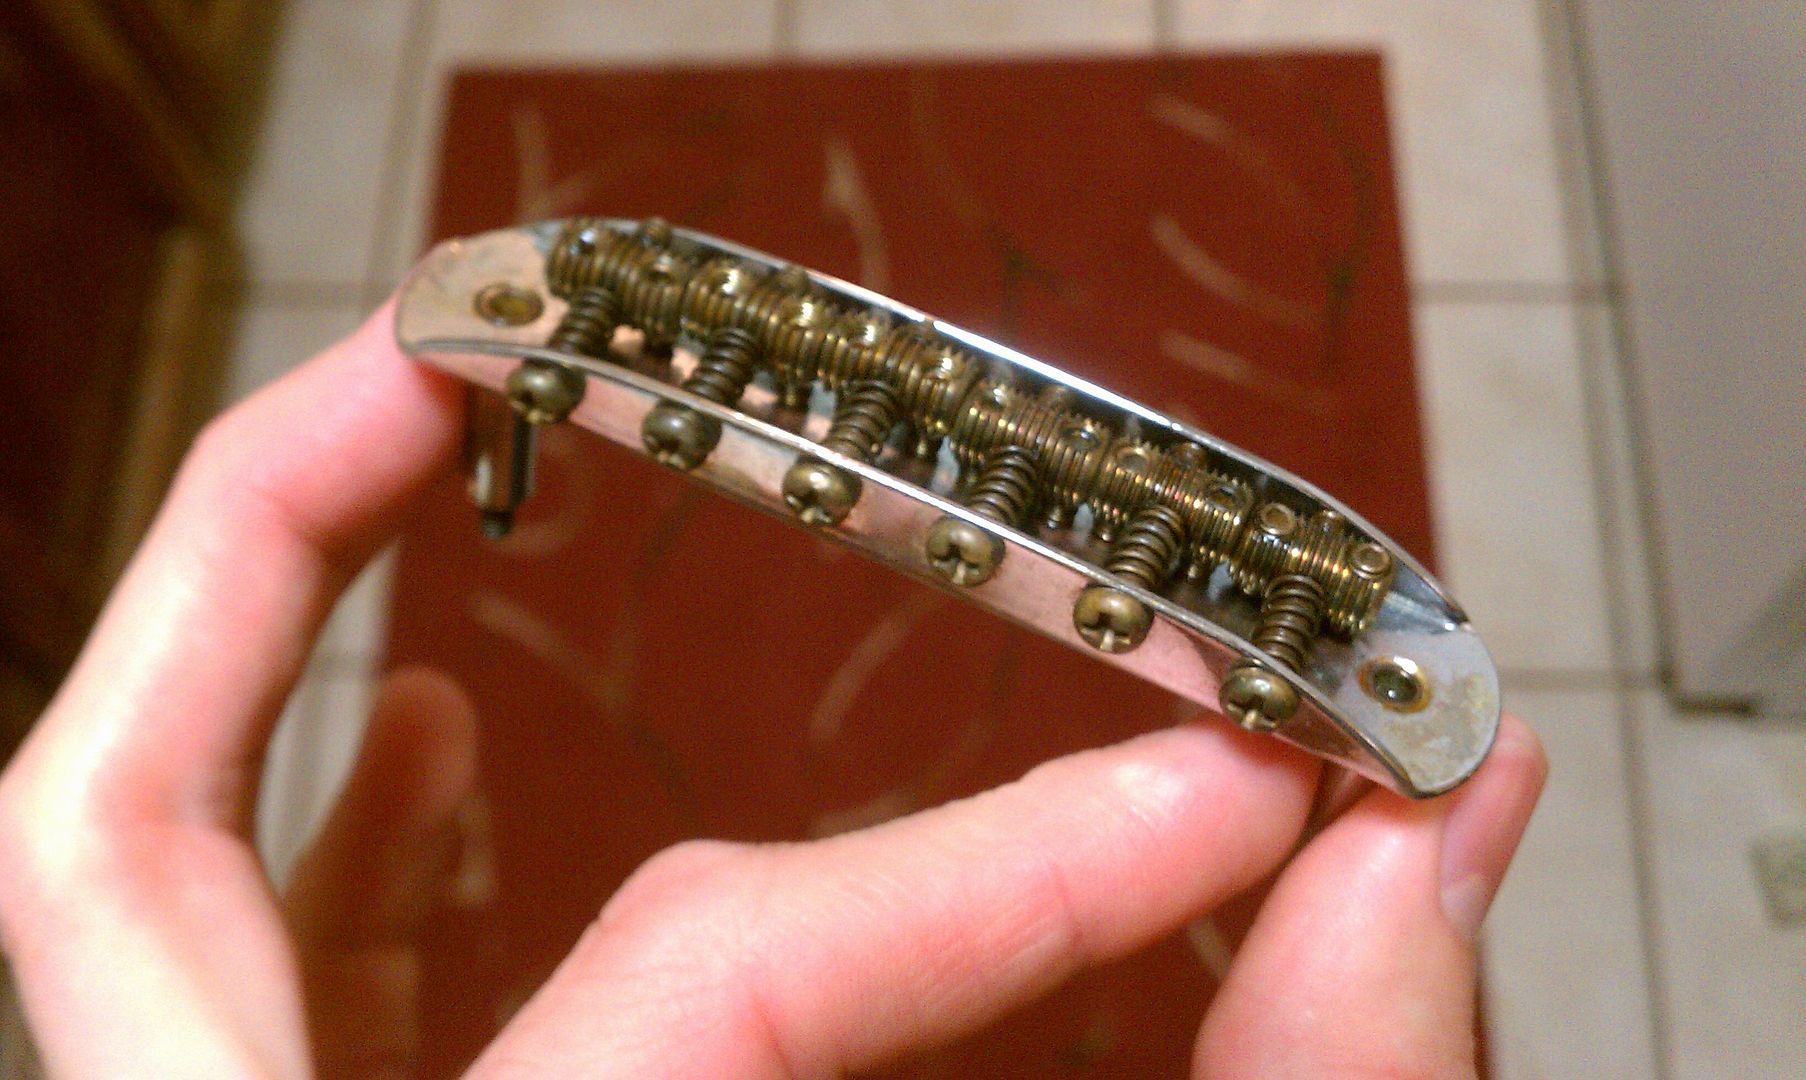
After the given time, things turned out pretty nicely. The back plate didn't work so well, but I ended up liking it even better now. It says Squire on it, so how authentic 1963 can is really be? So now it is completely oxidized copper and looks pretty cool to me. The bridge is much more rusty now inside and on the shiny parts. The picture was taken early on and it still continued to rust even when I washed and cleaned it.
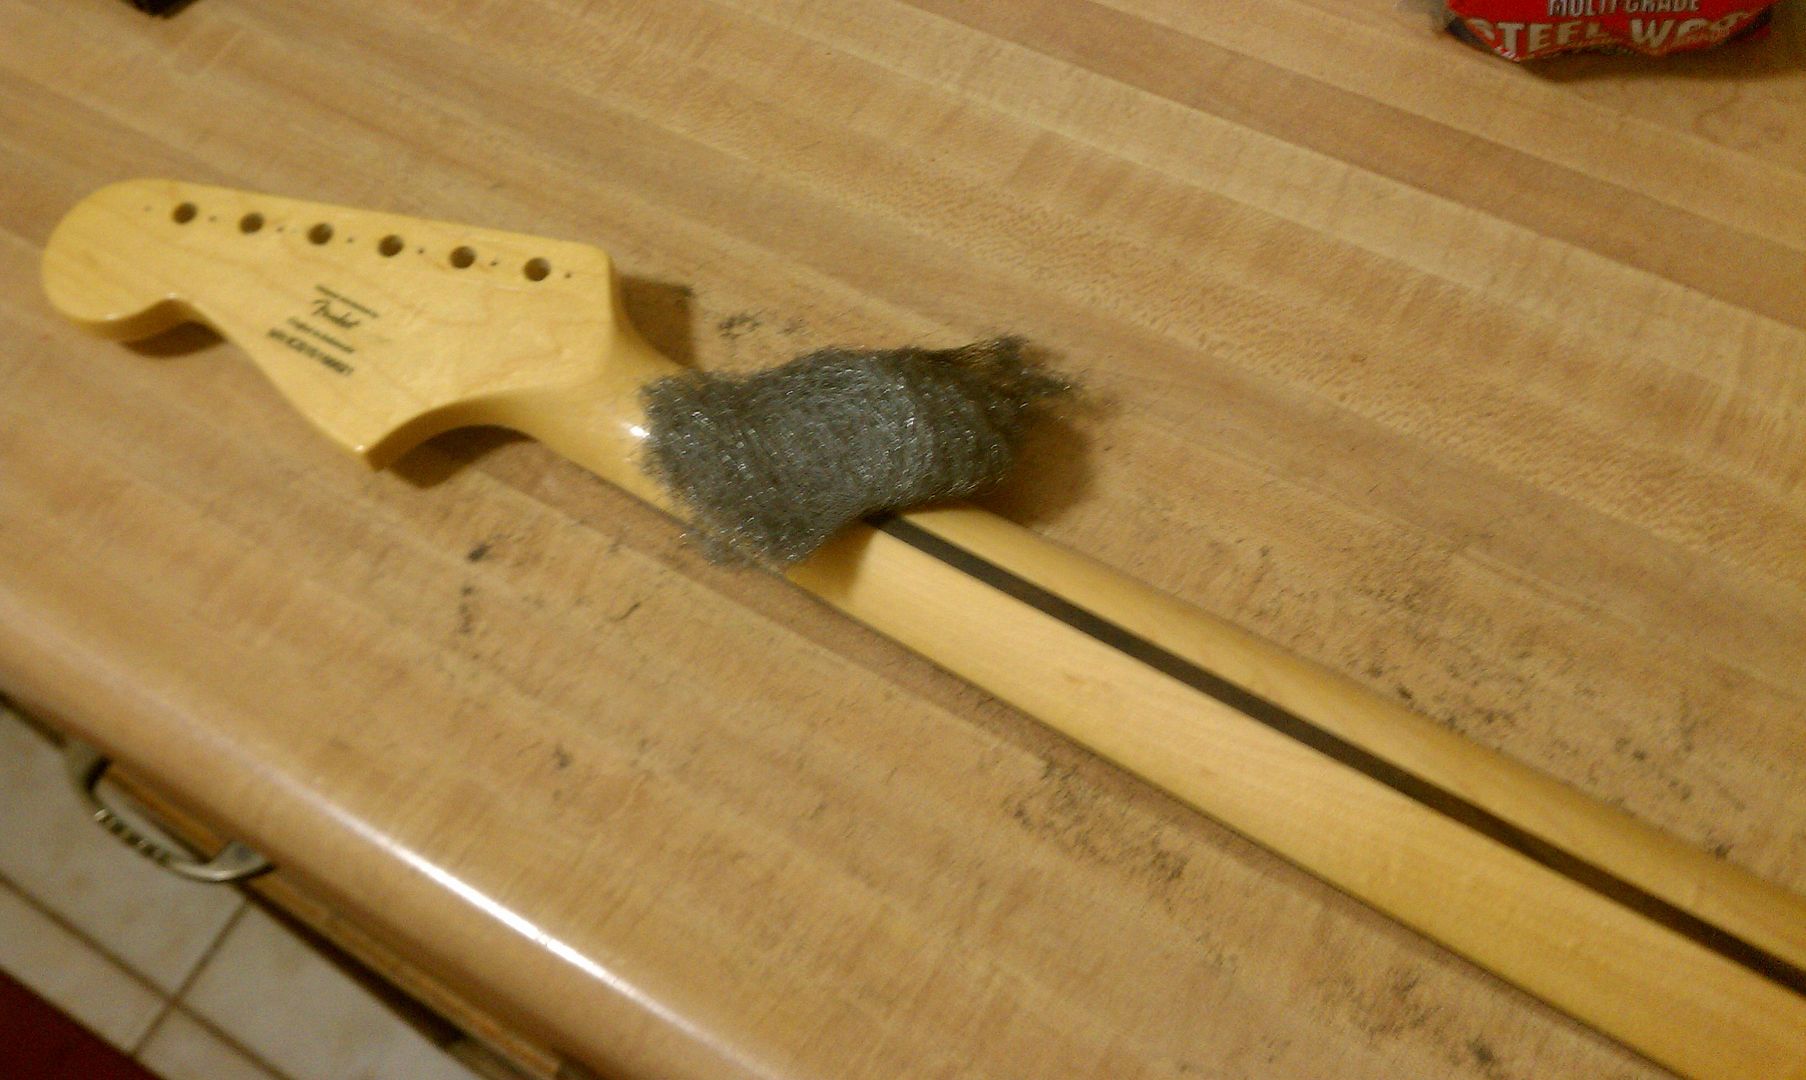
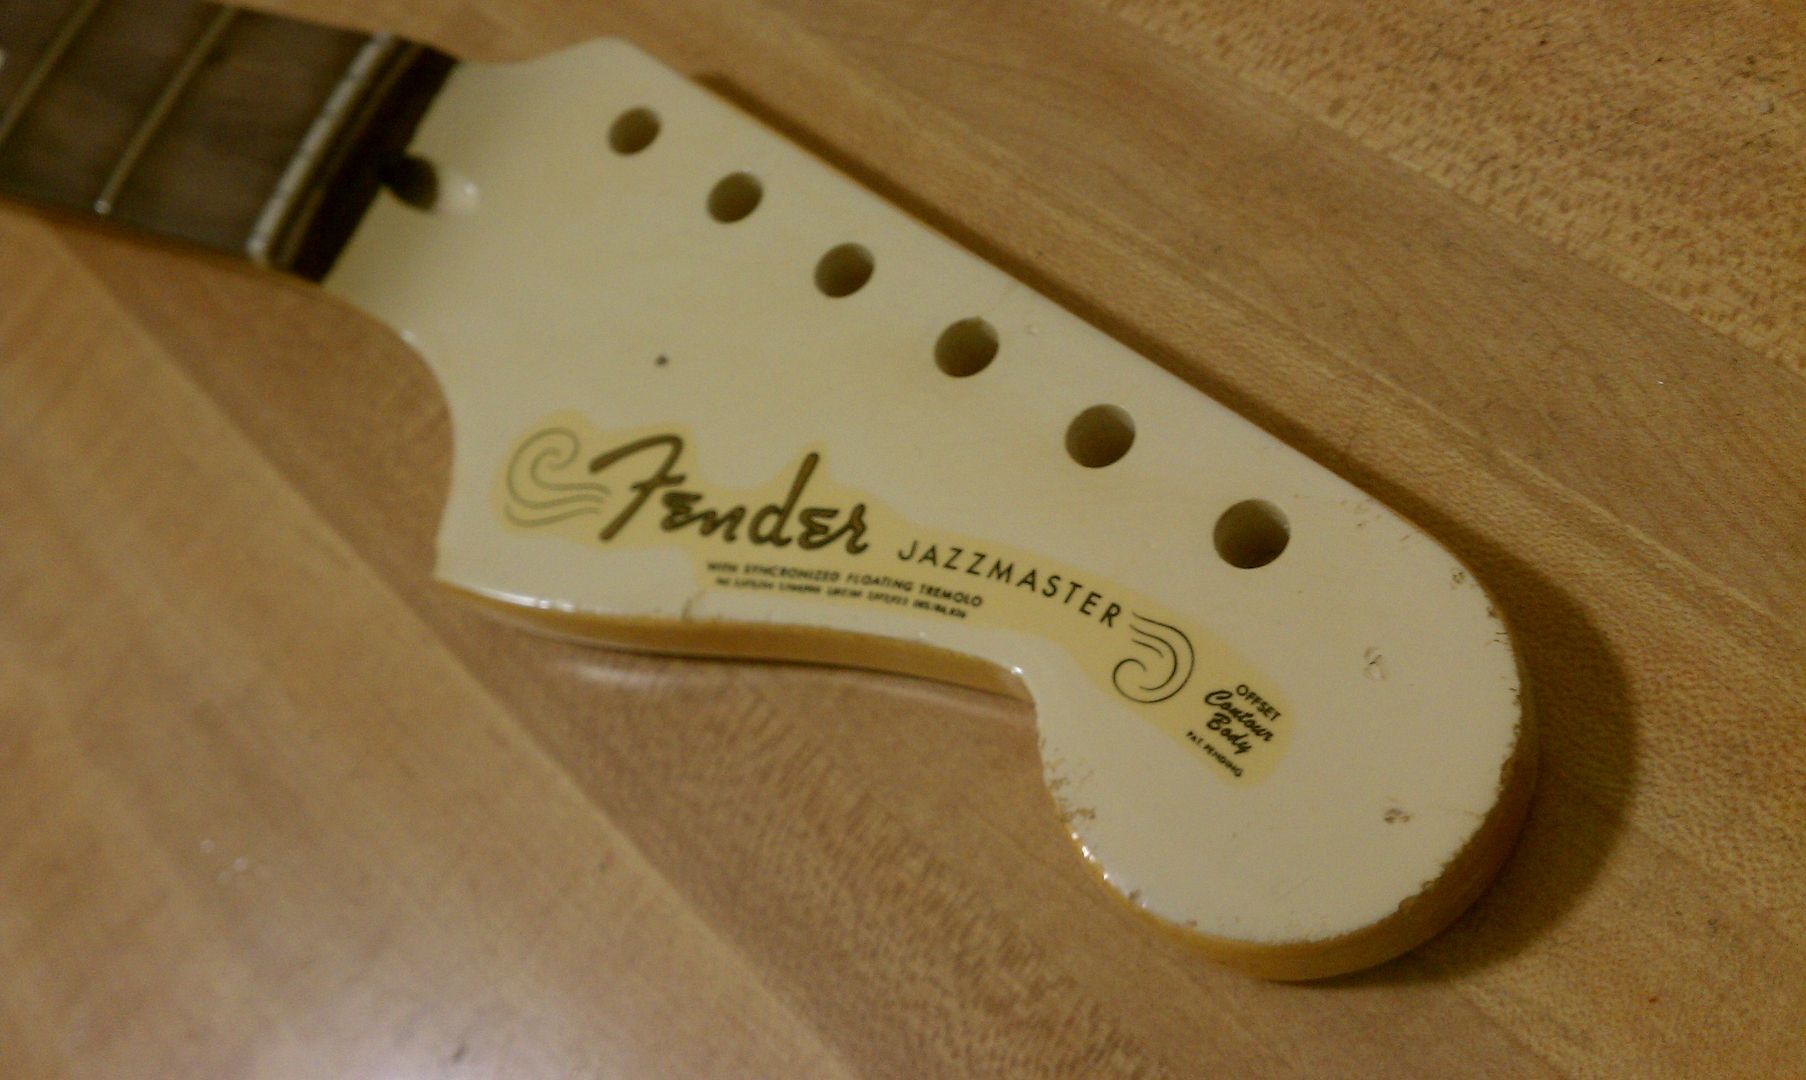
I then began wearing out the neck in the common places using steal wool. This is suppose to be a light to moderate relic and I definitely don't want to go heavy. I didn't focus too much on the neck. I really like the way it feels as is, but giving in a nice satin feel on the back really complimented the style and look as well.
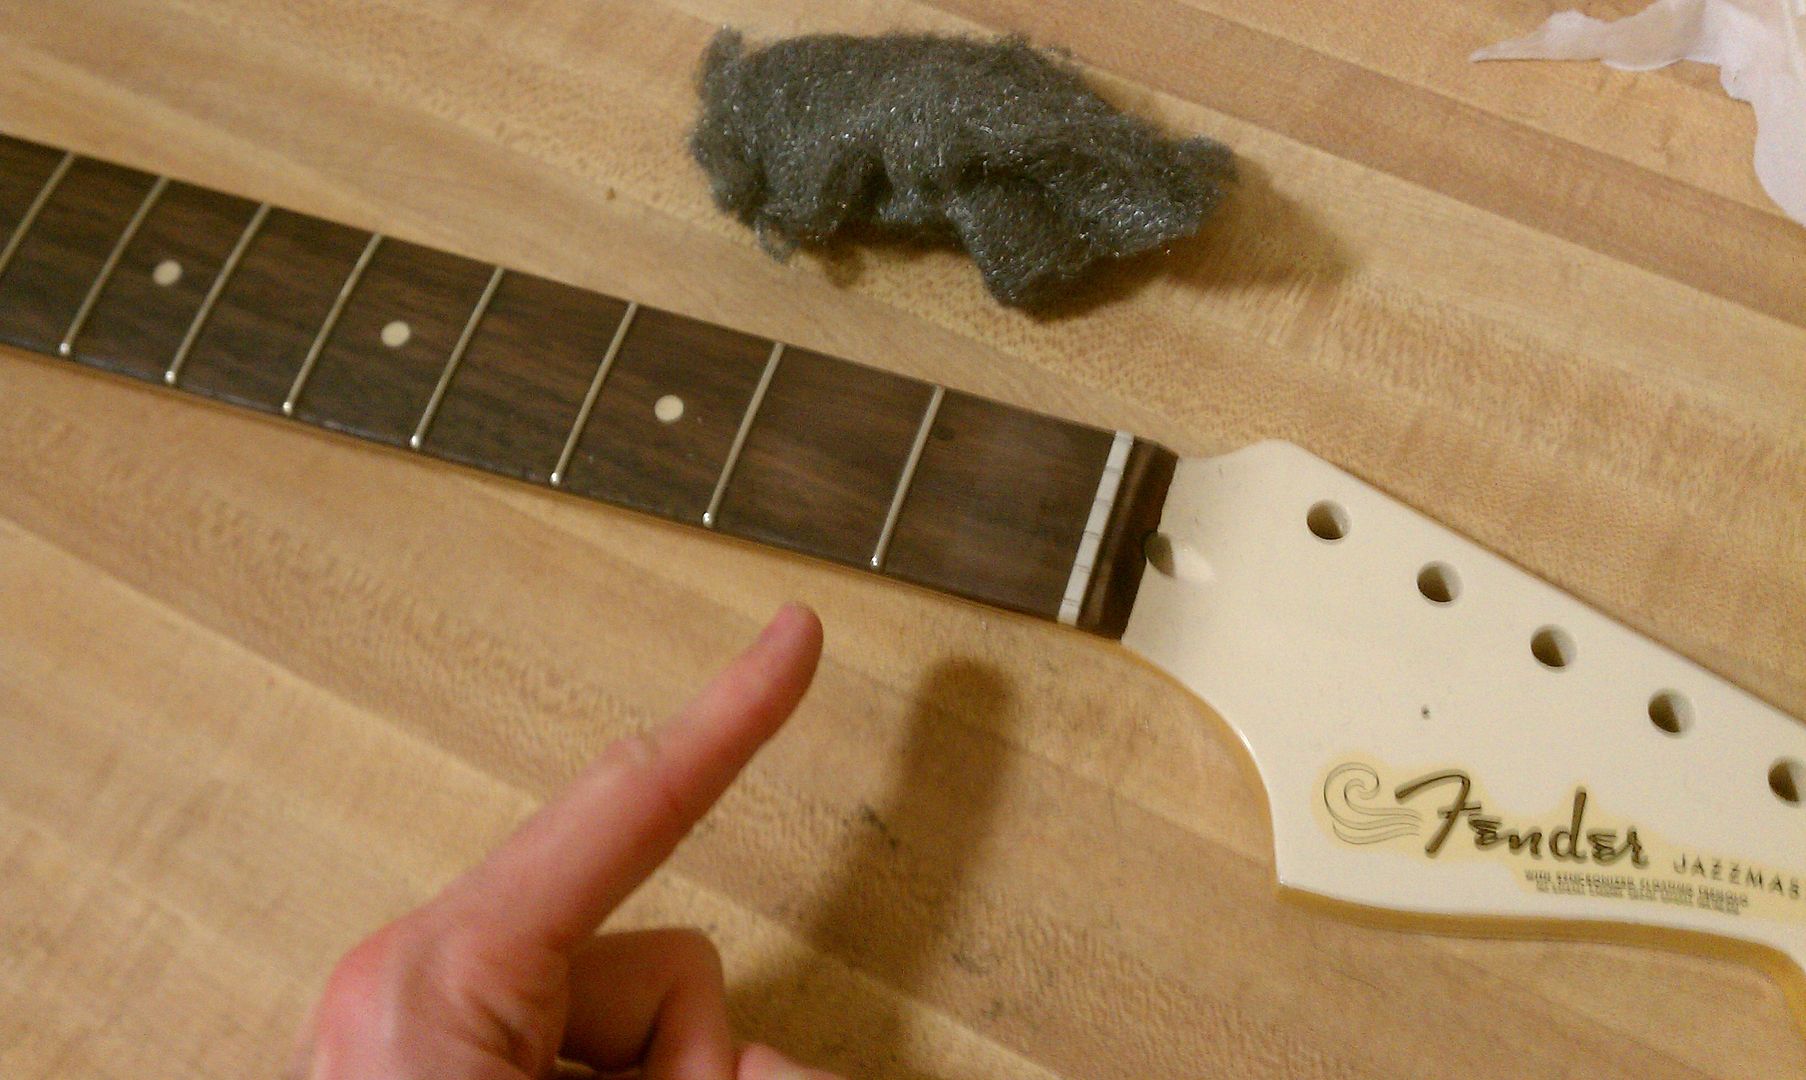
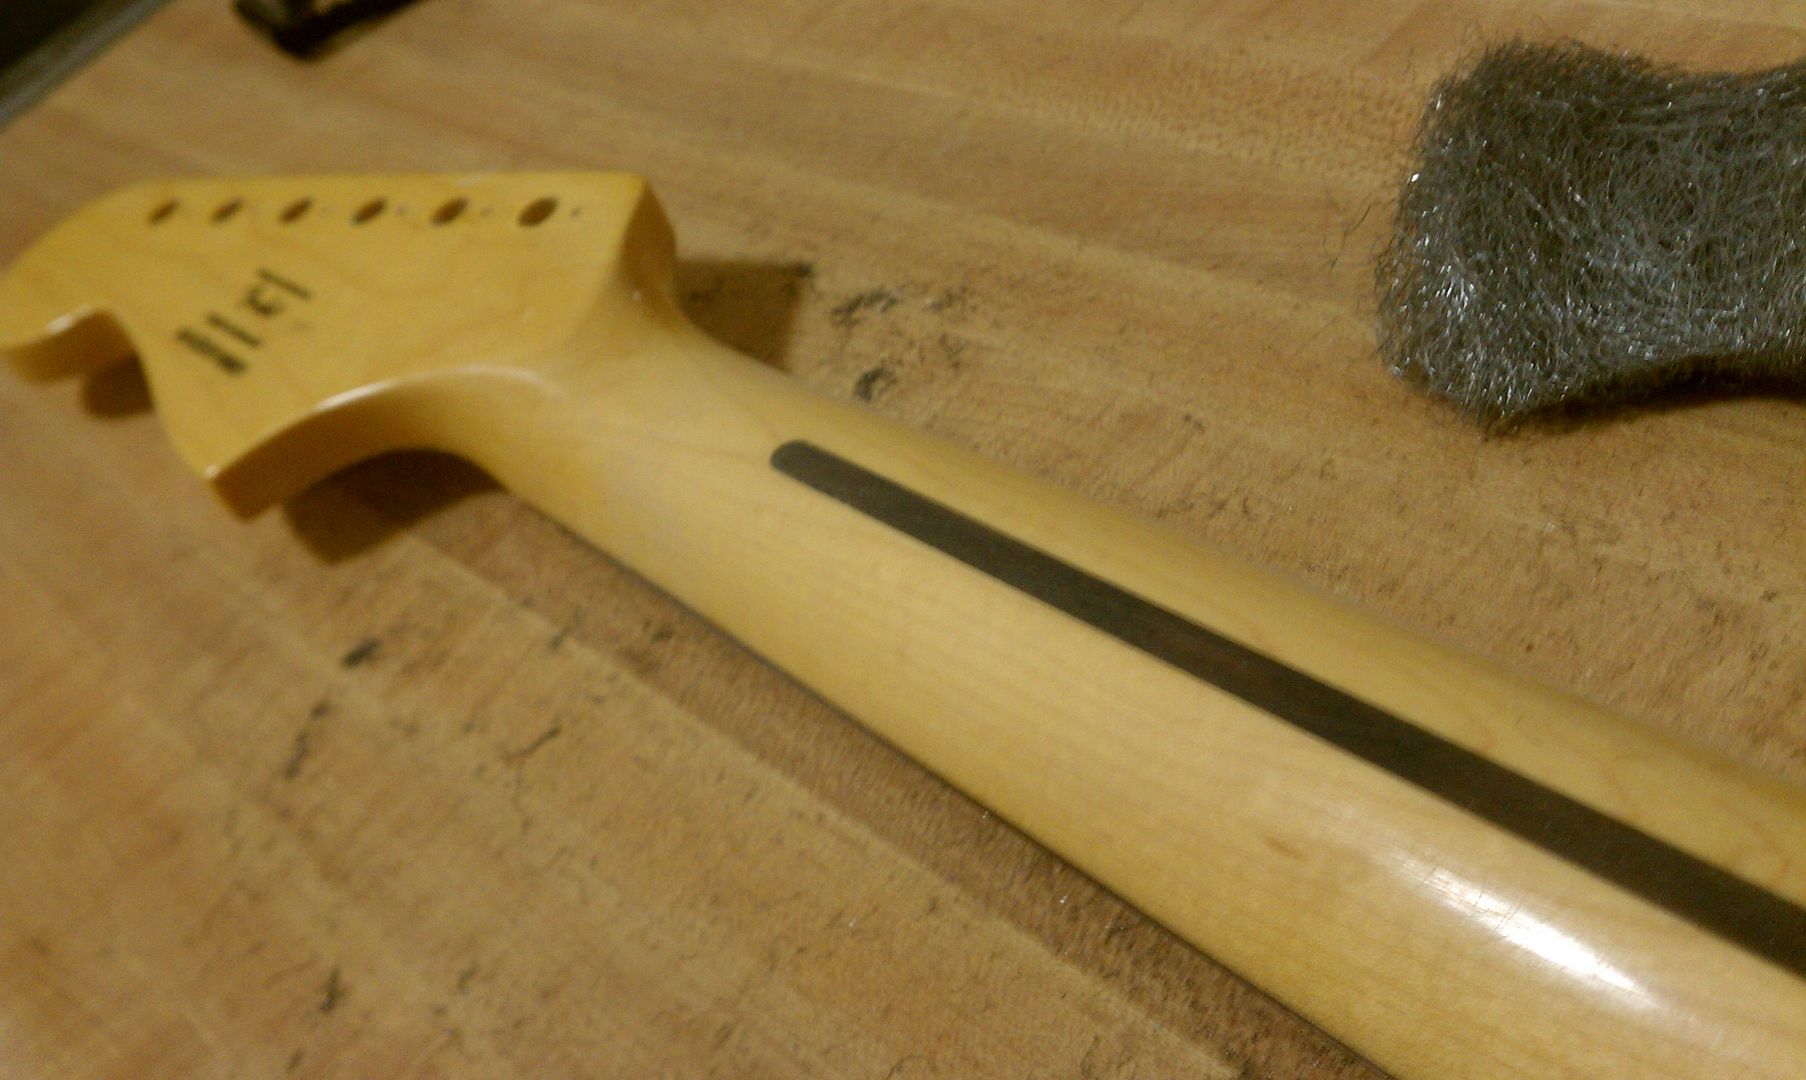
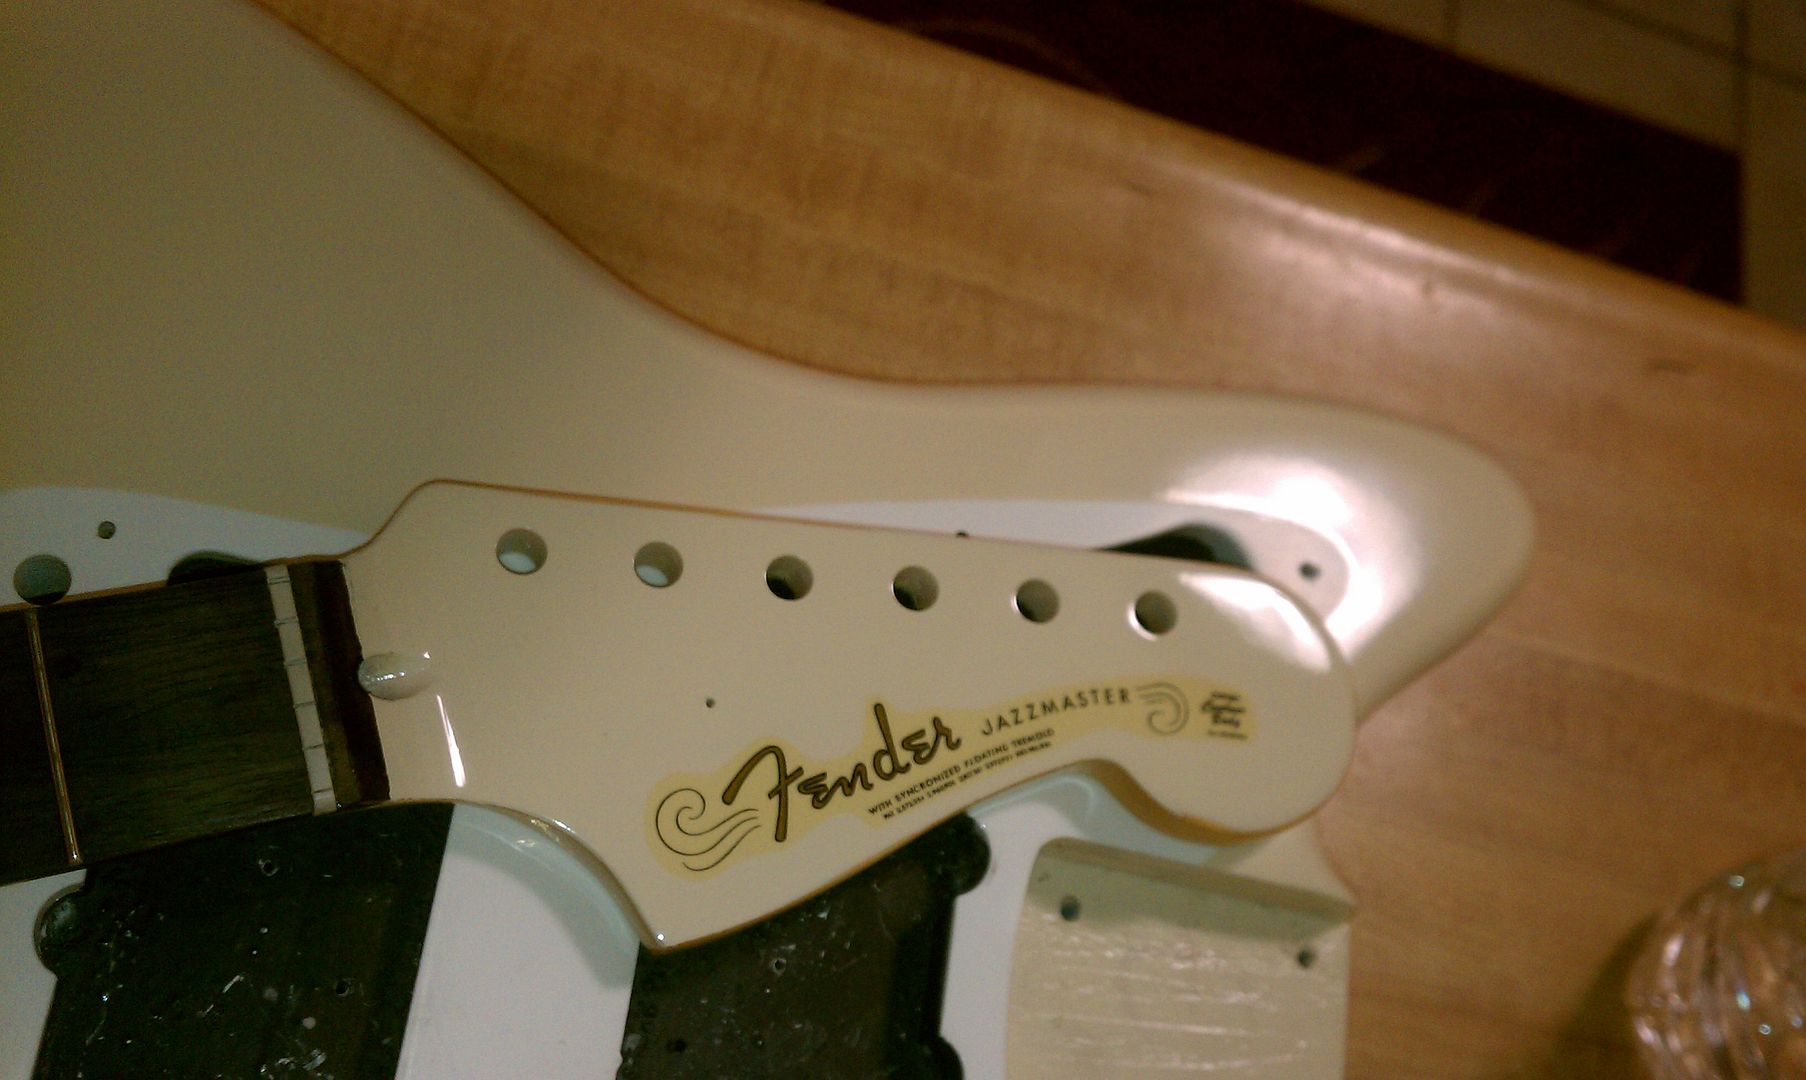
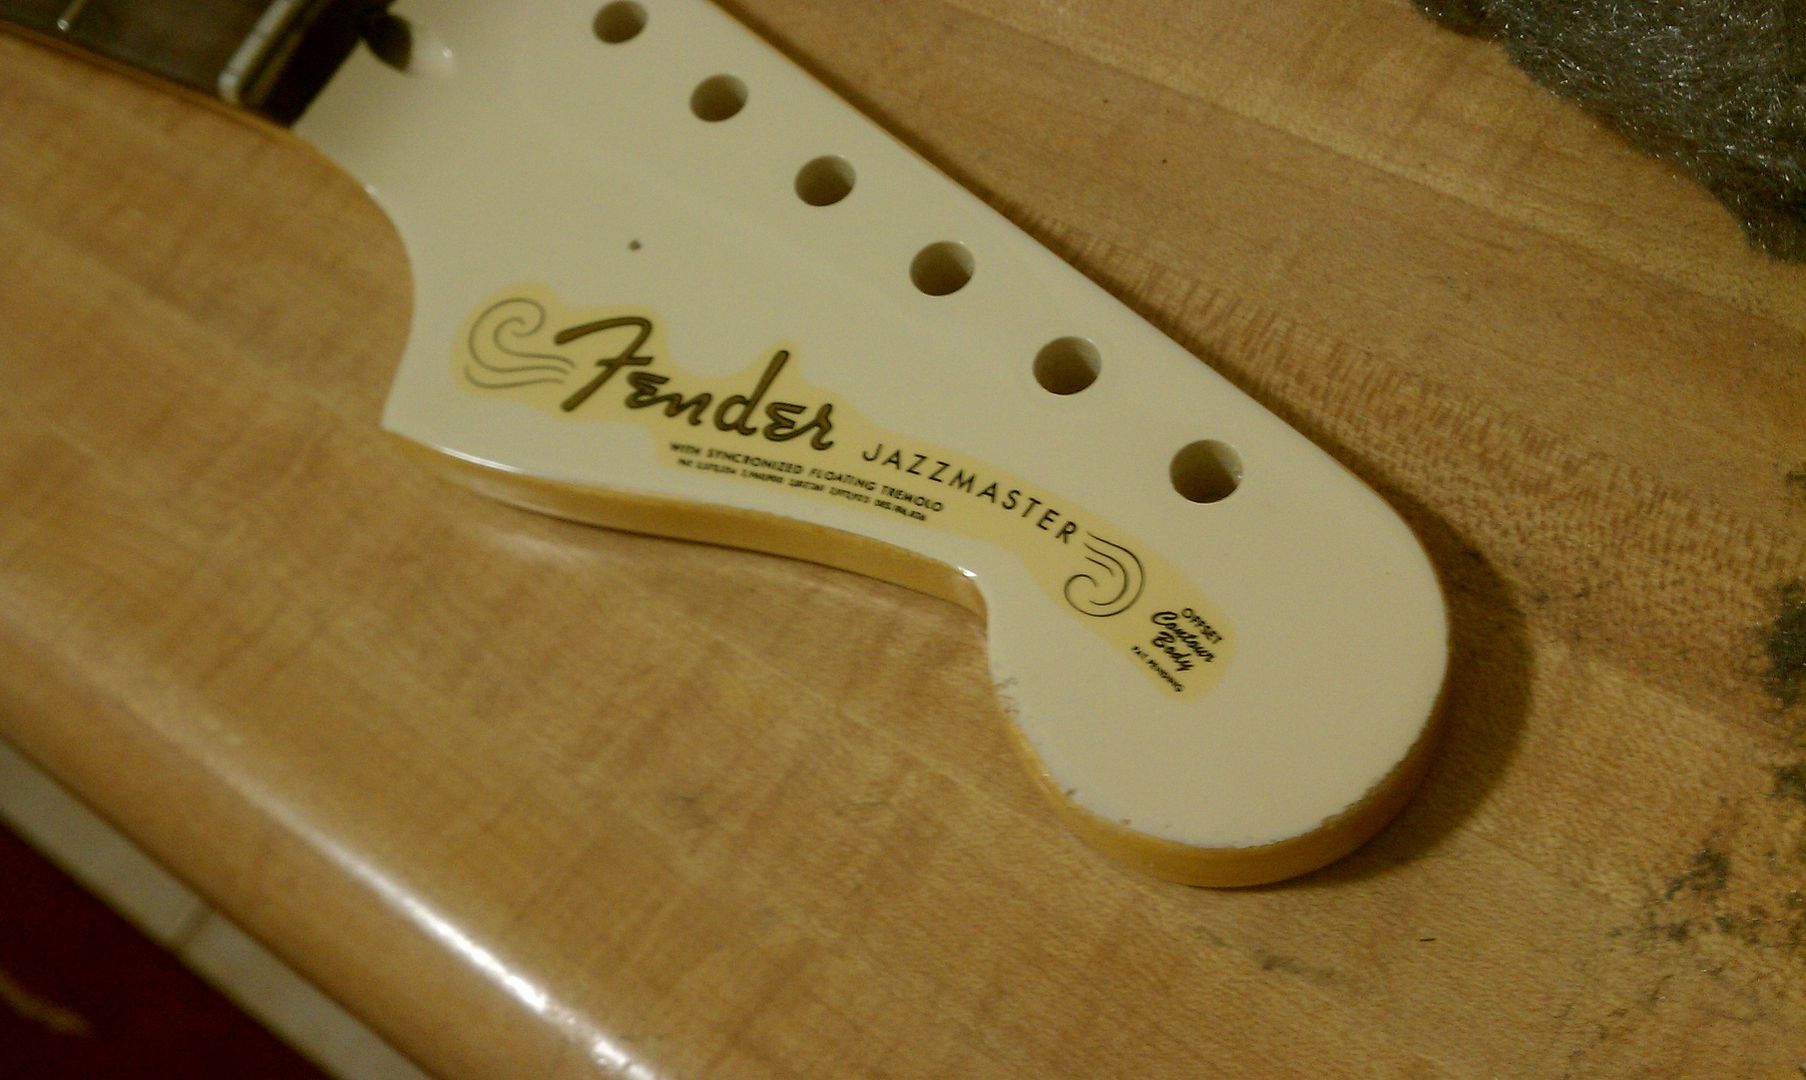
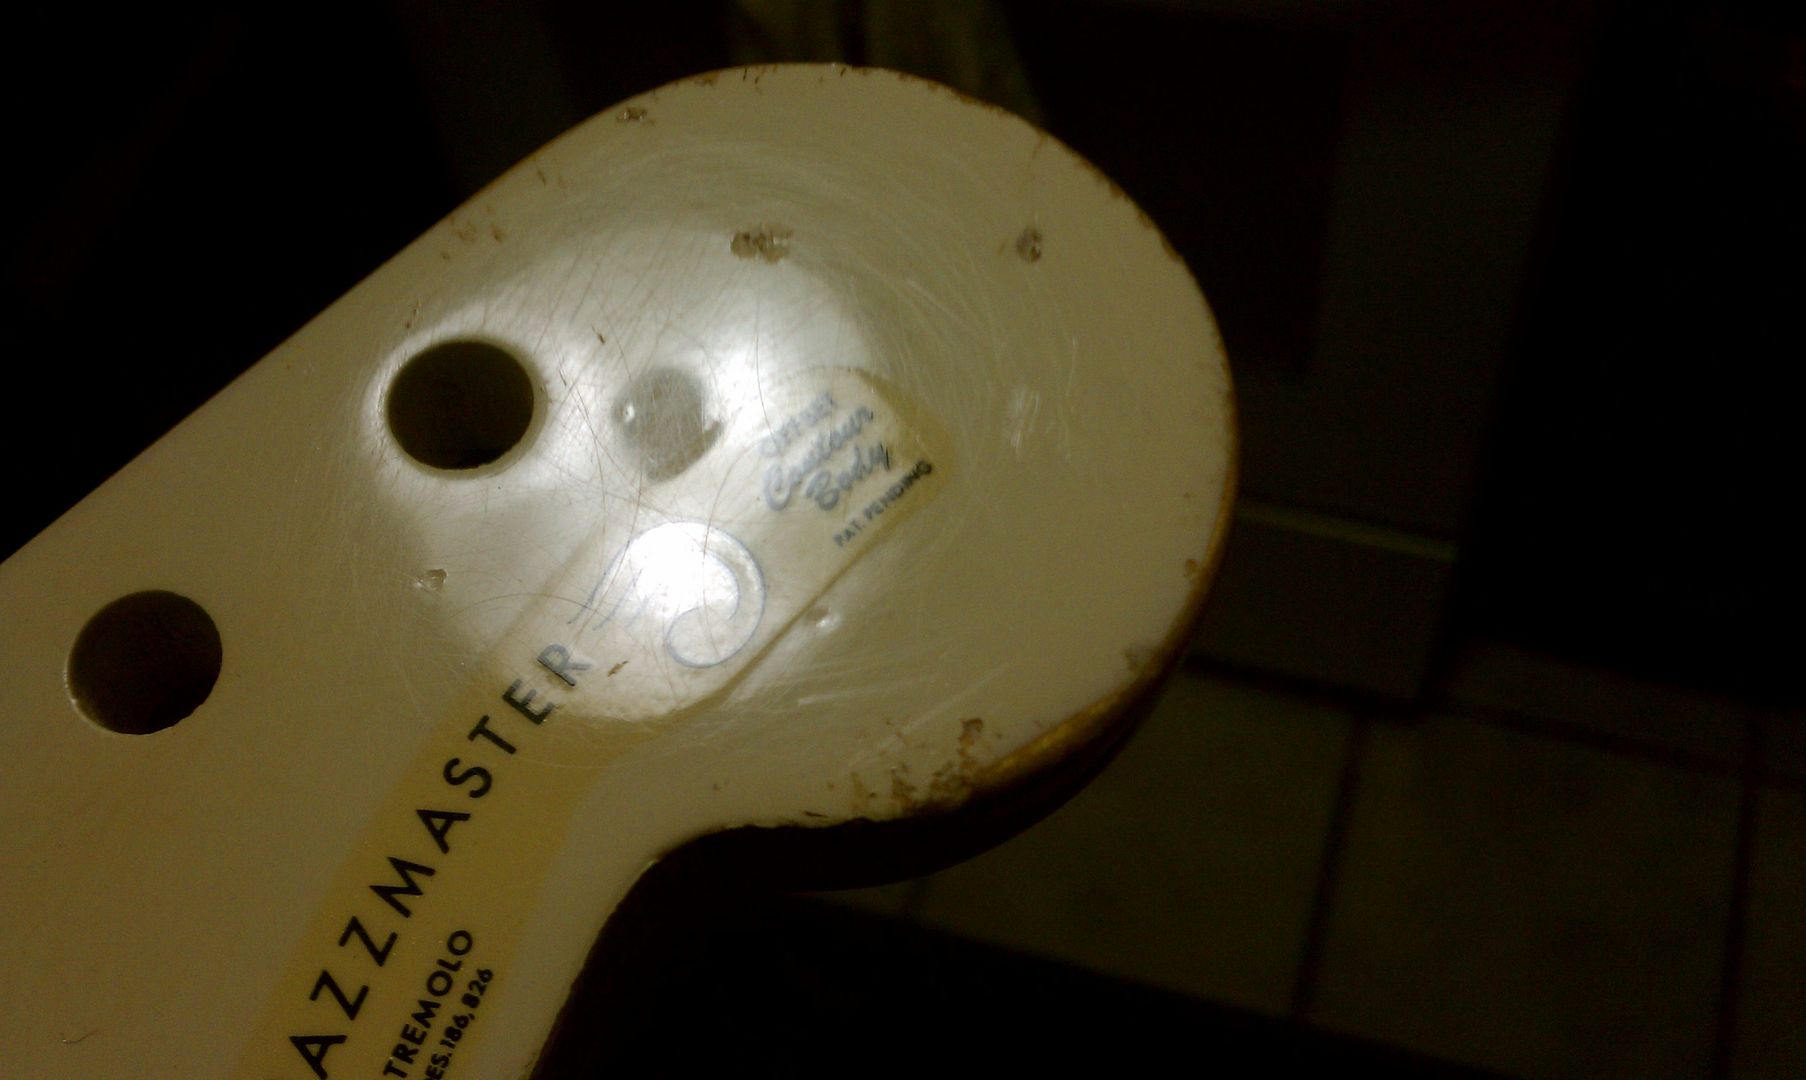
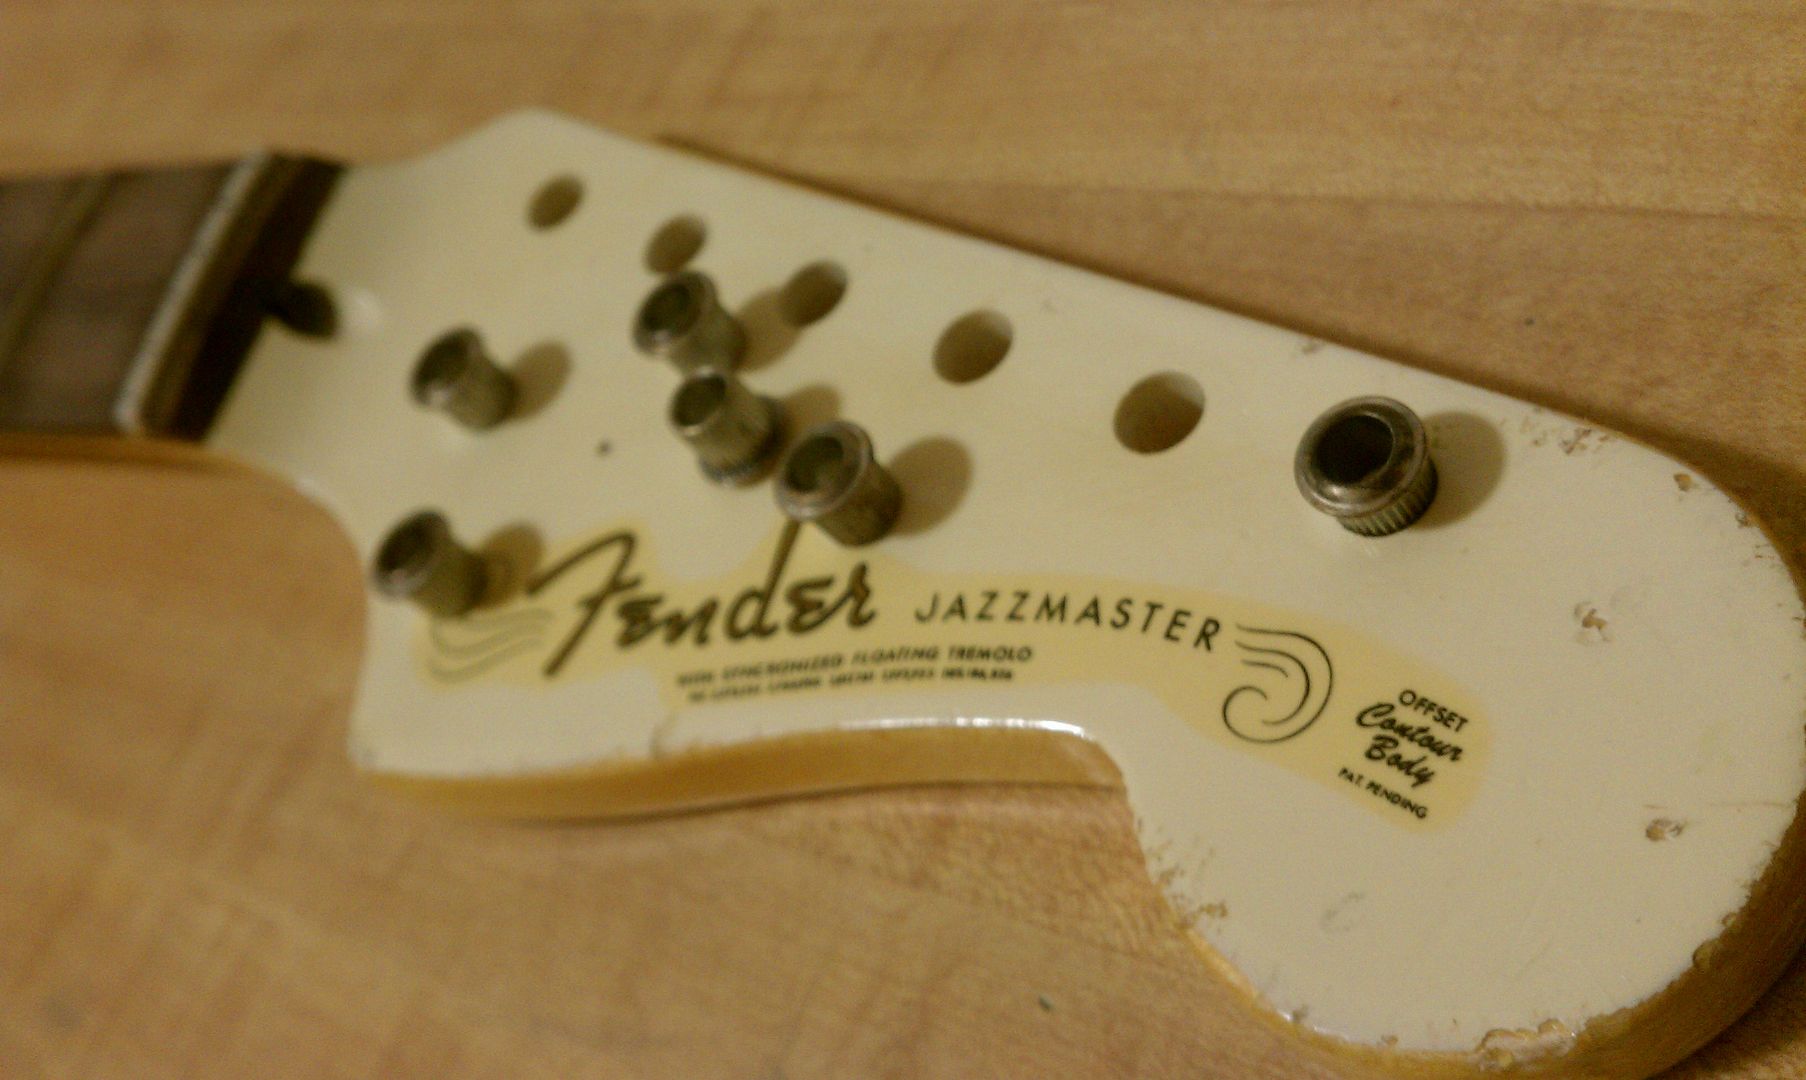
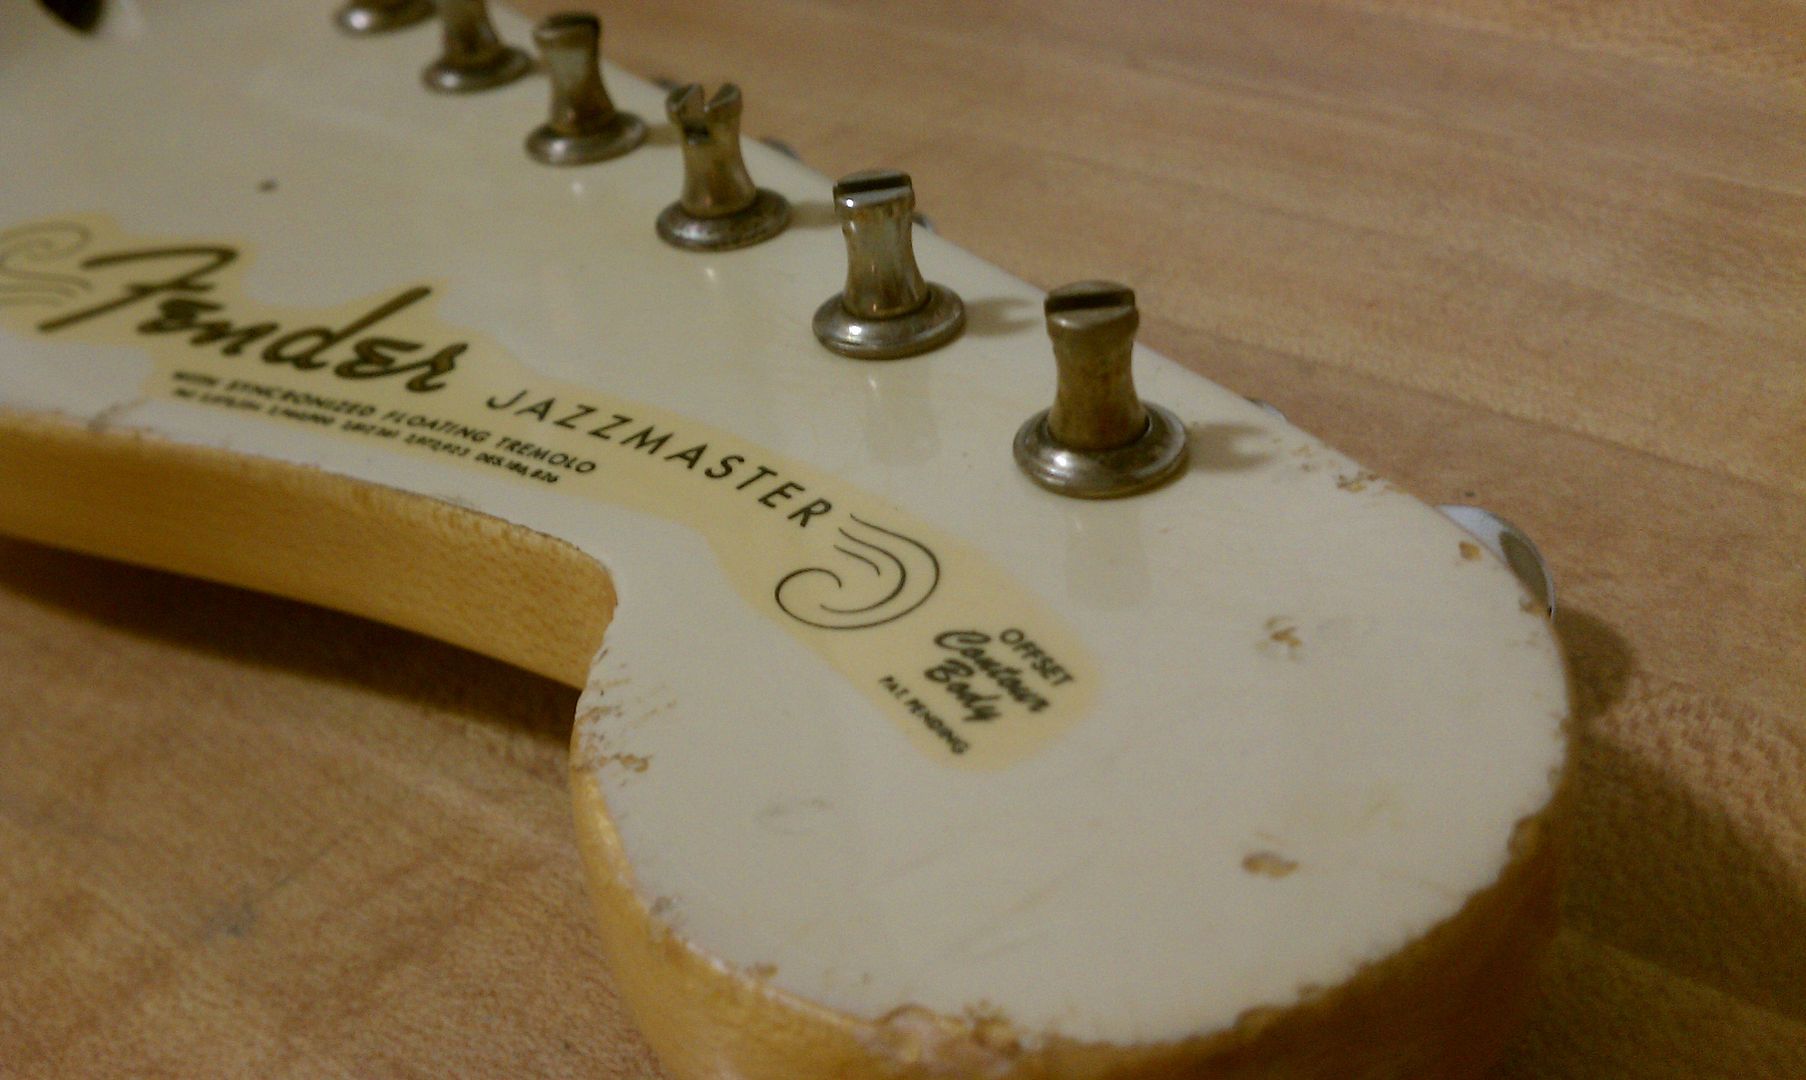
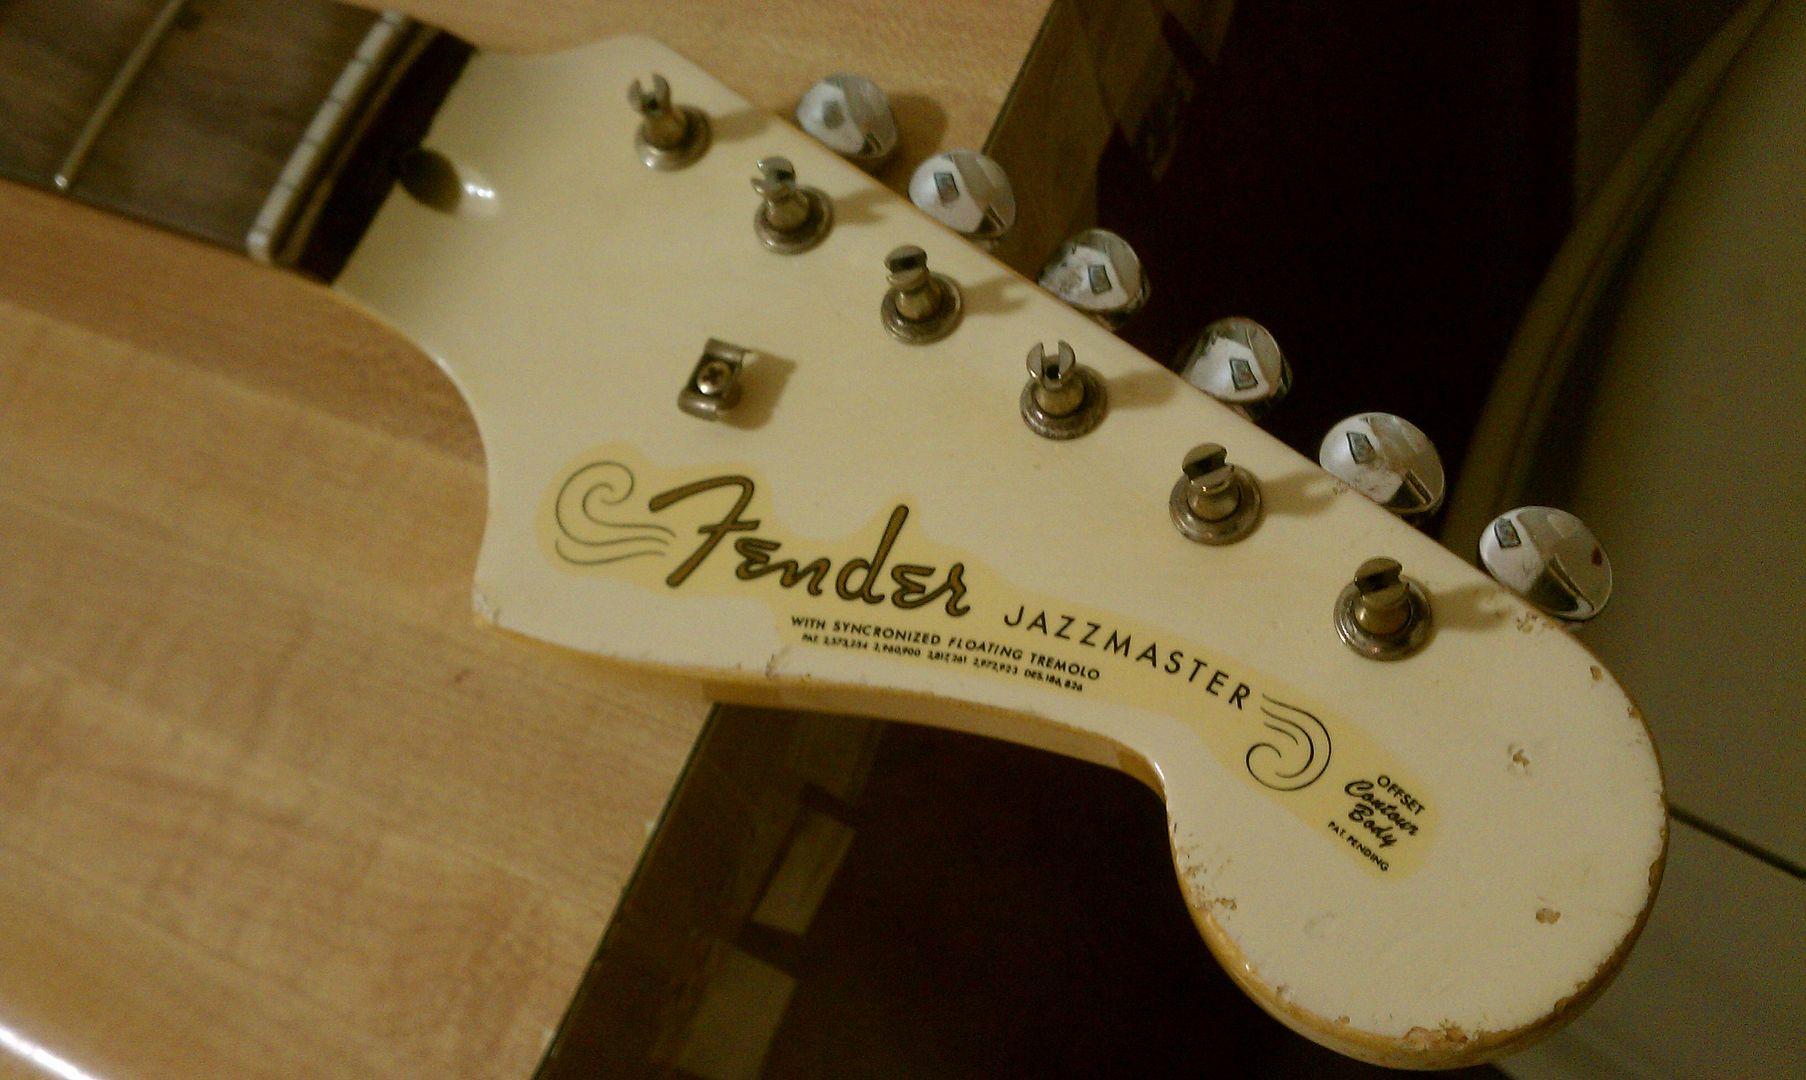
Doing the headstock was fun. I really took it though realistic scenarios trying to get it just right. Not too much, but not too little either. I am very happy with it.

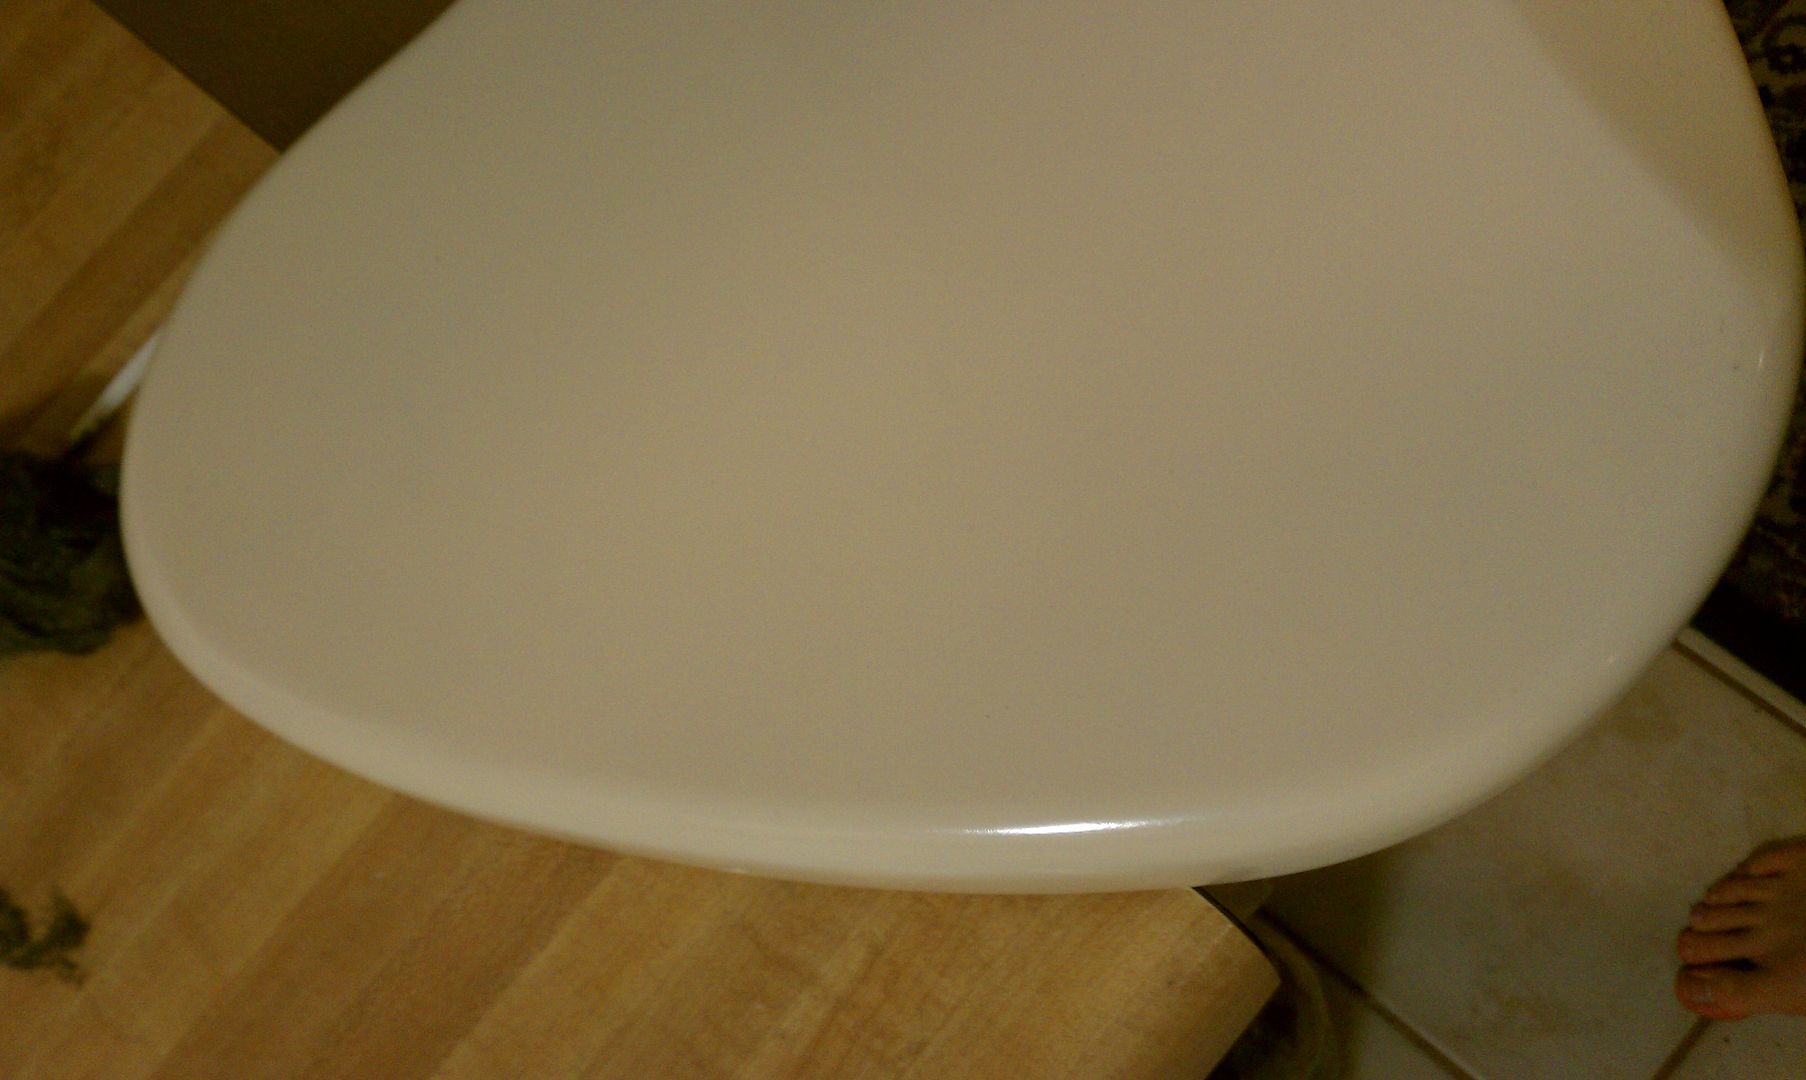
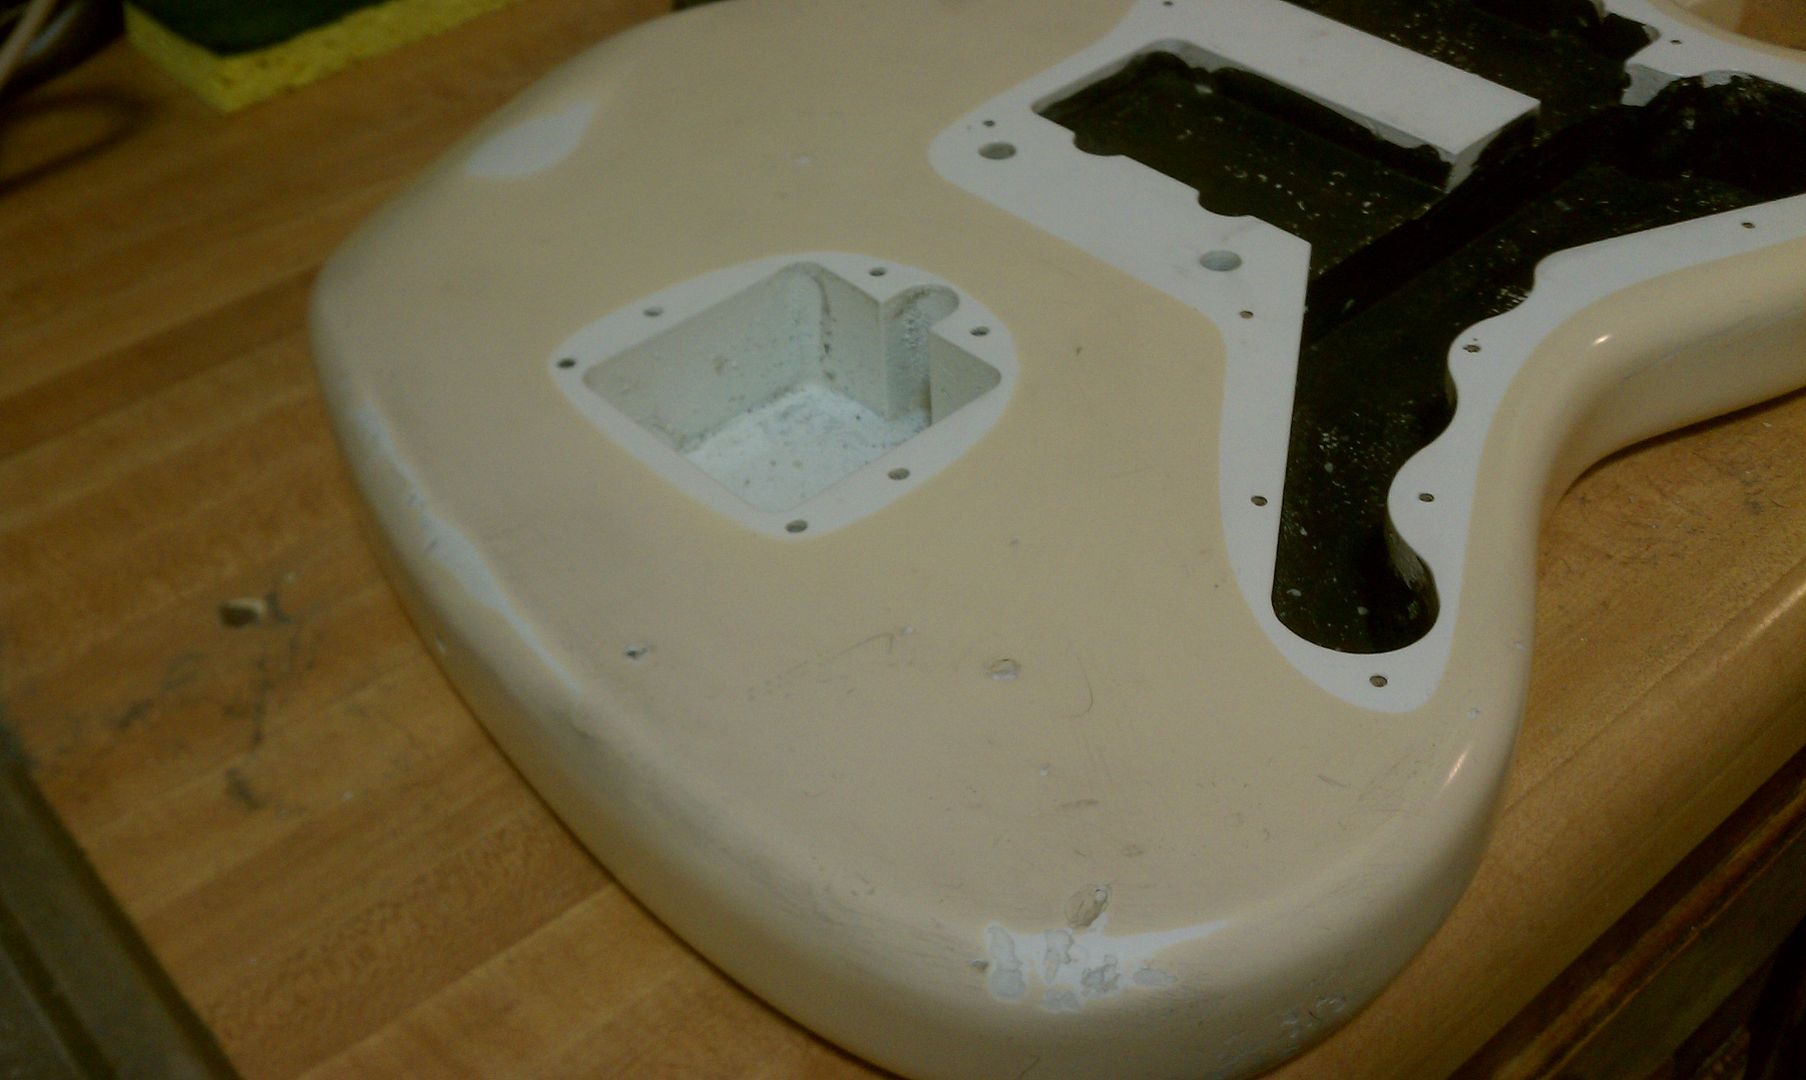
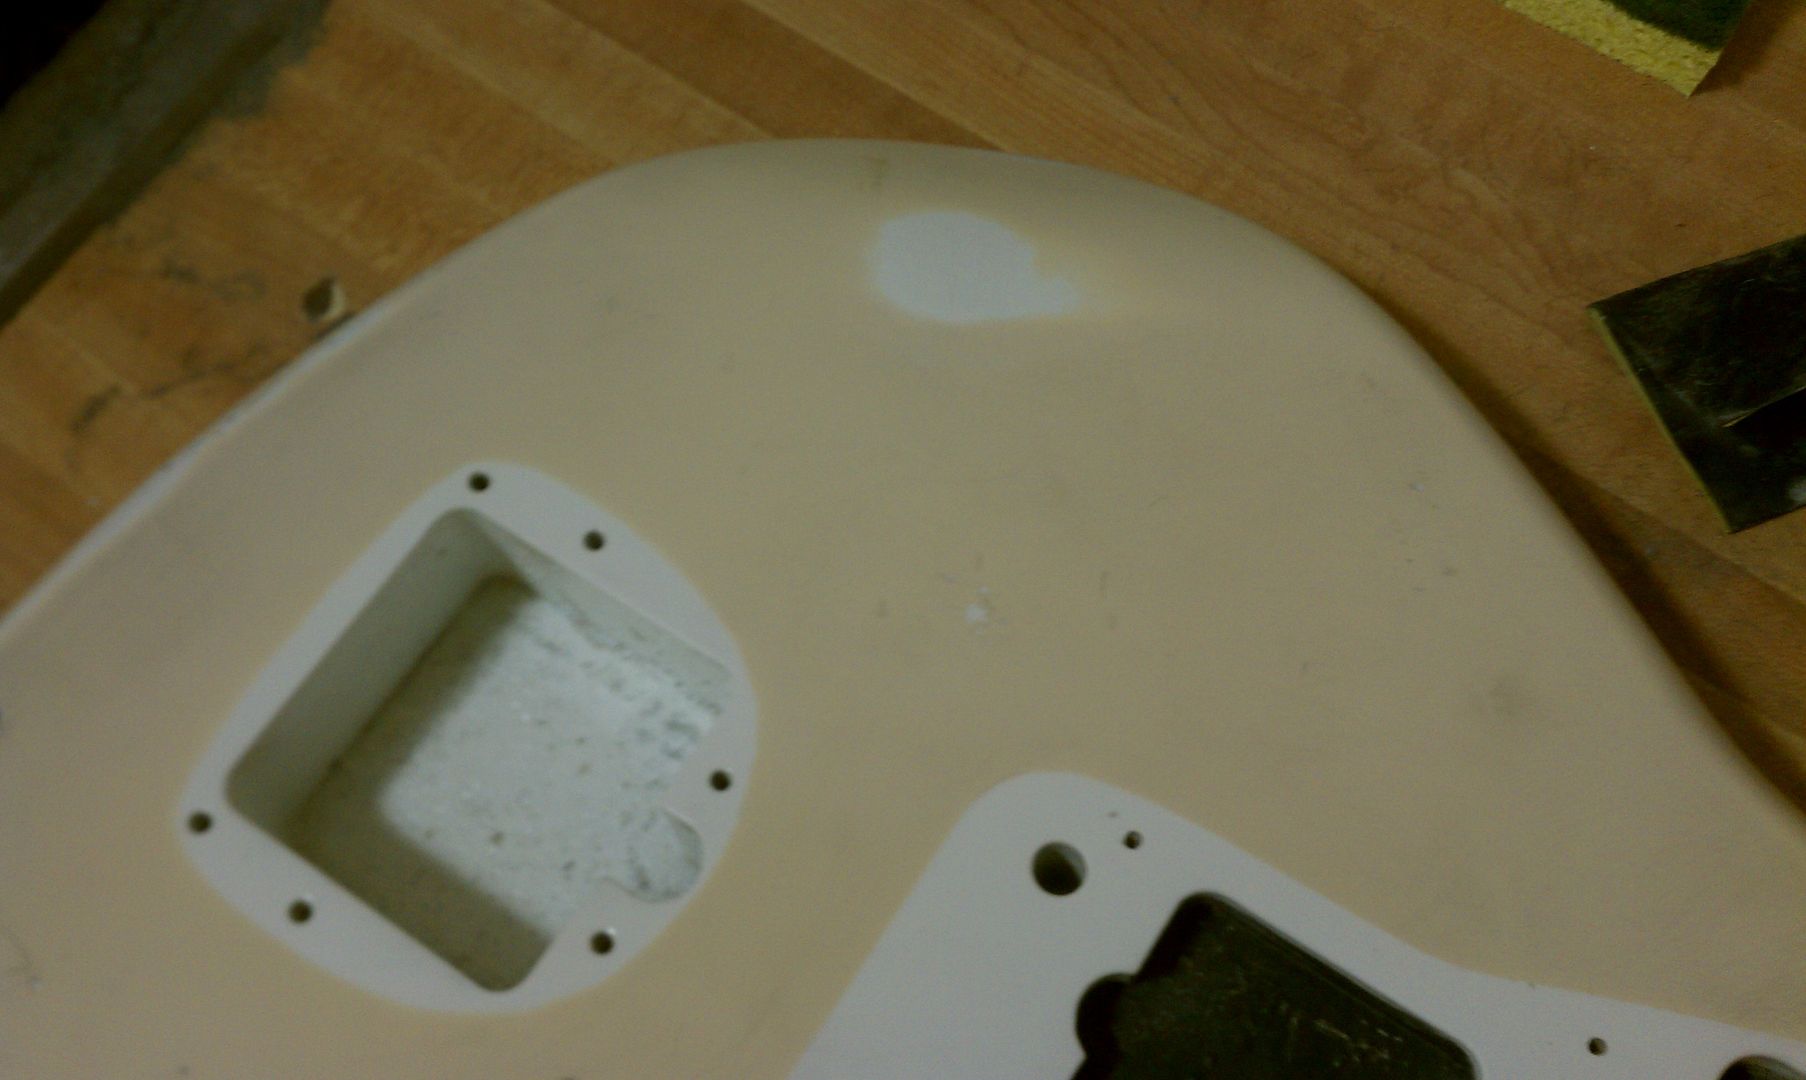
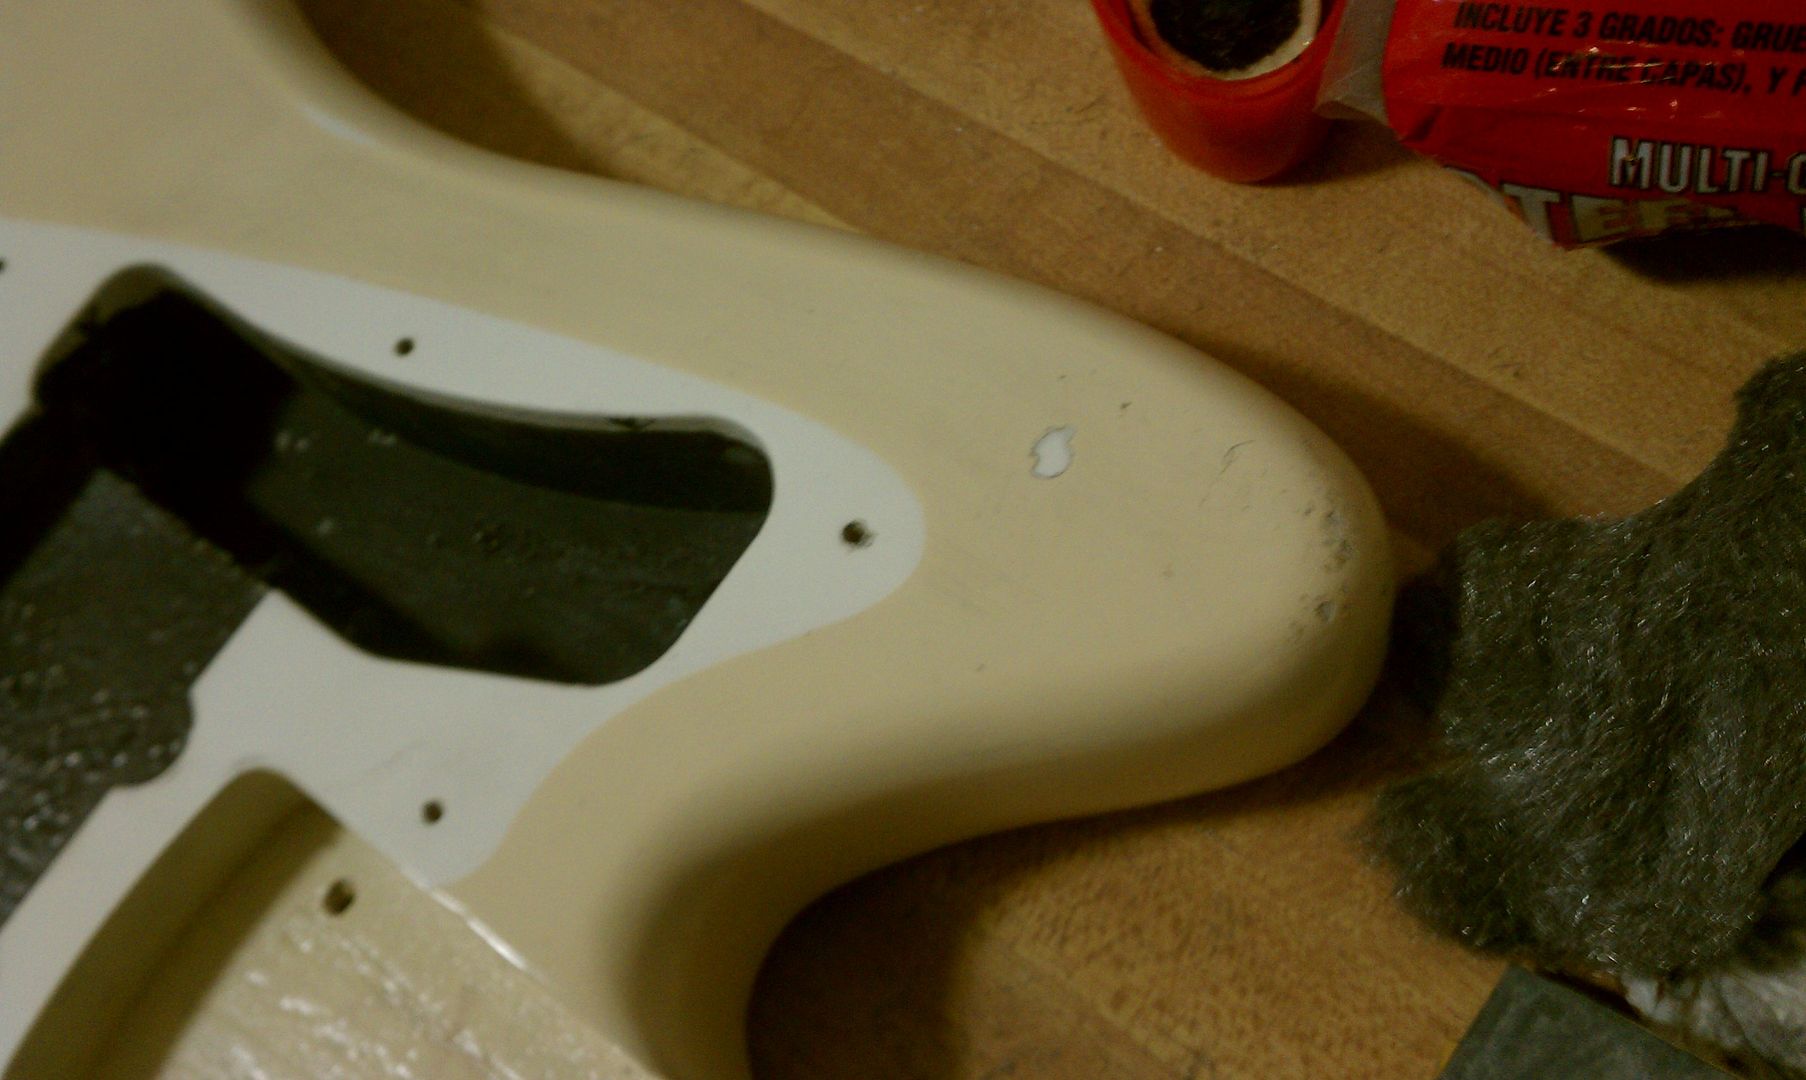
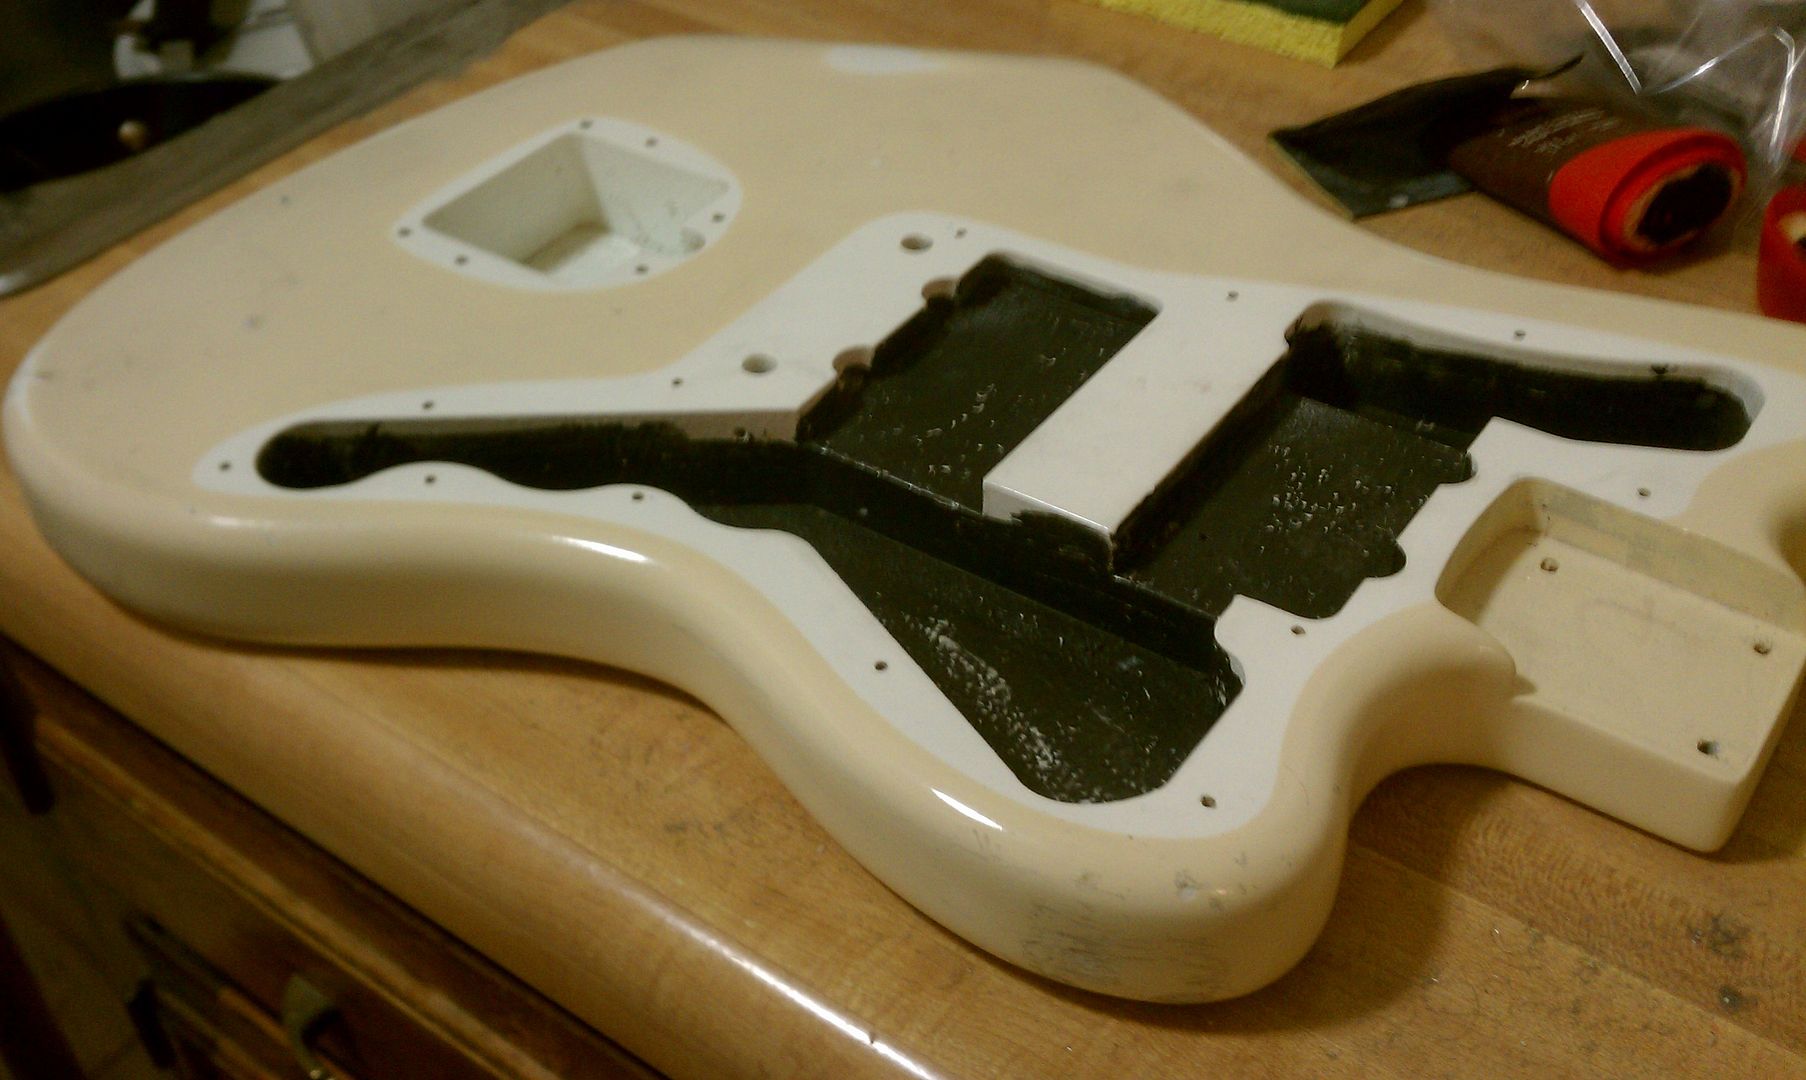
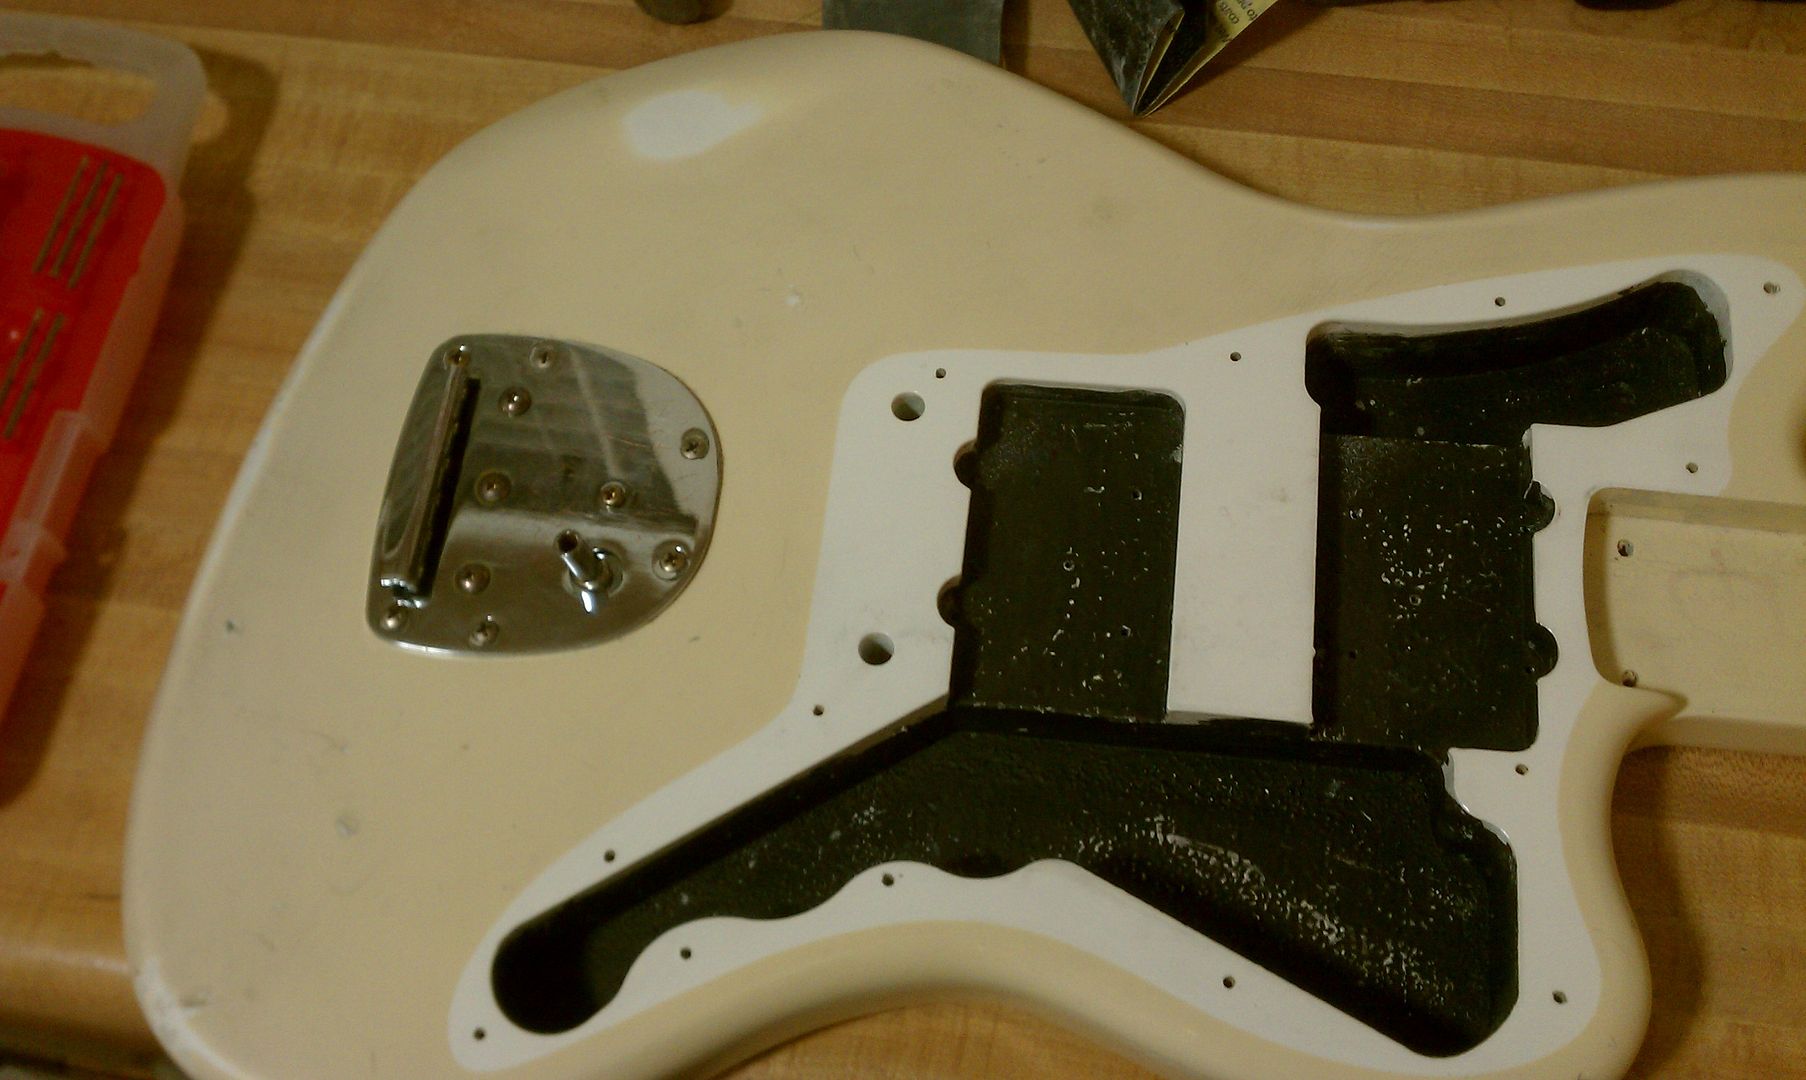
Now for the body. This was fun. I started working the arm contour cutout with sand paper, but I did so many clear coats this wasn't enough. I used steal wool to get quickly deep into the finish. Worked very well. I did circular motions until the white started showing through. I then took a finer steal wool and smoothed out the area. Finally I used some 1000 grit to blend and remove any obvious relic spots.
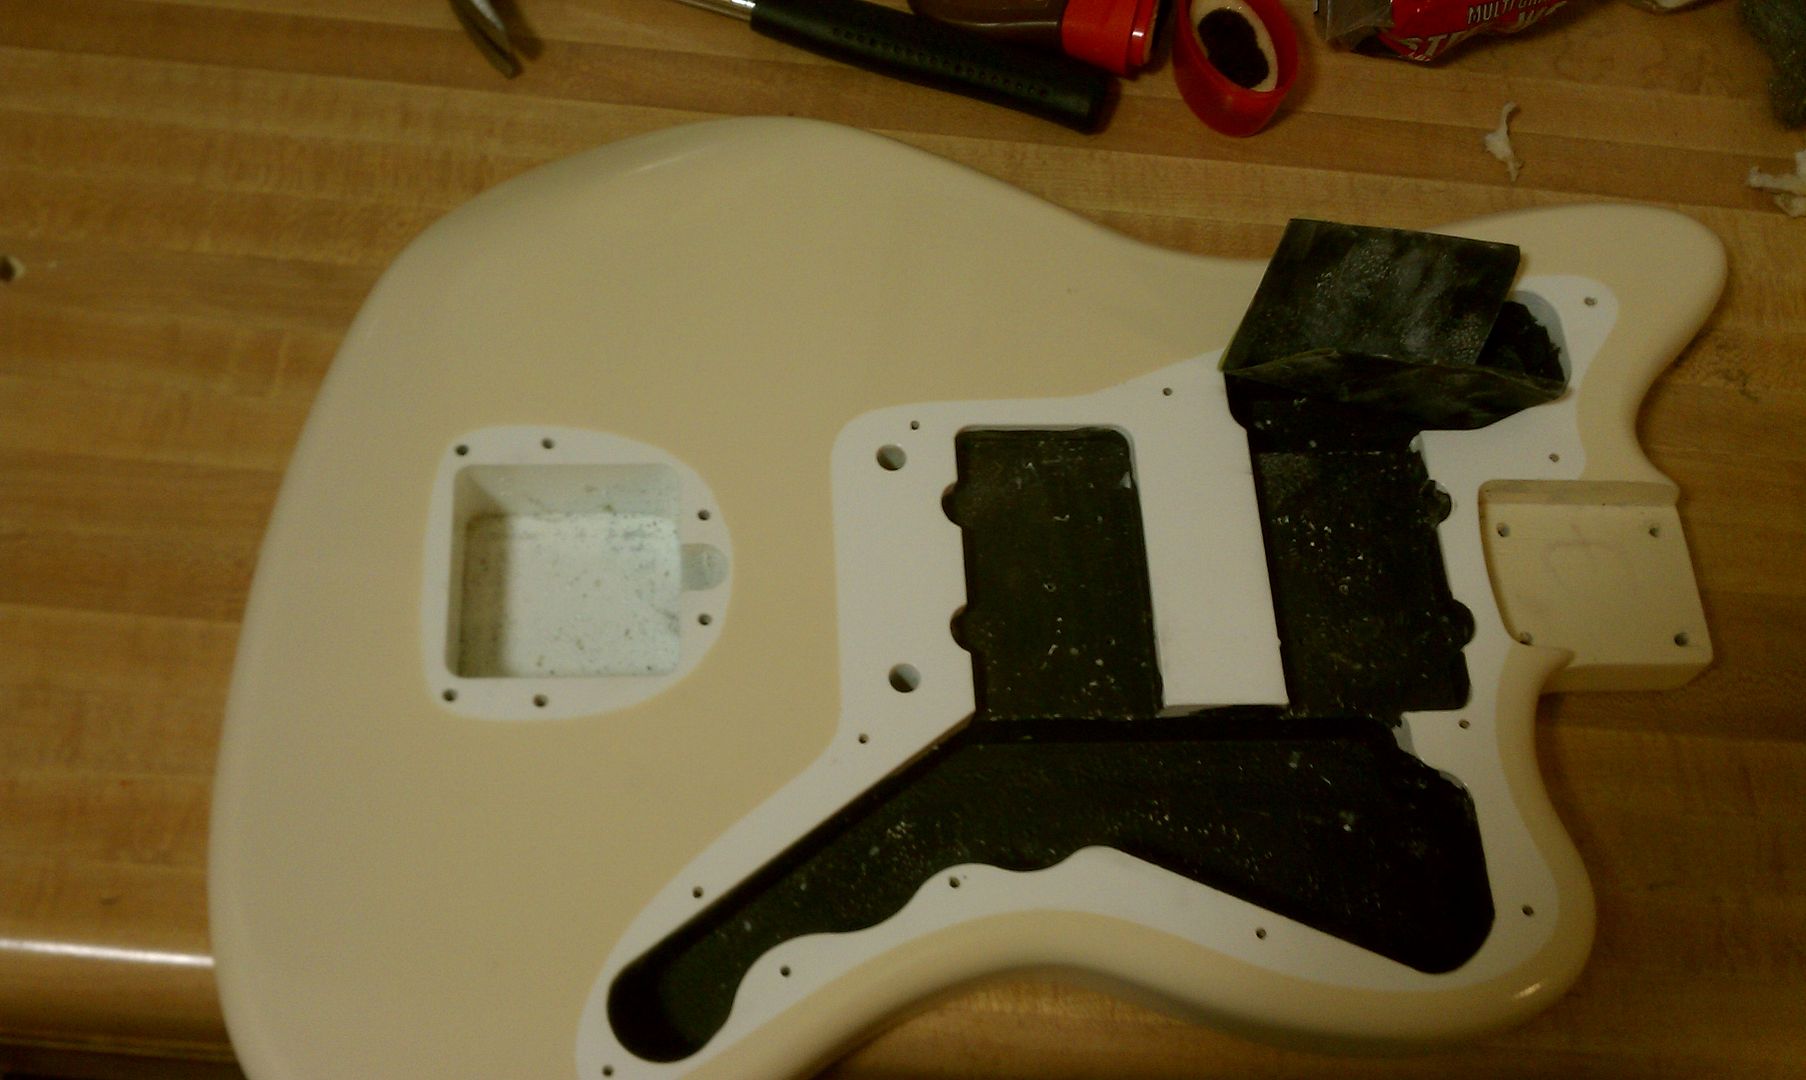
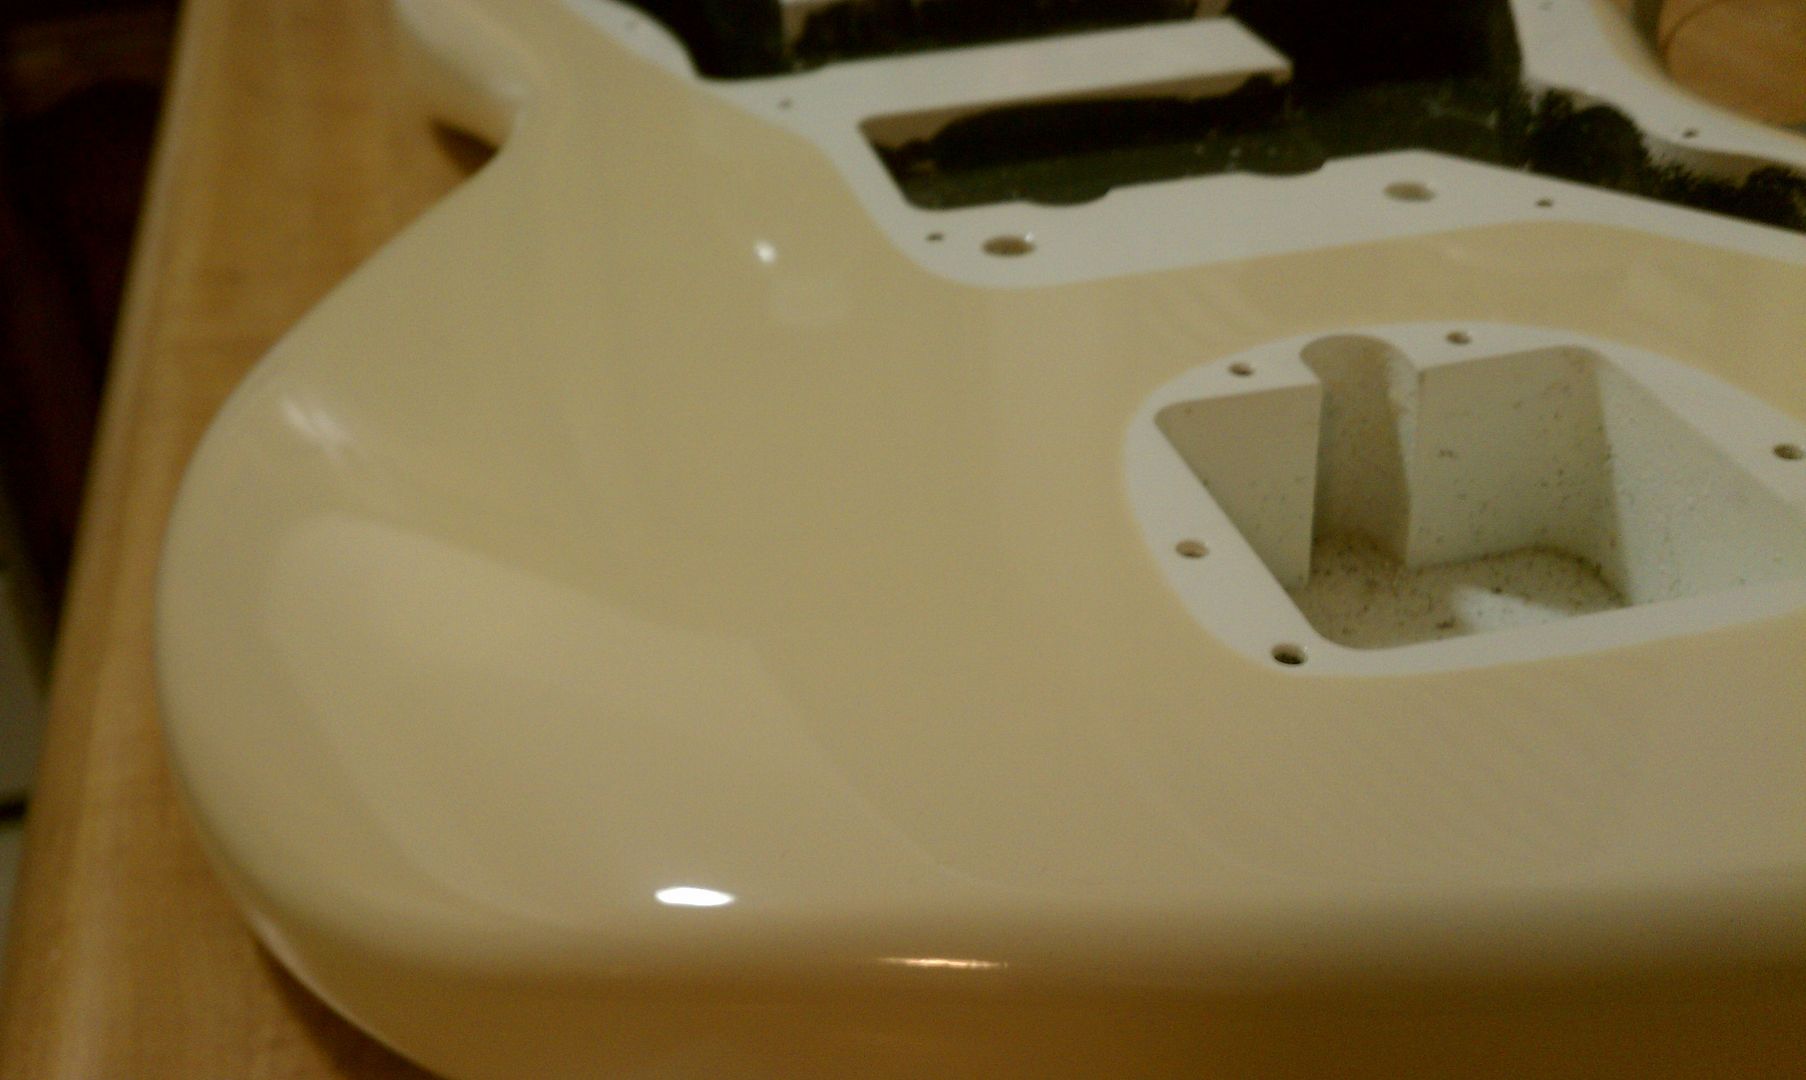
Squire fortunately provided me with some nice dirty fx dust inside the cavity of the guitar. I used this to smear around into the cracks, scratches, and chips. It seems to stick deep into the finish. Even washing it off with soap and water didn't work. I had to sand with 1000 grit to remove it to my liking. Looks really cool and authentic in person.

Here it is after sanding off the charcoal/lead weird stuff. Sticks in the cracks nicely and makes for a nice dirty look with lots of history on it.

Installing hardware.
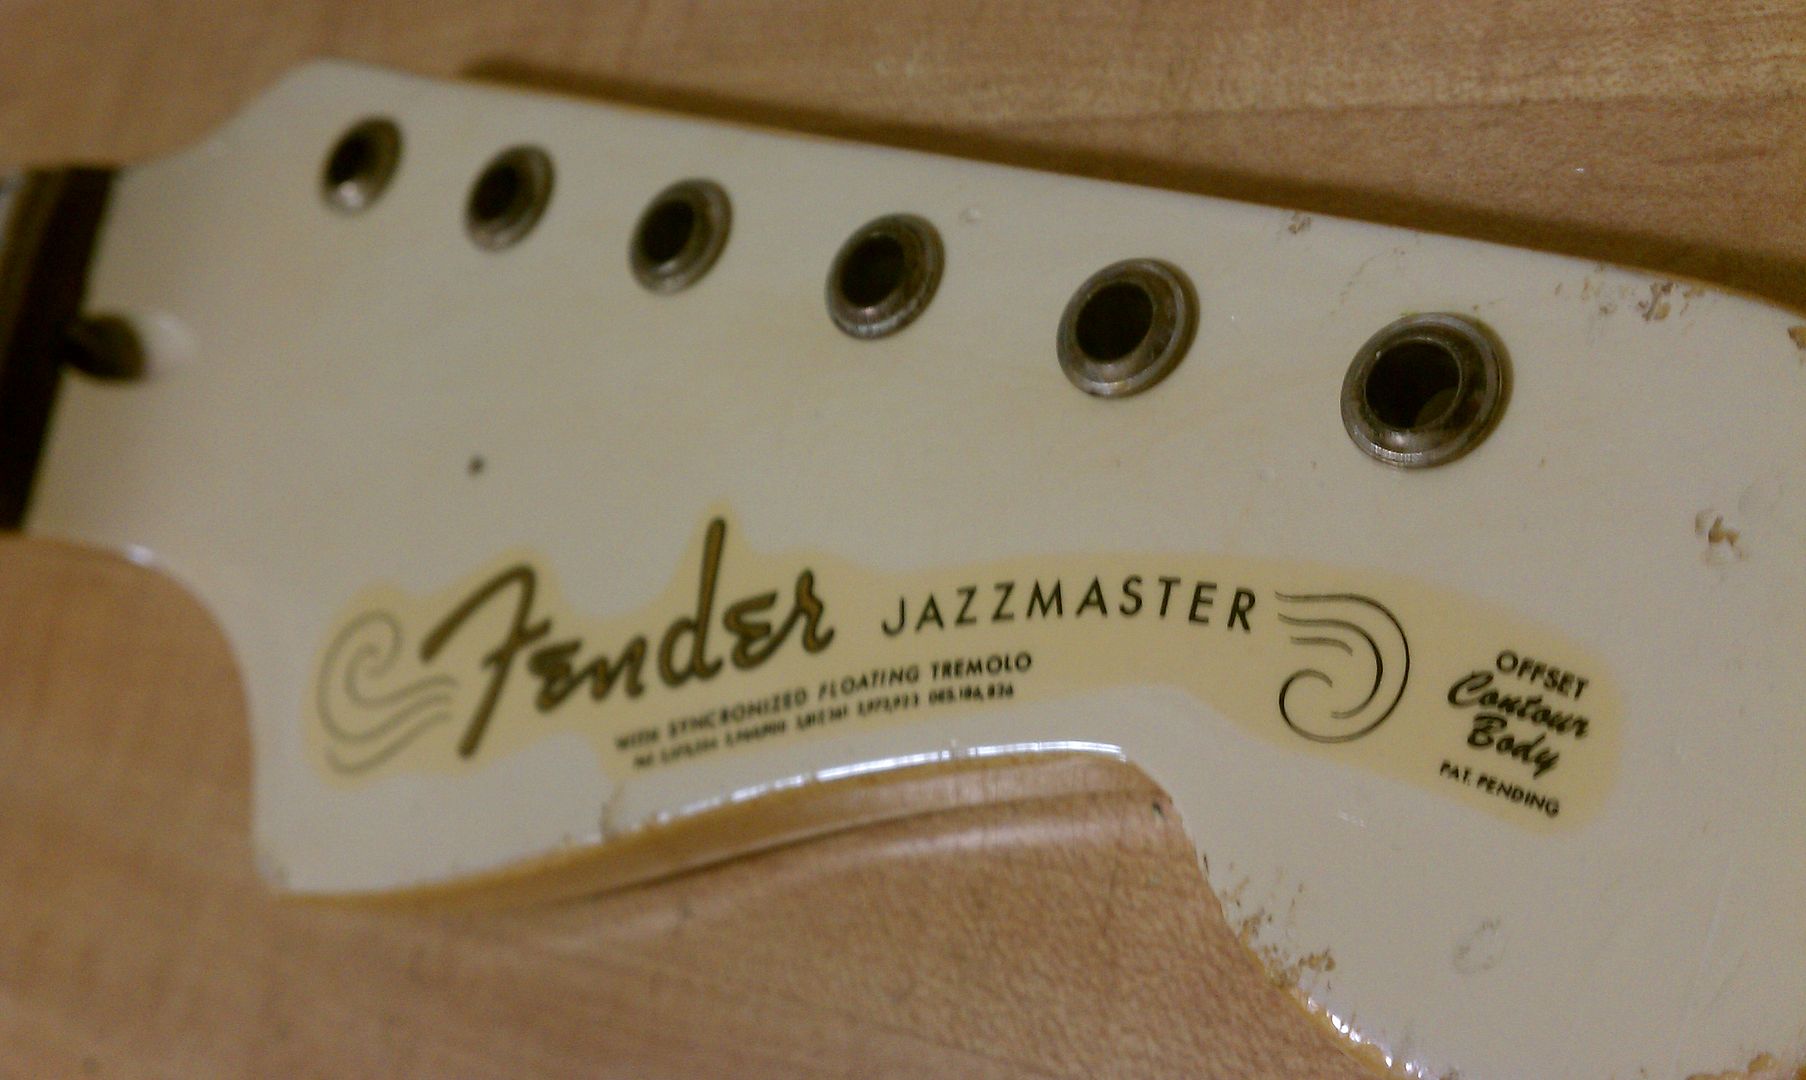
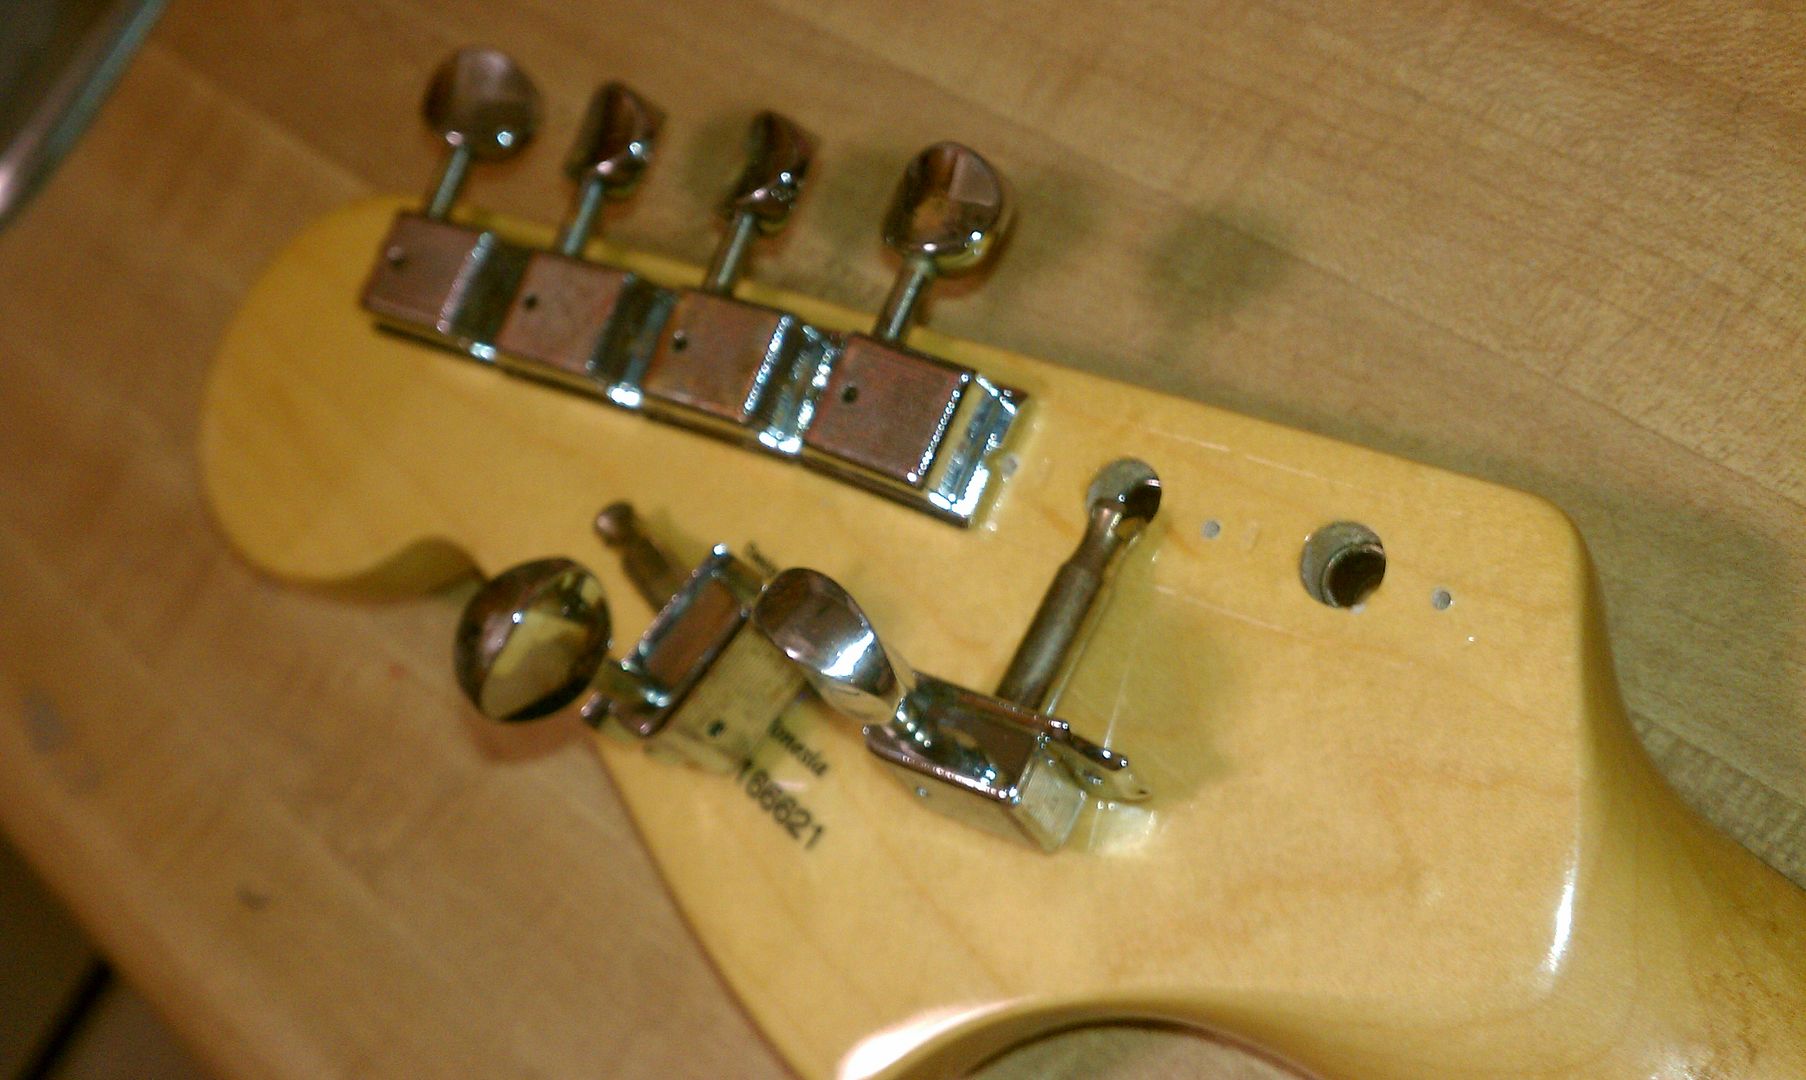

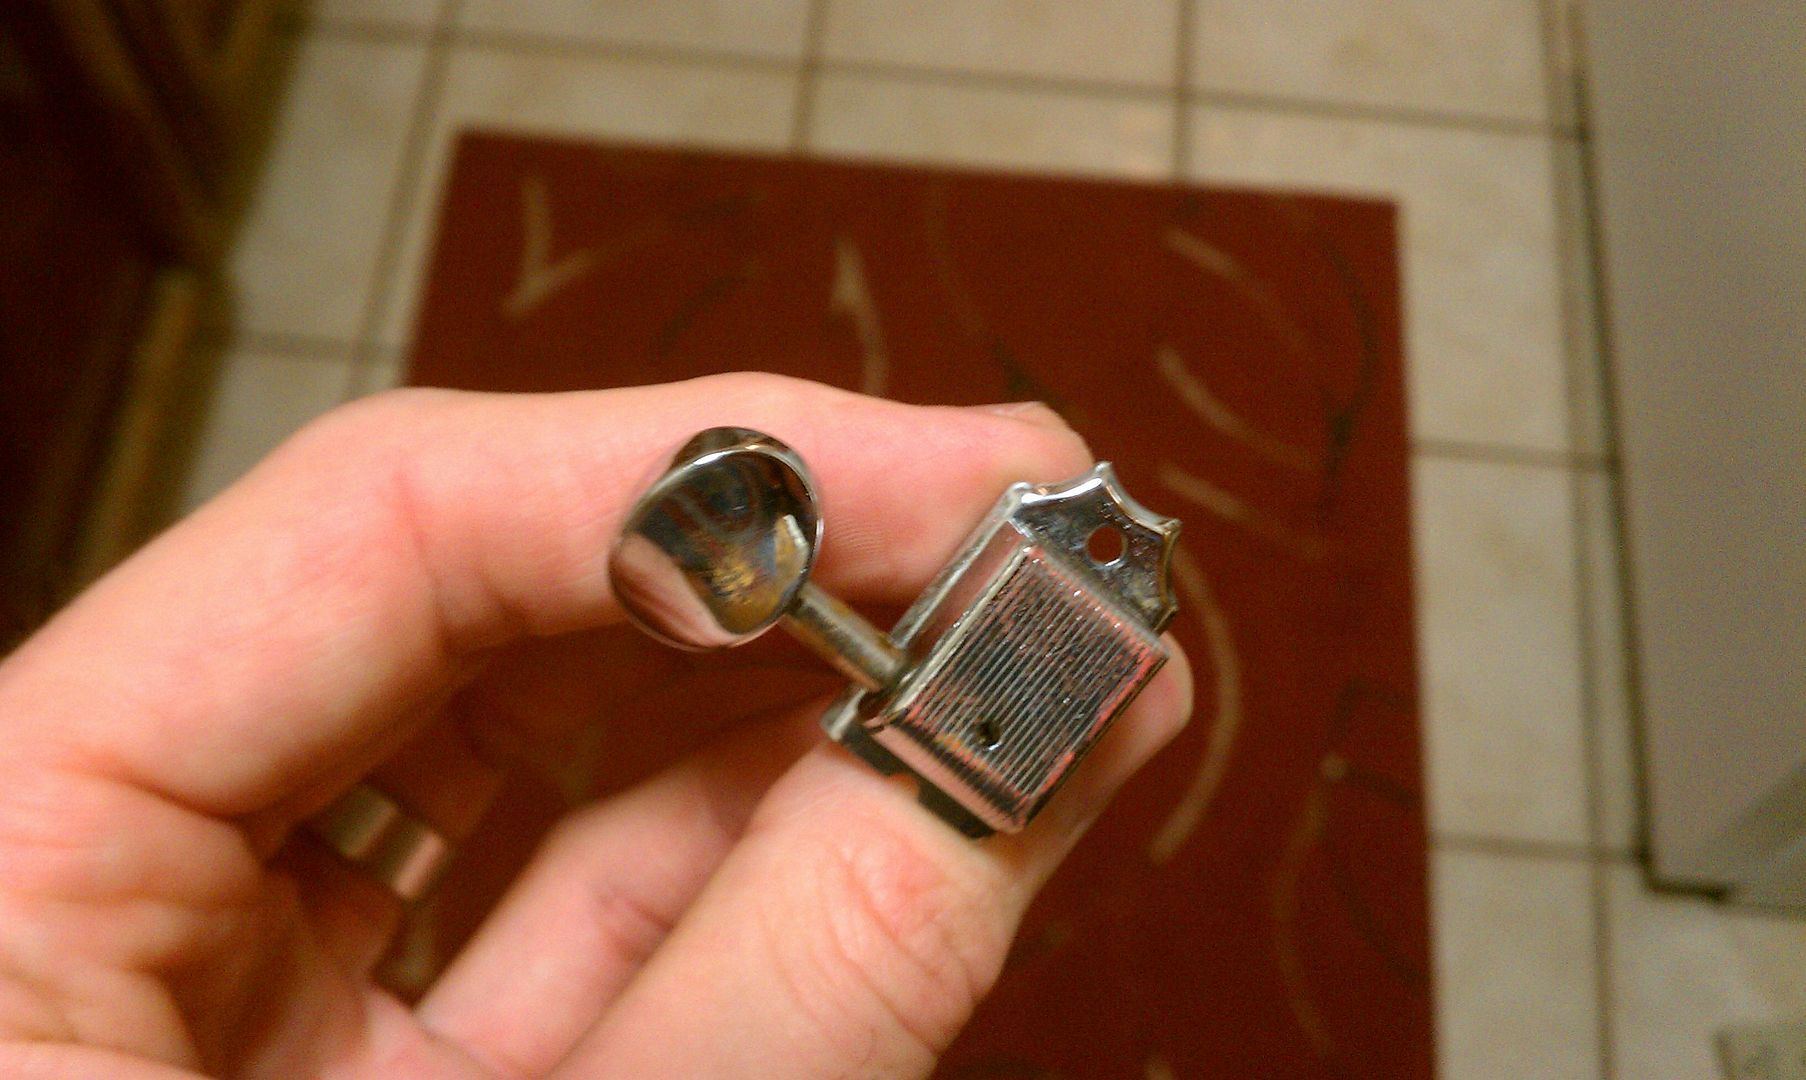
Nice patina on the tuners
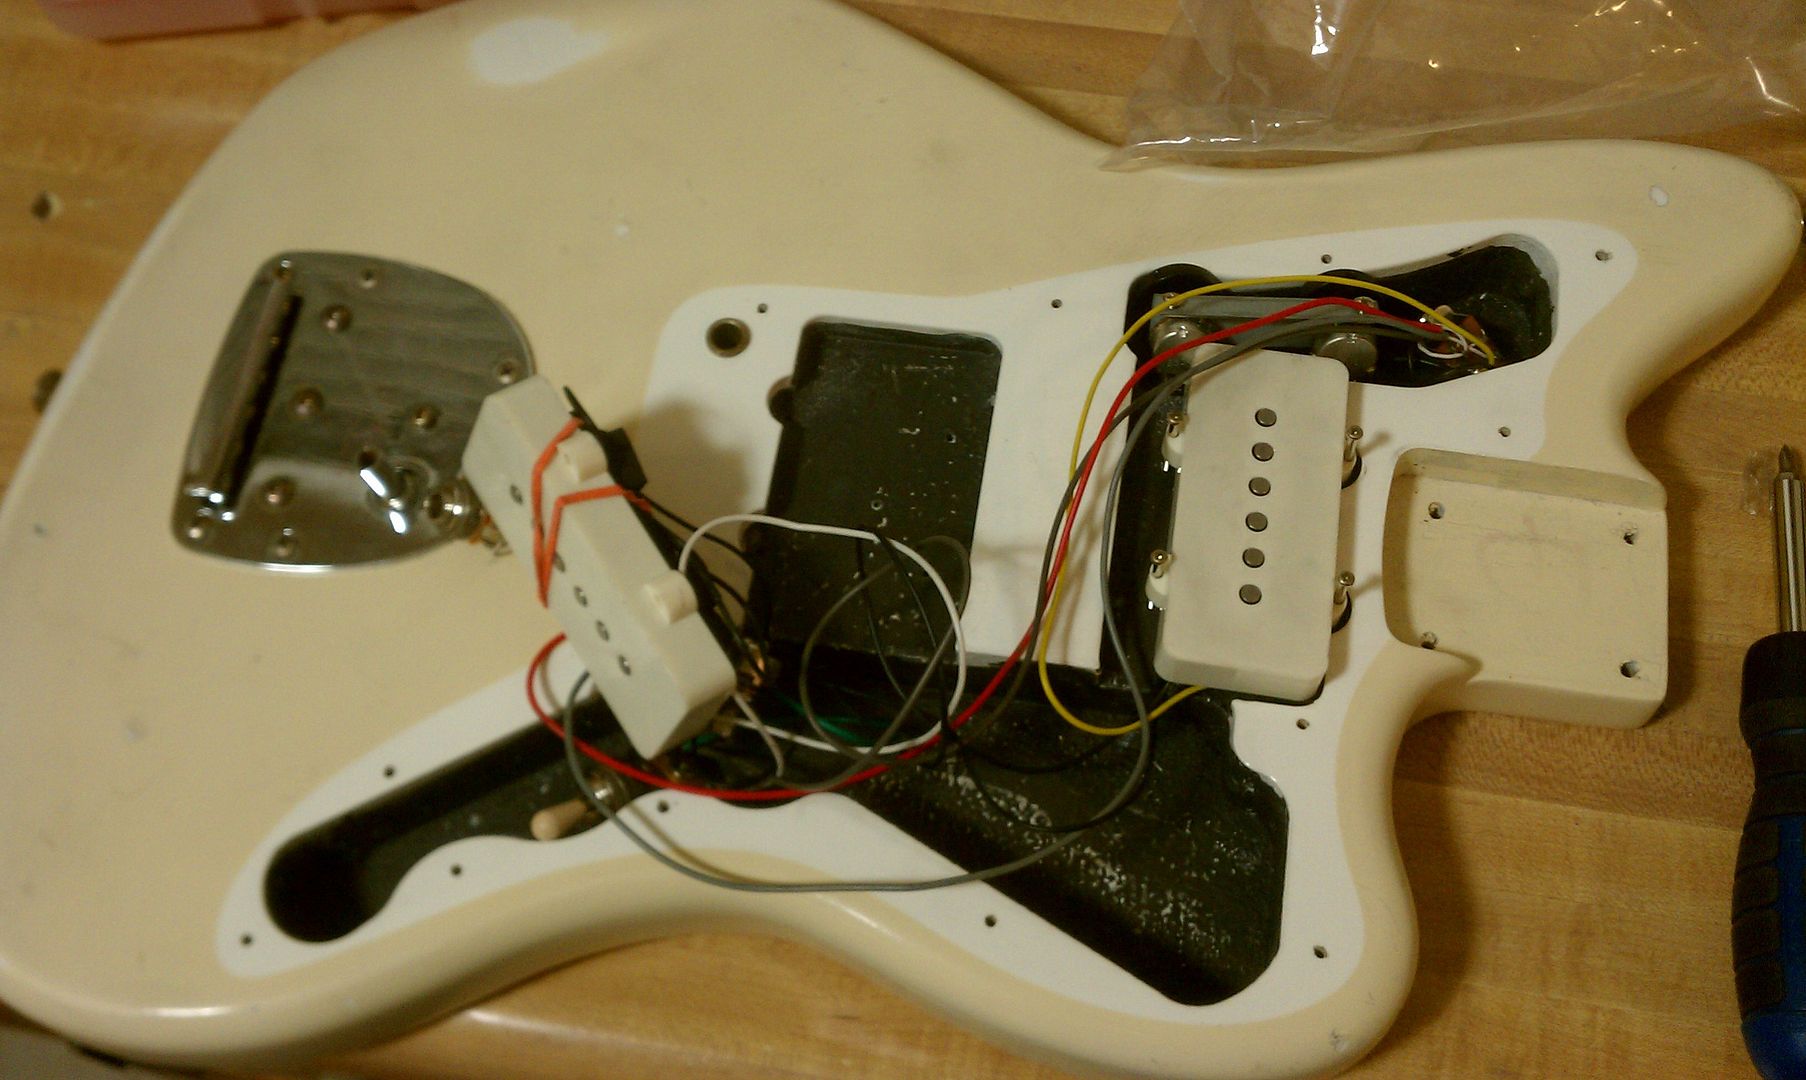
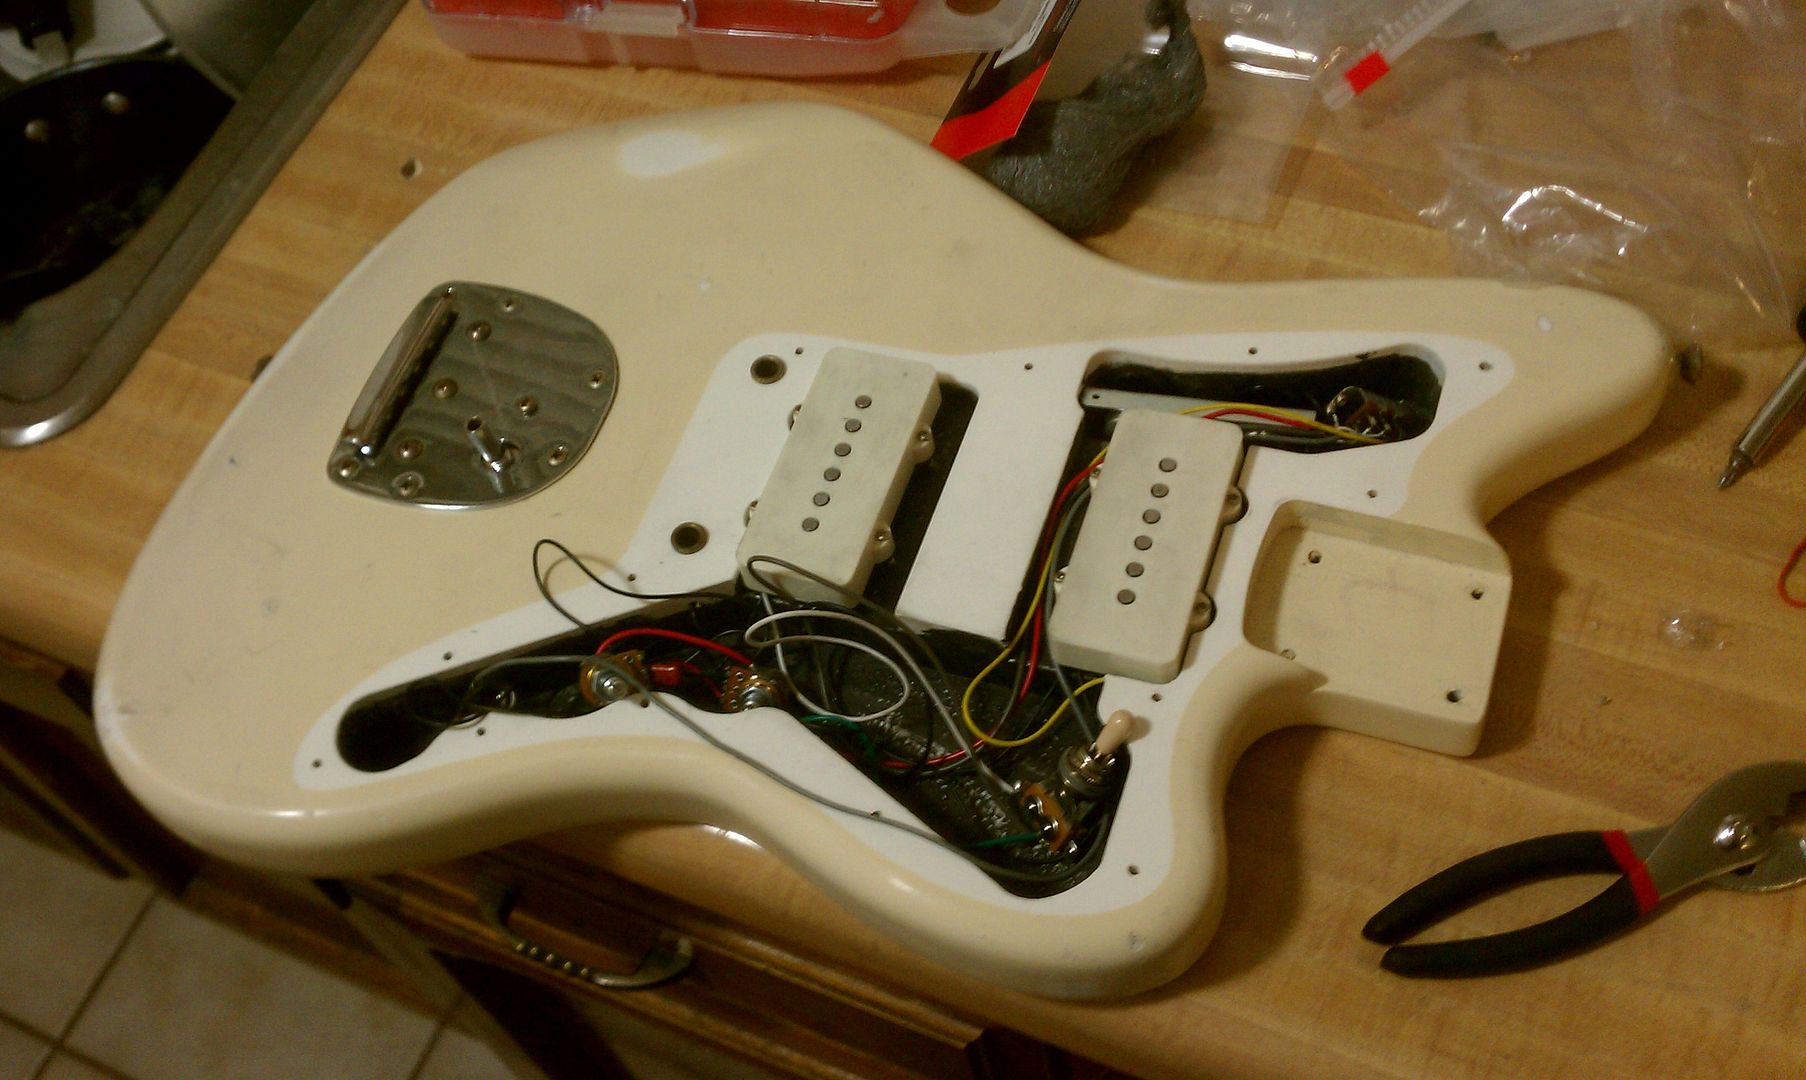
For the pickups, I really just rubbed in that charcoal stuff into the surface and then wiped away to the look I was going for. These are actually the original Squire pickup covers. I couldn't get them off. These seemed to be super glued on. I removed the words with some very light 2000 grit sanding and did a nice wear over the whole surface. This also allowed the charcoal stuff to stick permanently.
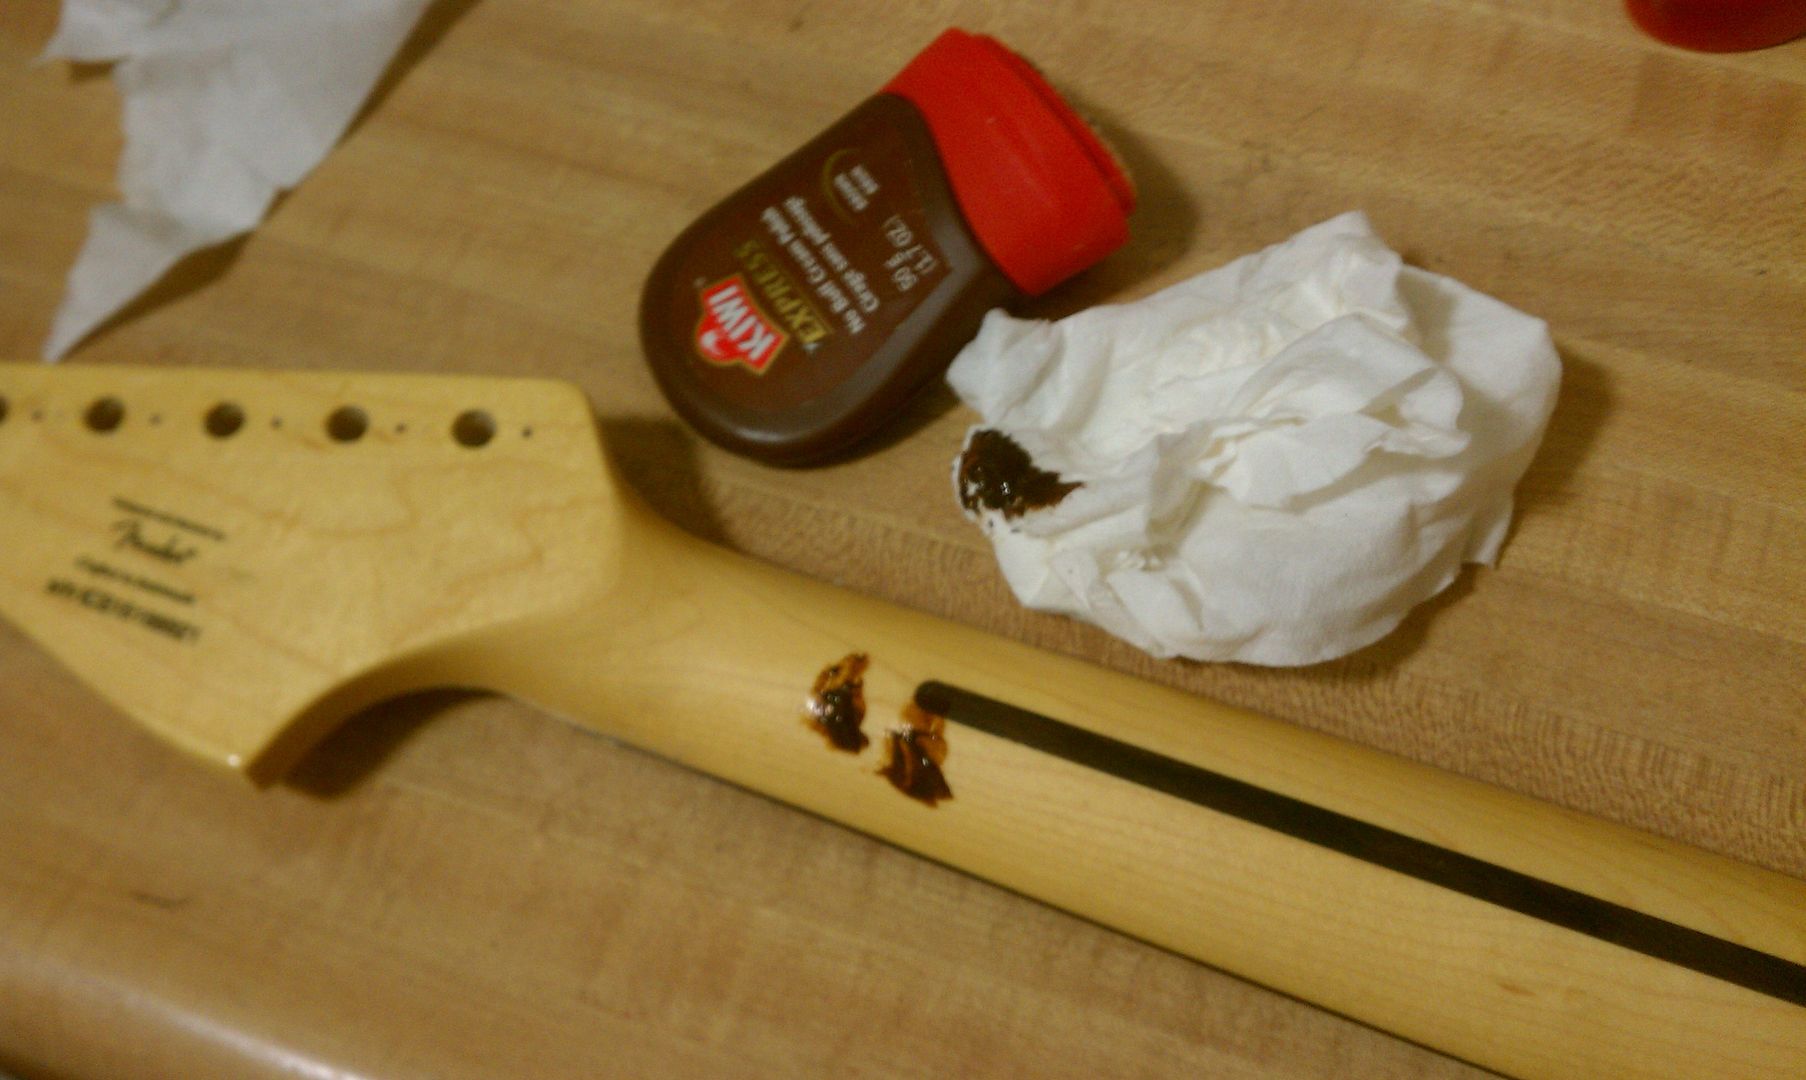
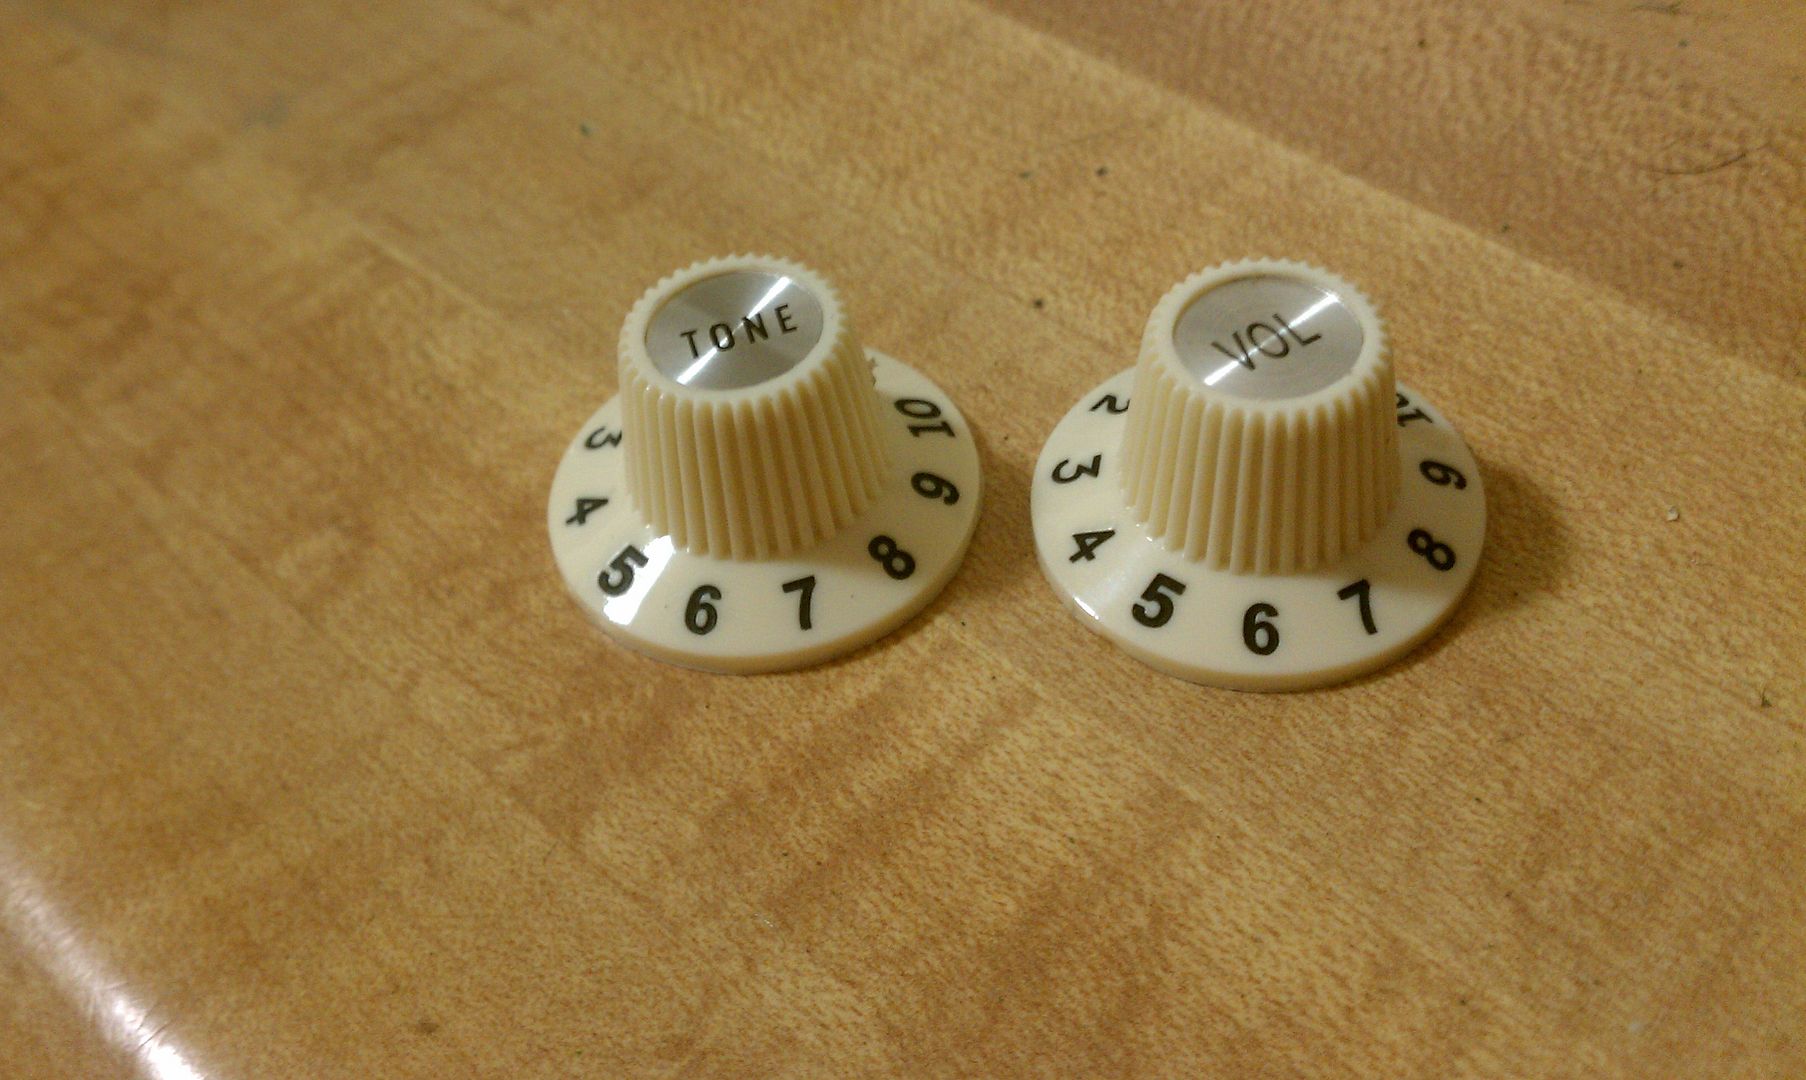
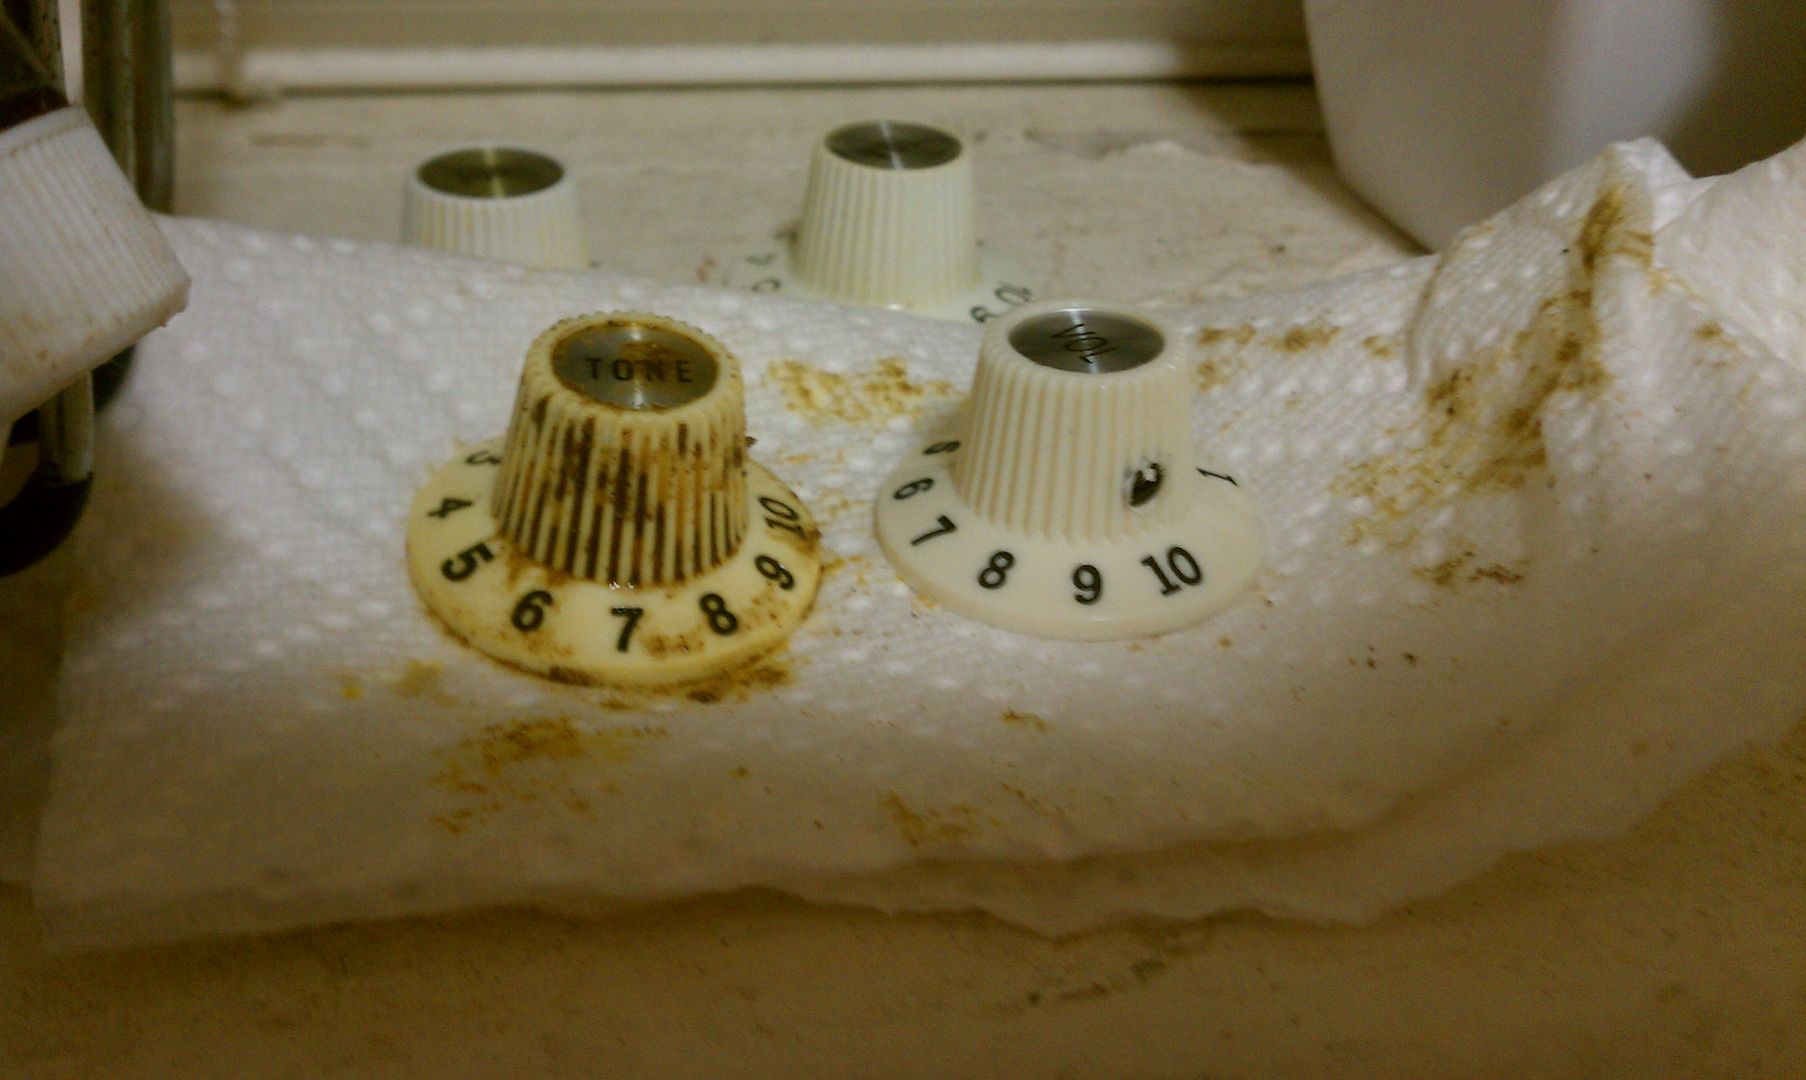
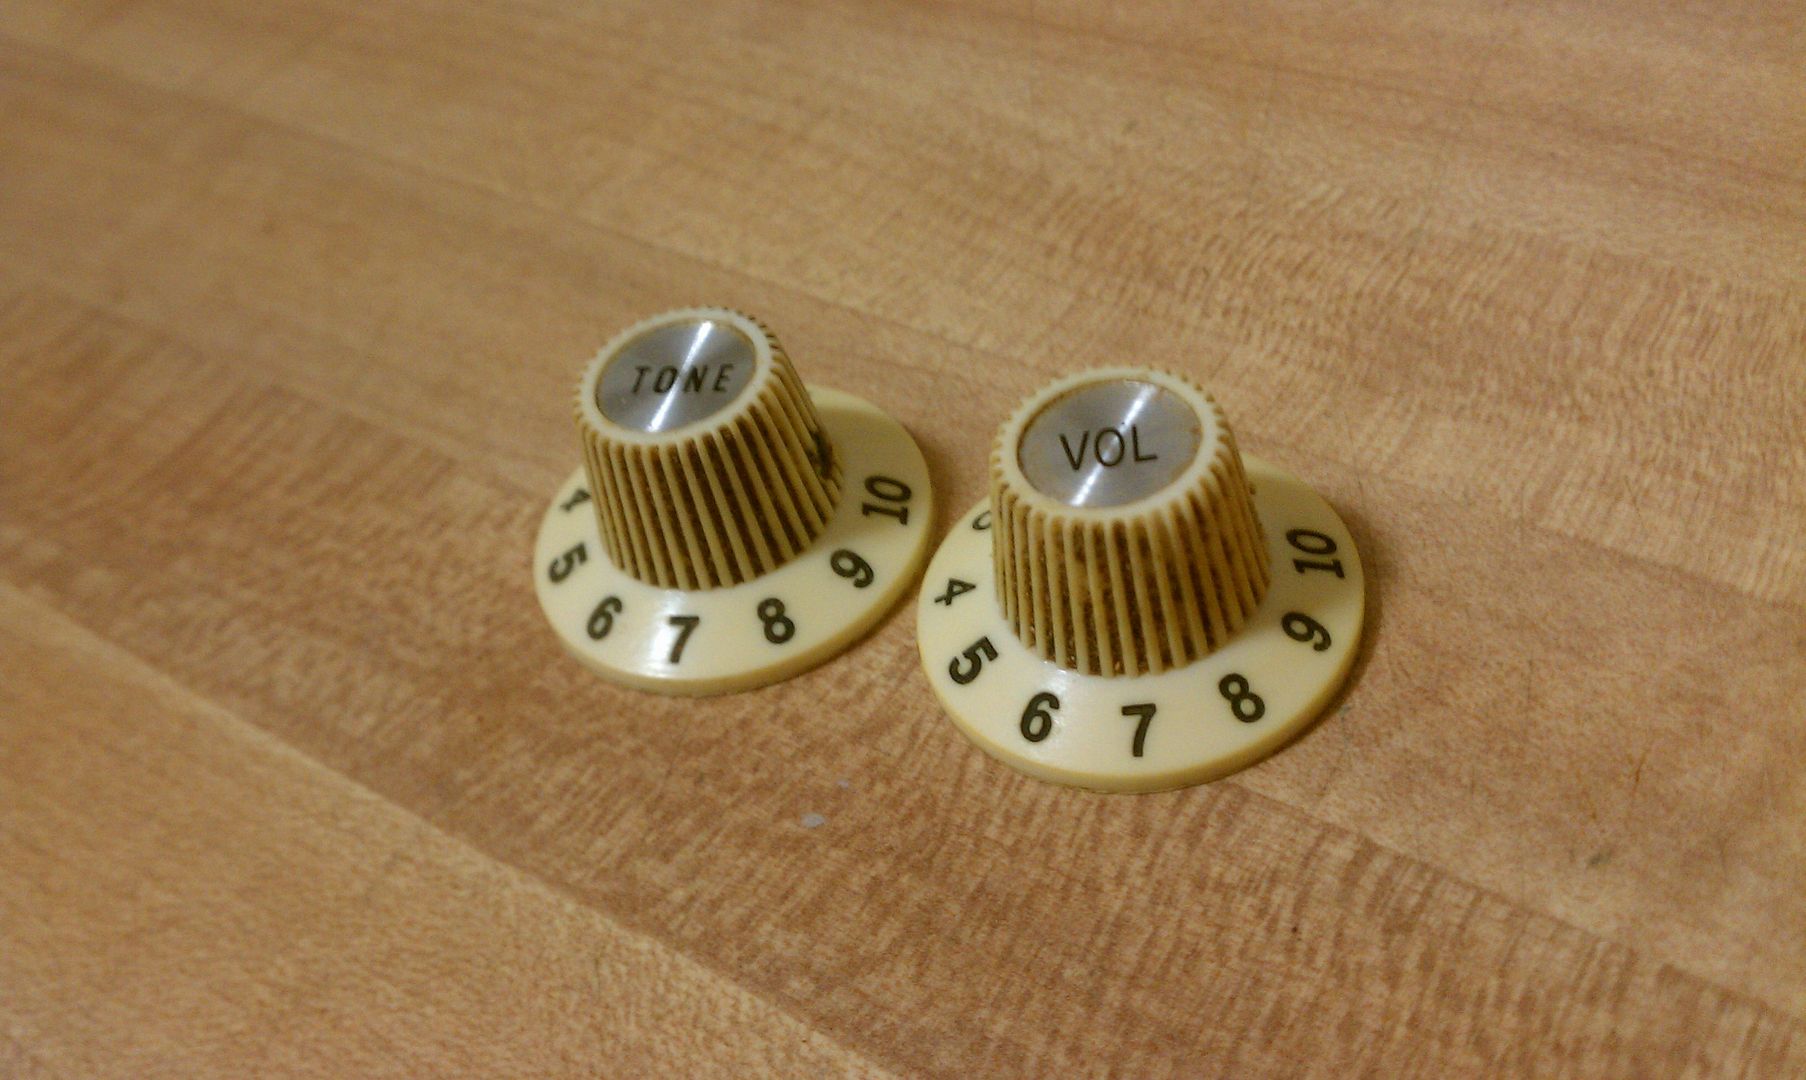
Brand new $20 knobs. I first lightly sanded them, then used a mixture of mud, shoe polish, and a few other things. I let them dry and then wiped away the surface excess. Turned out pretty well.


Okay, all wired up and almost done. I screwed on the neck and put a placeholder pickguard. The last few things that I need to do are the Spitifre faded orangeish-red tortoiseshell pickguard, strings, and then set it up. This is going to be awesome. Any suggestions on some classic vintage sounding strings for that 60s sound?
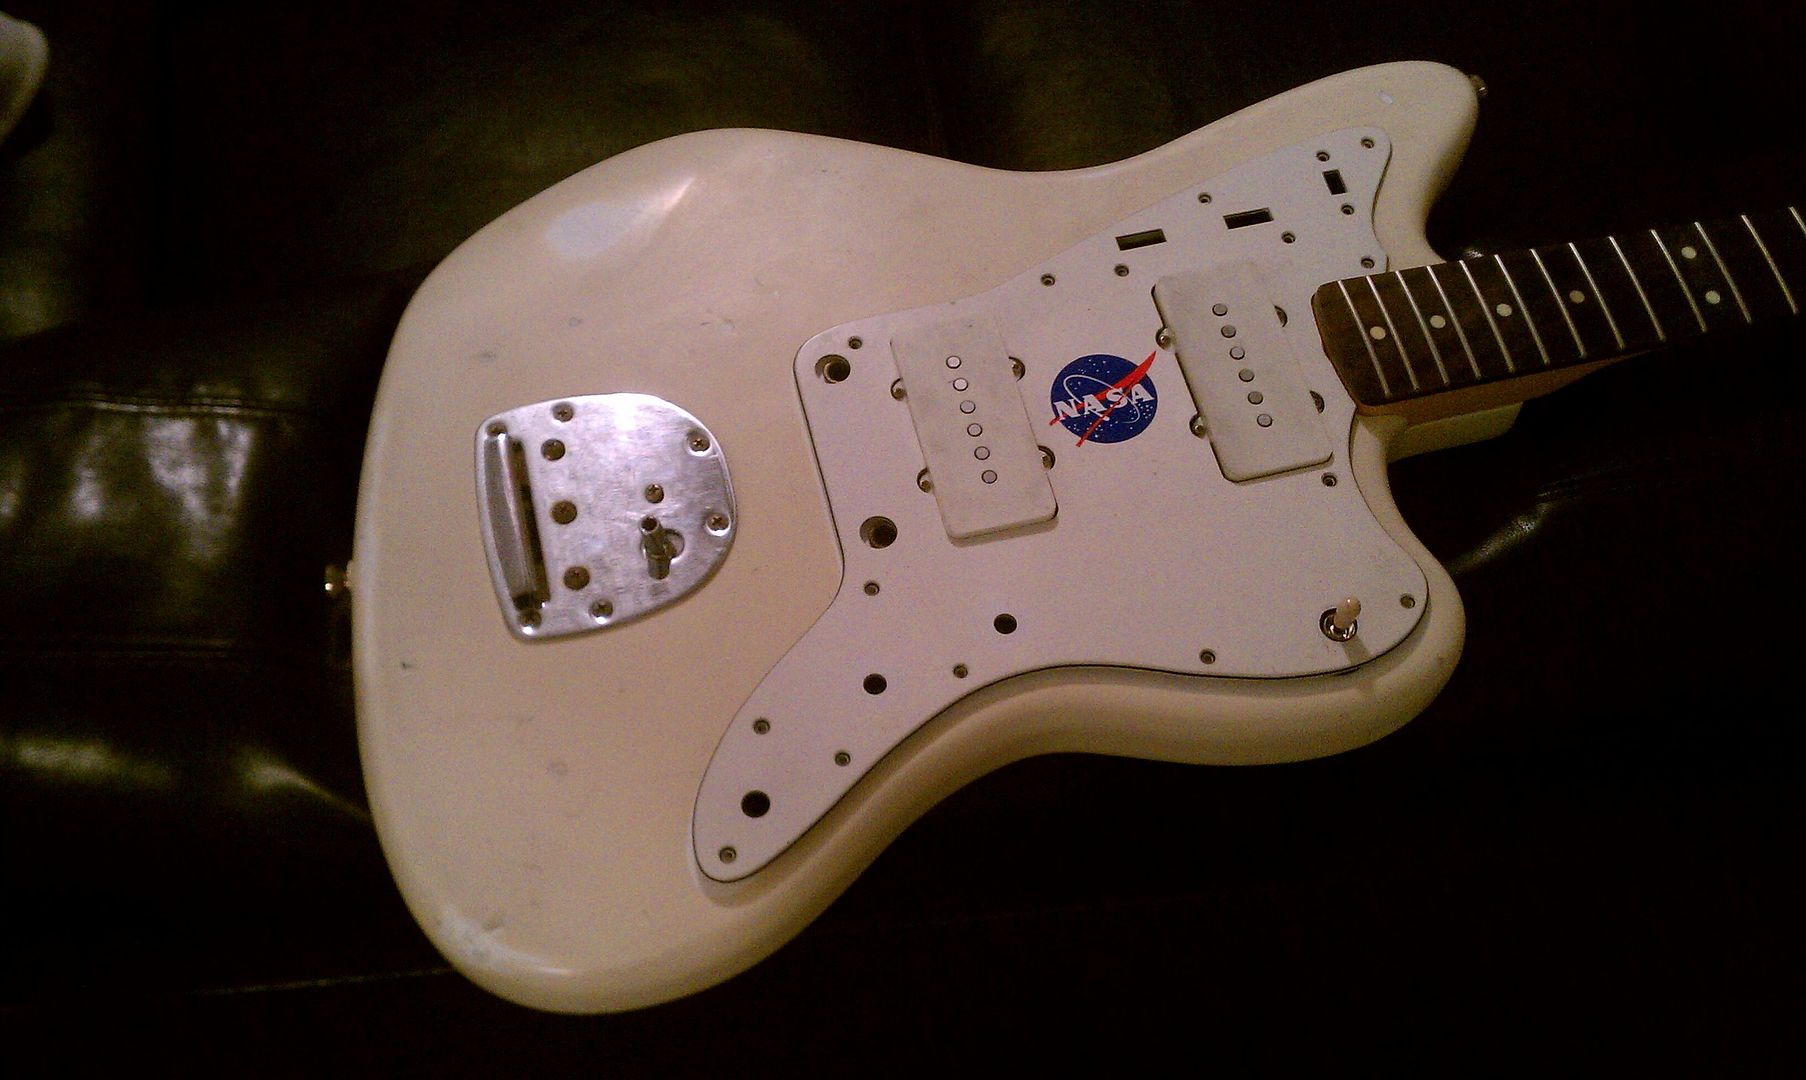

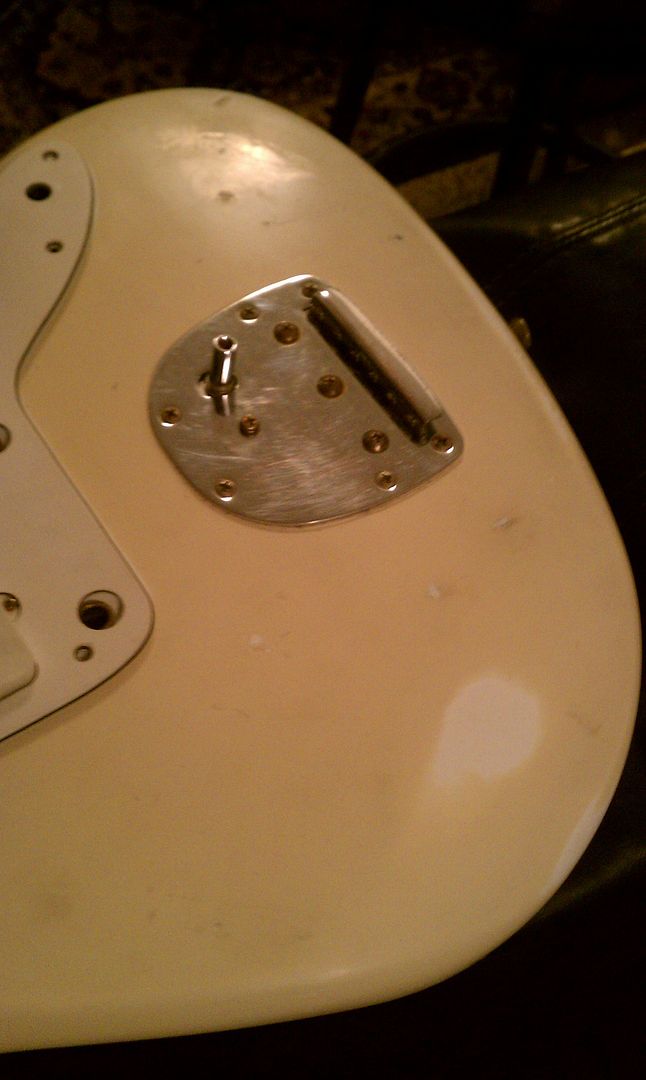
This was my very first paint and relic job on a guitar, so it may not be perfect, but I am pretty proud of it so far. Oh and check out the tail plate in those last few pictures. It really came out nicely.
Stay tuned for the Spitfire faded orange pickguard. My favorite part and definitely the cherry on top.
First I bought PCB Etching solution to age the hardware. I read and studied many different methods, but decided to go with this one. I lined up the screws and then covered them in the solution and put a thin tissue over it to hold the solution in place on them.


After the given time, things turned out pretty nicely. The back plate didn't work so well, but I ended up liking it even better now. It says Squire on it, so how authentic 1963 can is really be? So now it is completely oxidized copper and looks pretty cool to me. The bridge is much more rusty now inside and on the shiny parts. The picture was taken early on and it still continued to rust even when I washed and cleaned it.


I then began wearing out the neck in the common places using steal wool. This is suppose to be a light to moderate relic and I definitely don't want to go heavy. I didn't focus too much on the neck. I really like the way it feels as is, but giving in a nice satin feel on the back really complimented the style and look as well.


Doing the headstock was fun. I really took it though realistic scenarios trying to get it just right. Not too much, but not too little either. I am very happy with it.


Now for the body. This was fun. I started working the arm contour cutout with sand paper, but I did so many clear coats this wasn't enough. I used steal wool to get quickly deep into the finish. Worked very well. I did circular motions until the white started showing through. I then took a finer steal wool and smoothed out the area. Finally I used some 1000 grit to blend and remove any obvious relic spots.


Squire fortunately provided me with some nice dirty fx dust inside the cavity of the guitar. I used this to smear around into the cracks, scratches, and chips. It seems to stick deep into the finish. Even washing it off with soap and water didn't work. I had to sand with 1000 grit to remove it to my liking. Looks really cool and authentic in person.


Here it is after sanding off the charcoal/lead weird stuff. Sticks in the cracks nicely and makes for a nice dirty look with lots of history on it.


Installing hardware.


Nice patina on the tuners


For the pickups, I really just rubbed in that charcoal stuff into the surface and then wiped away to the look I was going for. These are actually the original Squire pickup covers. I couldn't get them off. These seemed to be super glued on. I removed the words with some very light 2000 grit sanding and did a nice wear over the whole surface. This also allowed the charcoal stuff to stick permanently.

Brand new $20 knobs. I first lightly sanded them, then used a mixture of mud, shoe polish, and a few other things. I let them dry and then wiped away the surface excess. Turned out pretty well.


Okay, all wired up and almost done. I screwed on the neck and put a placeholder pickguard. The last few things that I need to do are the Spitifre faded orangeish-red tortoiseshell pickguard, strings, and then set it up. This is going to be awesome. Any suggestions on some classic vintage sounding strings for that 60s sound?


This was my very first paint and relic job on a guitar, so it may not be perfect, but I am pretty proud of it so far. Oh and check out the tail plate in those last few pictures. It really came out nicely.
Stay tuned for the Spitfire faded orange pickguard. My favorite part and definitely the cherry on top.
There's only one who makes the best vintage tortoise shell pickguards. Spitfire Tort.
http://spitfiretortoiseshellpickguards.wordpress.com/
http://spitfiretortoiseshellpickguards.wordpress.com/
-
Shadoweclipse13

- PAT. # 2.972.923
- Posts: 12767
- Joined: Fri Feb 07, 2014 9:22 pm
- Location: Stuck in the dimension of imagination
Re: VM becomes vintage 1963 Jazzmaster Classic (Pick Heavy)
Wow! I'm not usually a fan of relicing, but that is REALLY cool to see. The relic is VERY subtle and it honestly looks like a true vintage guitar to me. 

Pickup Switching Mad Scientist
http://www.offsetguitars.com/forums/viewtopic.php?f=8&t=104282&p=1438384#p1438384
http://www.offsetguitars.com/forums/viewtopic.php?f=8&t=104282&p=1438384#p1438384
-
soggy mittens
- PAT. # 2.972.923
- Posts: 2089
- Joined: Fri May 02, 2014 2:08 am
- Location: middle of somewhere
Re: VM becomes vintage 1963 Jazzmaster Classic (Pick Heavy)
headstock is my fav part so far, looks great.
If OSG has tort me anything...
-
fuzzking

- PAT. # 2.972.923
- Posts: 10319
- Joined: Wed Nov 22, 2006 2:06 am
- Contact:
Re: VM becomes vintage 1963 Jazzmaster Classic (Pick Heavy)
Yeah aging can be fun to do - really not bad for a first time job! 
If you want the lacquer aging to look more authentic, it's best to do it with hardware installed. That way you won't age areas that are normally somewhat protected (e.g., the areas close to pickguard, trem and tuners). And after giving the lacquer some nicks/scratches, you can buff it up again a bit - looks even better. Even the oldest vintage guitars have normally a good degree of shine to them, and the old nicks/scrathces have been 'rubbed over' (in lack of a better word) so many times - how to say it - they're worn and 'melted' into the lacquer themselves. In case you get a new neck plate: best to suspend it over the solution, this way it will just dull the chrome a bit and not have the acid sweat look - also somewhat more authentic.
Just a few ideas.
Nobody exists on purpose.