Butterscotch VM Jazzmaster Project

Talk about modding or building your own guitar from scratch.
User avatar
MrMalopropism
PAT PEND
PAT PEND
Posts: 44
Joined: Thu Dec 06, 2012 8:44 am
Location: Louisville, Ky

Butterscotch VM Jazzmaster Project

Post by MrMalopropism » Sun Jan 20, 2013 11:58 pm

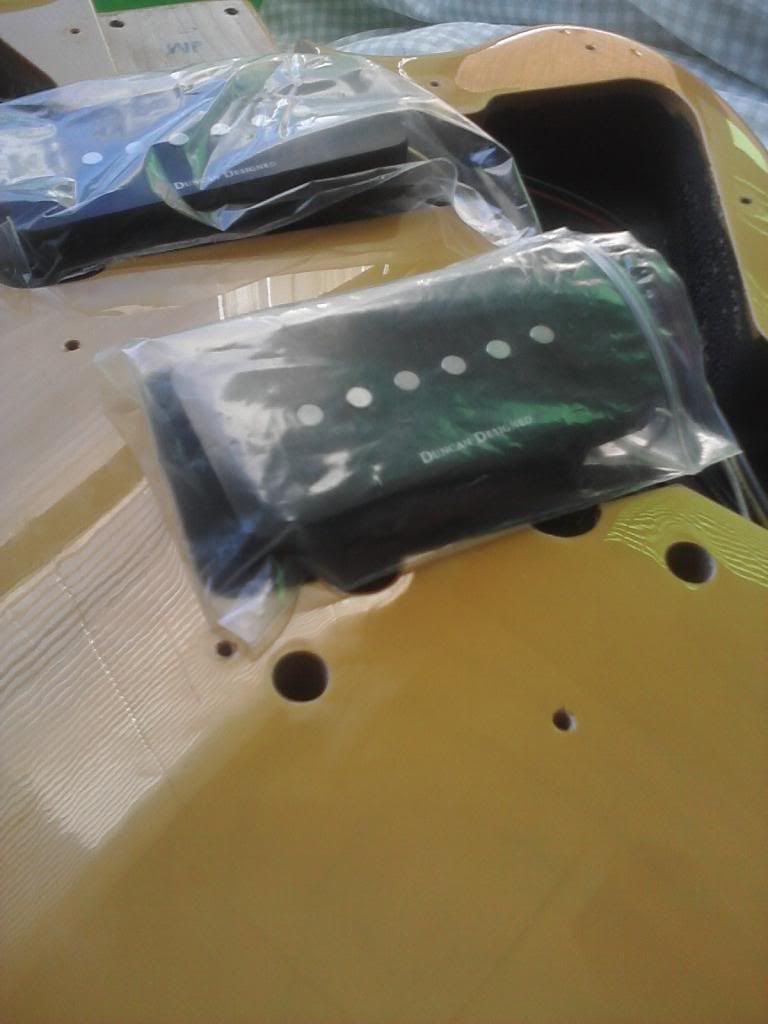
A post that I read in this forum Inspired me to purchase a used Squier Vintage Modified Jazzmaster and do a little "modifying" myself. I want to play surf so ill replace the hardtail with a Tremolo. Found one on GC's website used and had it shipped. Had all sorts of problems. I was going to Get a refund but I LOVE the color. I explained the situation to the local GC manager and he was cool, So he gave it to me for $170.

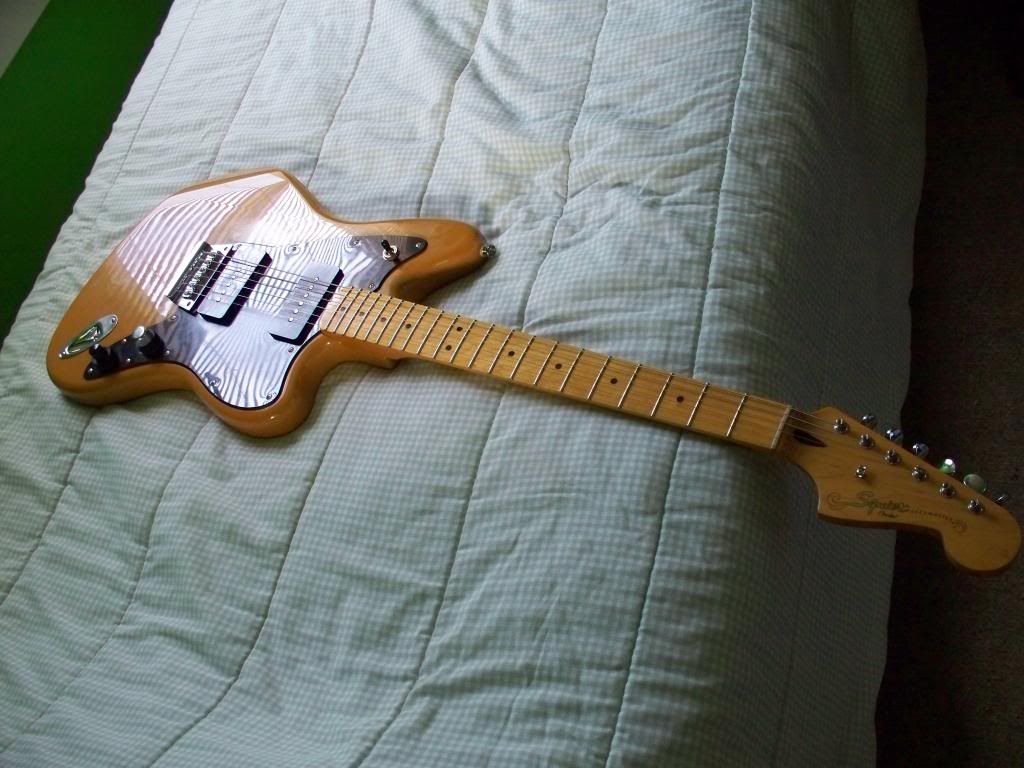
Here's the victim. A Butterscotch Blonde Squier Jazzy.
Image

Laundry List of Problems
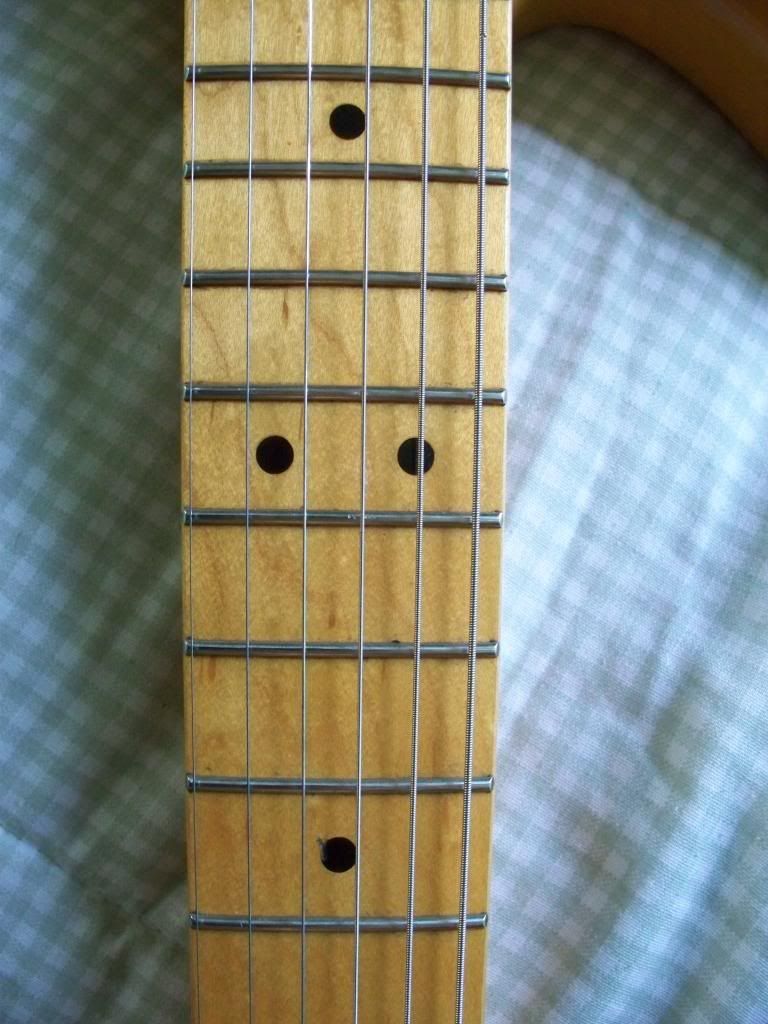
1. High 20th Fret causing buzz on low E
2. Missing one concentric volume knob
3. Gouge in 8th Fret that caught when bending the High E up.
4. Hardtail piece off-center causing the high E to slip of board frequently
Image

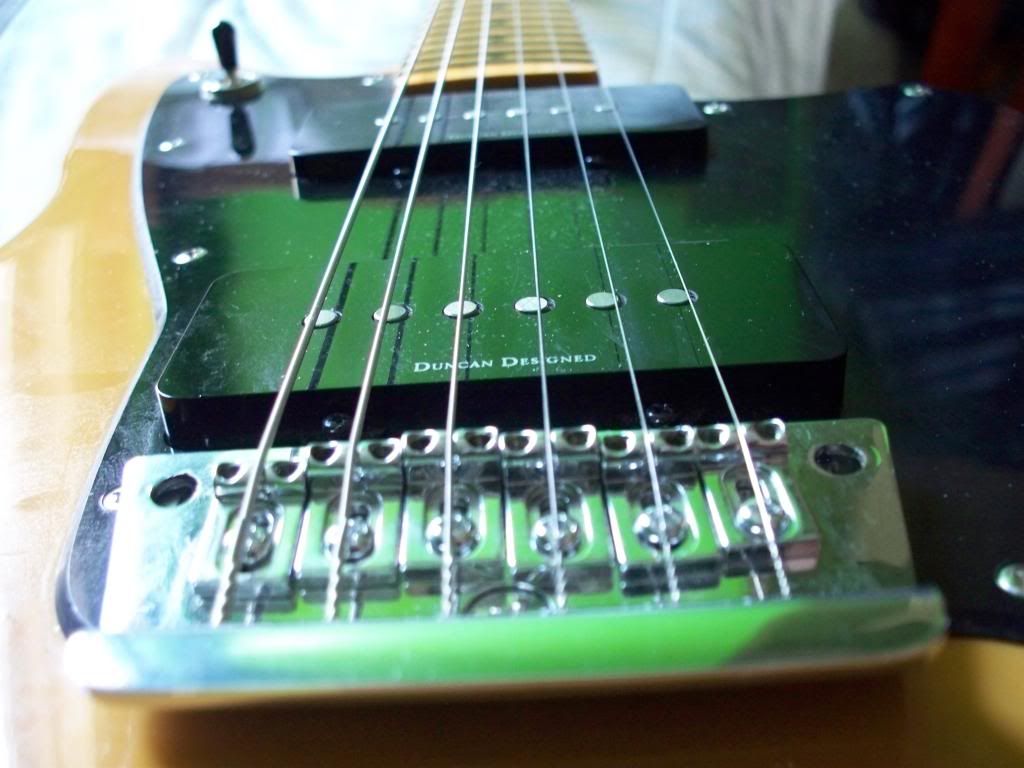
5. NO TREMOLO!

Image
GRRRR!! I HATE THIS Bridge!!!

This is one Battered Jazzy. I guess the previous owner dropped it several times and abused it and eventually got rid of it instead of opting for repair.

Other than the aforementioned problems, the neck feels great and I love the Pups.


I'm a big fan of Surf Music modern bands (El Ray, Daikaiju, MOAM, Bambi Molesters) and some Traditional so I just had to have one.
Image

On to the REPAIRS

I ordered a cheap eBay replacement Concentric tone and volume knob. The Tone knob was too narrow to fit the post, but I only wanted the Volume anyway. Looks Janky, but a quick fix for now.

Next up are the Fret Repairs.

Complete Newb at this, so be go easy on me OK.
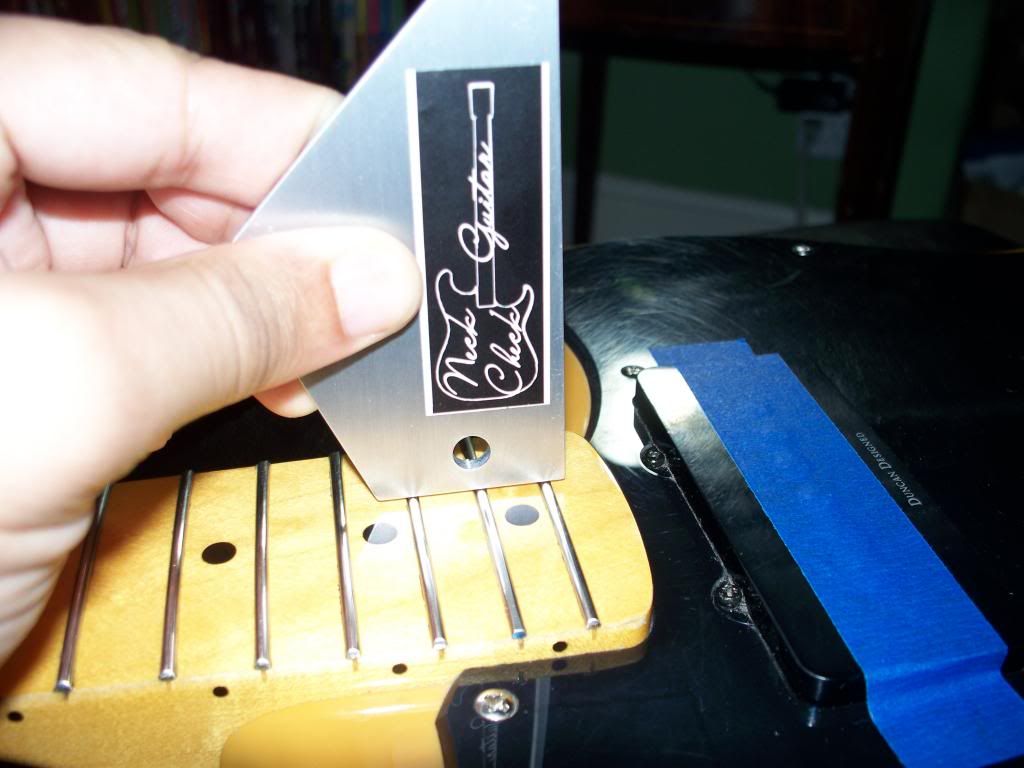
First things first. Make sure your neck is flat and straight as possible. I used a product called "neck check" off eBay. Its an aluminum machined straight edge with notches cut out to check both the board as well as the Fret straightness. Also support the neck so it wont bend while sanding. I just used a rolled up pair of jeans near the head stock since I would be working near the body end of the neck.

Image
I used silver solder to fill the gouge in 8th fret. Just a Dab will do ya. Clean the fret first. I used rubbing alcohol because that's all I had on hand.

Image
Then I sanded the solder down with various grits of sandpaper 400. 600. 1200 grit. I got a little overzealous and took off more material than I wanted. But I don't think it turned out too bad, it feels a lot smoother and hopefully wont catch the string when bending. Ill only know if it worked after restringing.
Image
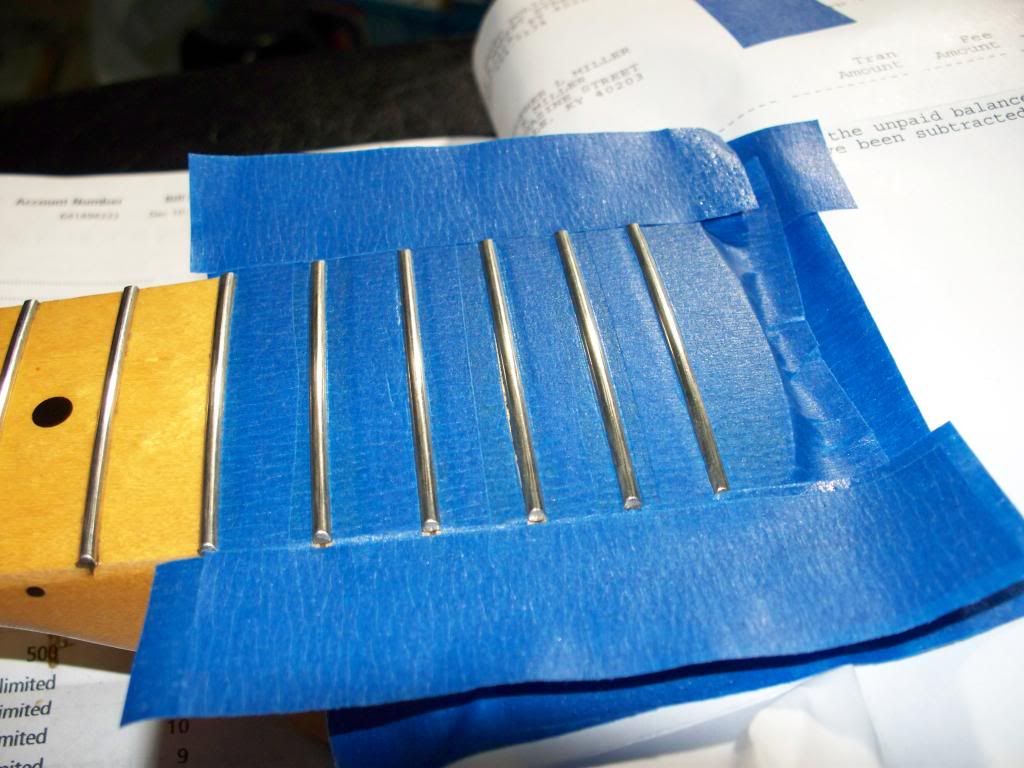
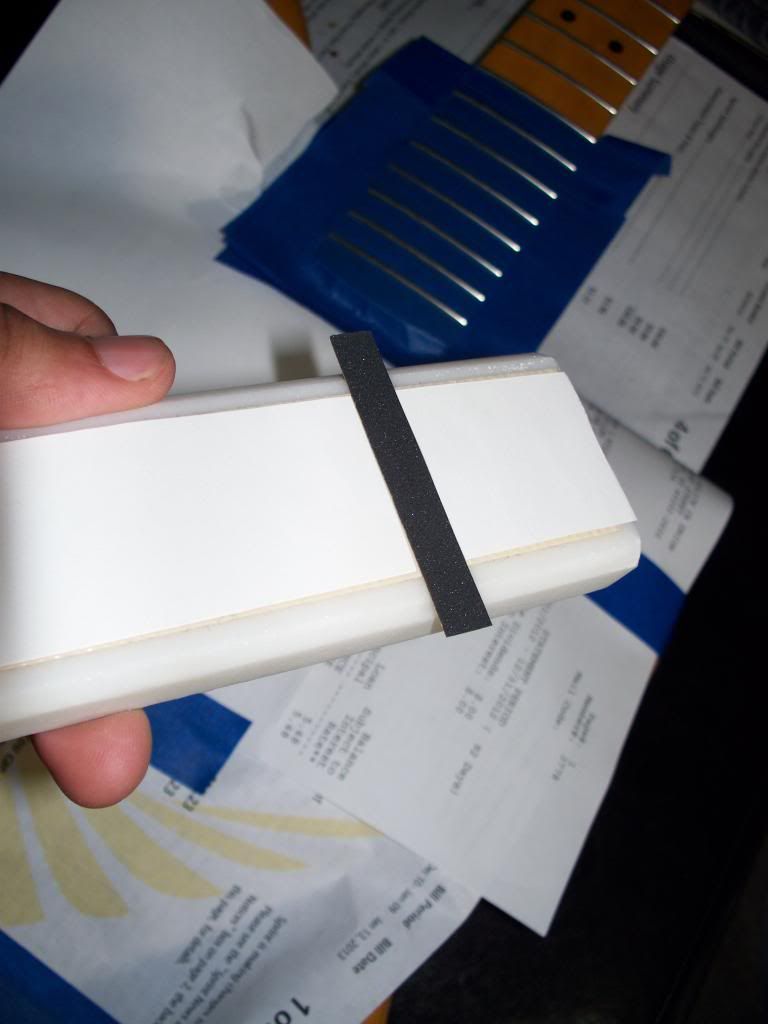
The 20th Fret is High and Causes Terrible buzzing on the low E. Taped up and ready for sanding.
Image
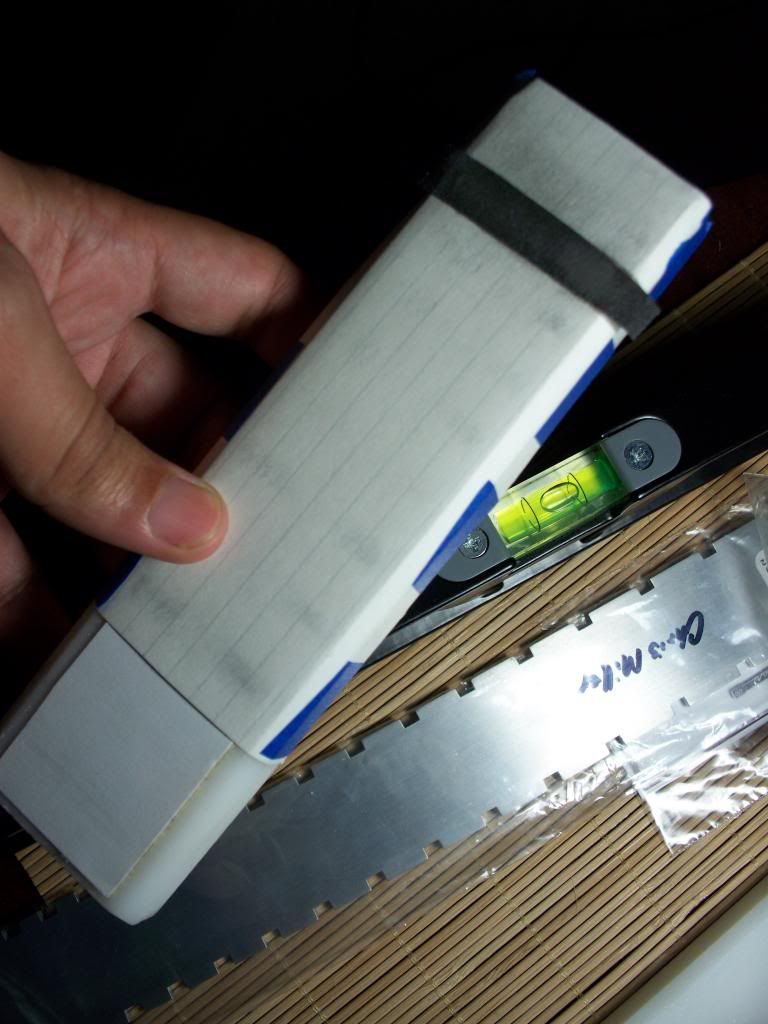
I read somewhere that you can use marble as a flat planed surface, good enough to use as a fingerboard leveler. So I had an employee a Lowes cut up a Marble Threshold in various lengths and slapped some double-sided tape on it. I put a strip of Sandpaper near the top of one end and covered the other parts of tape with cut up notecards the same thickness of the sandpaper. That way I can focus on the problem fret while not effecting the others.
(did I mention that I was Cheap ) I'm trying to fight Stew-mac's tyrannical control of the guitar repair business.
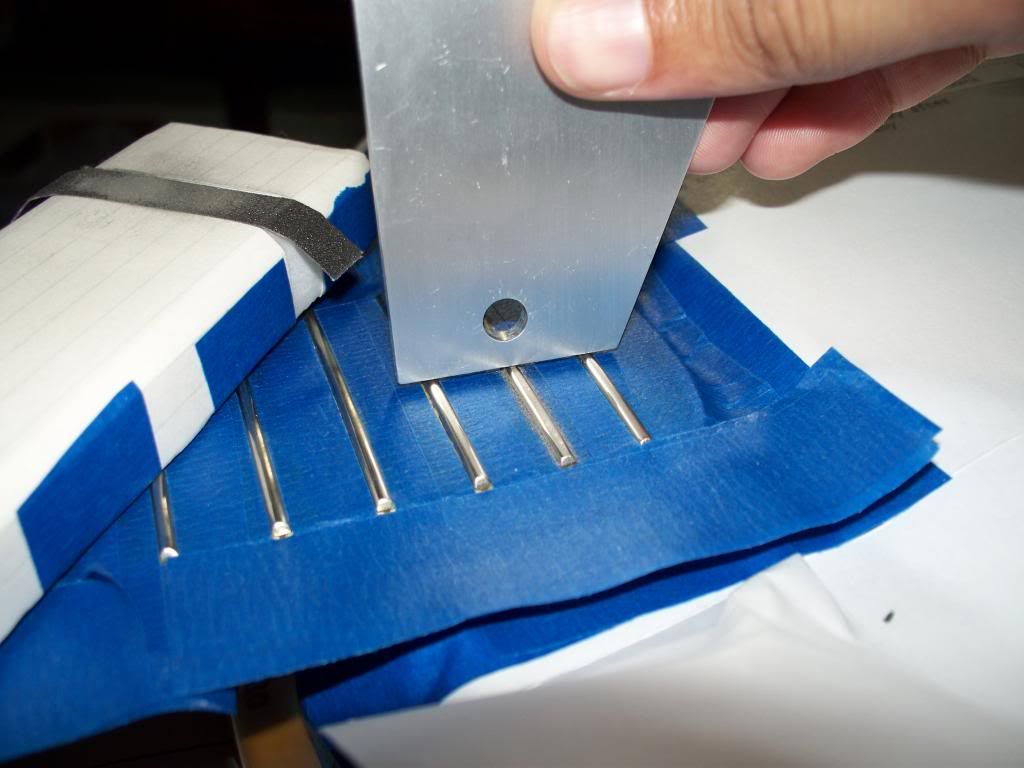
Image
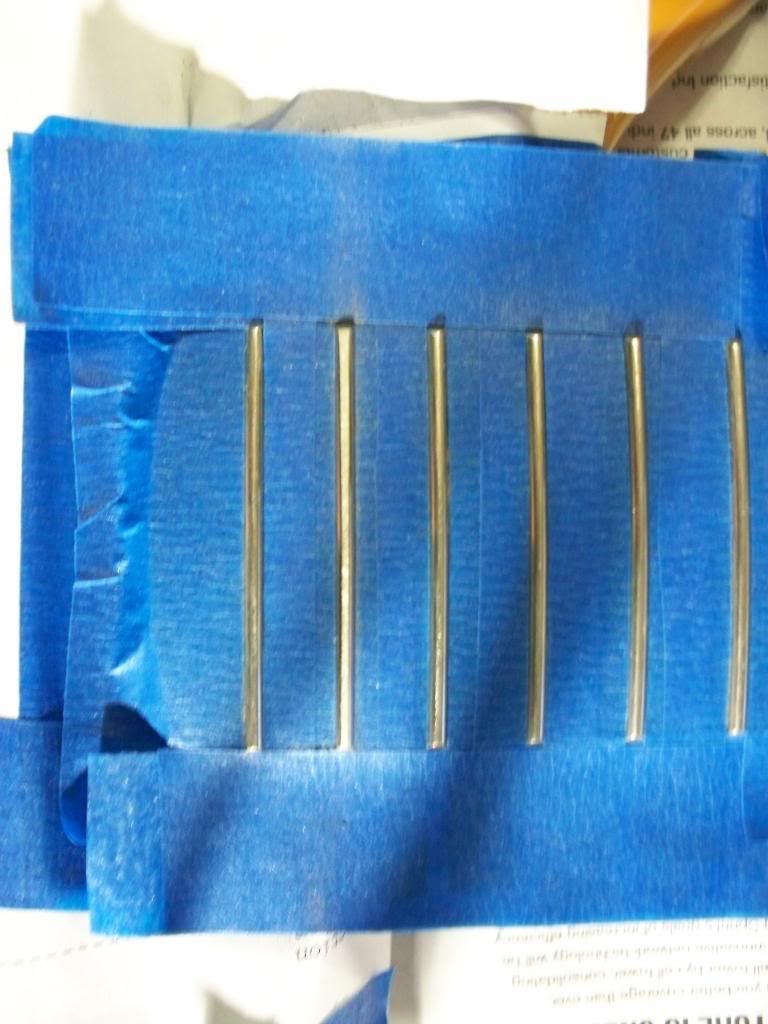
Sand a little check with a fret rocker, keep doing until the fret is just shy of being level.
Image
Nice level top, time for Recrowning.
Image
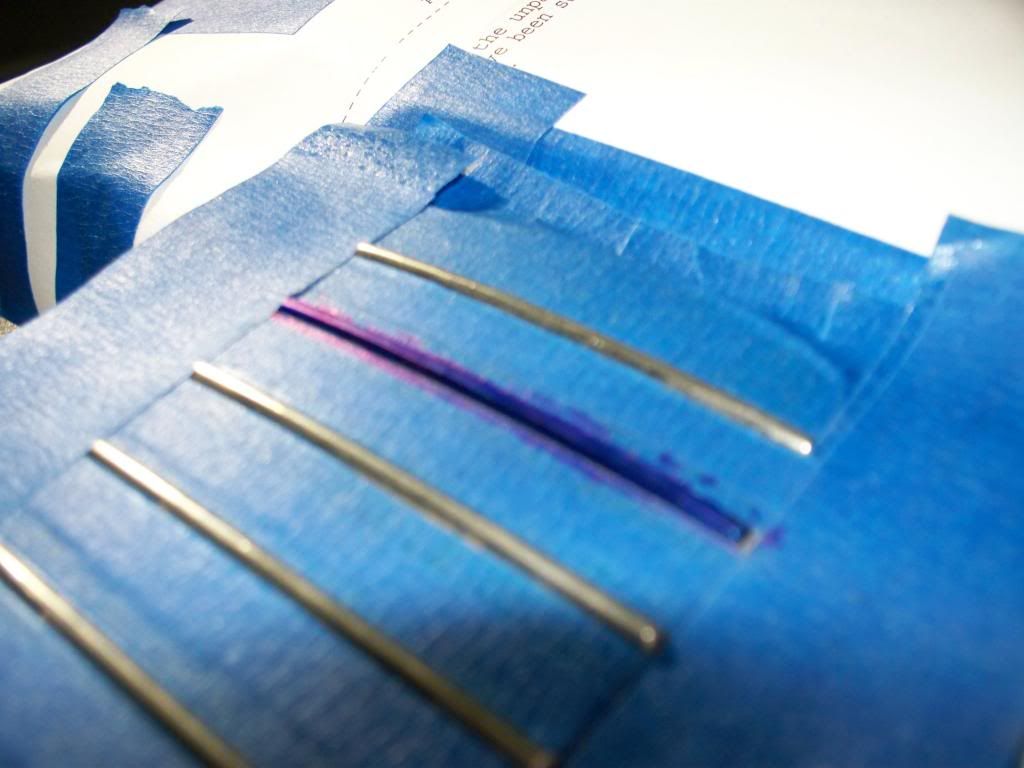
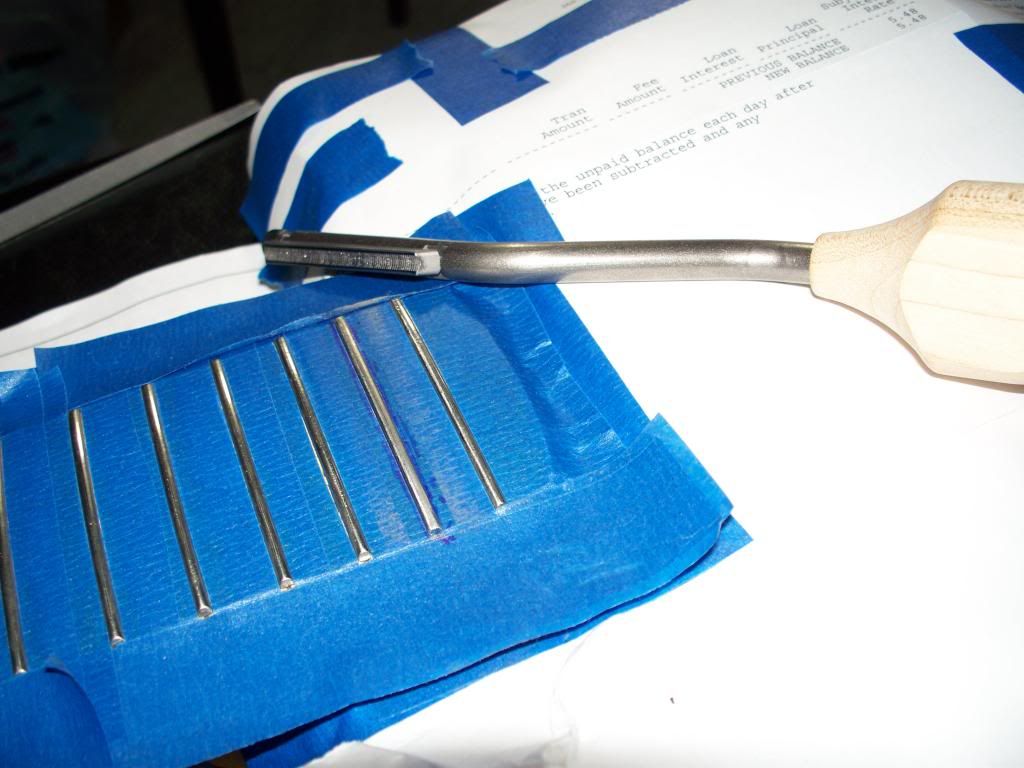
I used blue marker to tell what I'm doing while arching the sides to a nice oval shape. You want a straight thin blue line at the top without taking off too much metal.
Image
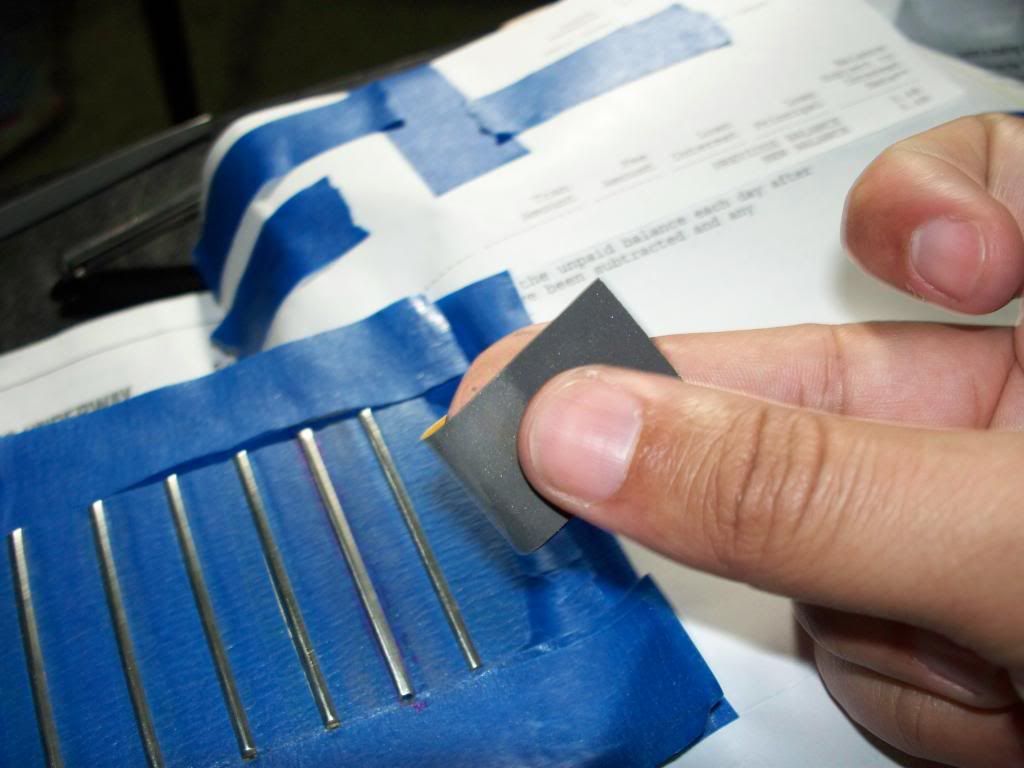
Purchased this Fret file from a local Guitar and Banjo supplier. I dont like it at all, left alot of chatter marks and cuts way too fast. I may invest in a diamond fret File next time or If i decide to build a neck (Mosrite Mark I )
Image
smooth tool marks with an eraser covered in sandpaper of various grits going back and forth over the fret quickly.
Image
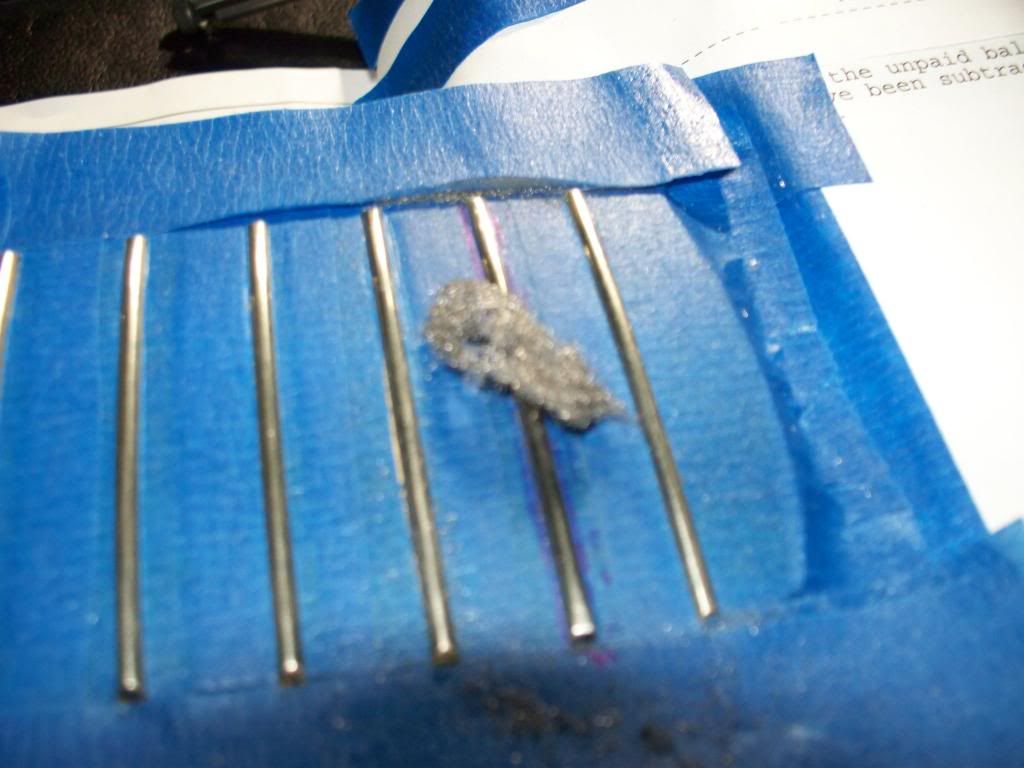
Finish polishing with fine grade #0000 Steel Wool I got from Wally World. Looks pretty good.
Image
Recheck with Fret Rocker. NICE!!

Image
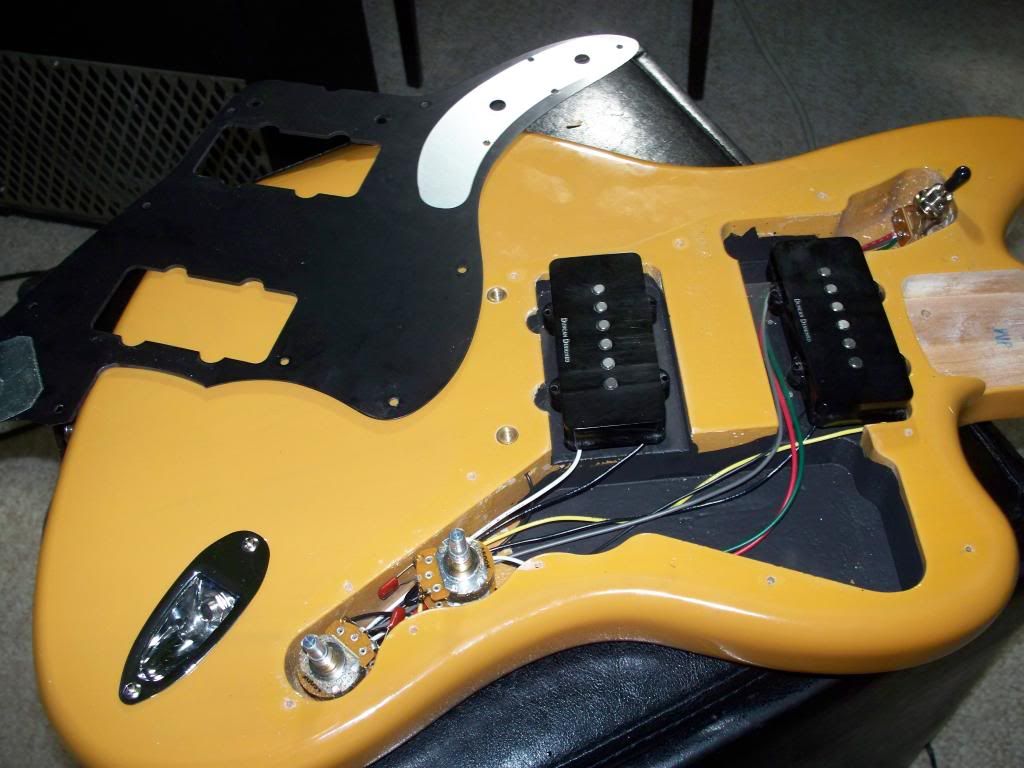
Turned out quite well for my first time, I think.
Image
Next up Bridge Replacement

dug
PAT. # 2.972.923
PAT. # 2.972.923
Posts: 8307
Joined: Sat Apr 26, 2008 3:24 pm
Location: Tennessee
Contact:

Re: Butterscotch VM Jazzmaster Project

Post by dug » Mon Jan 21, 2013 12:37 am

Awesome. Keep us posted. :)

User avatar
valley_parade
PAT. # 2.972.923
PAT. # 2.972.923
Posts: 4408
Joined: Fri Oct 31, 2008 7:09 am
Location: The 315
Contact:

Re: Butterscotch VM Jazzmaster Project

Post by valley_parade » Mon Jan 21, 2013 6:37 am

Love to see how the bridge replacement goes. I bought a VM Special body for a project that someone had already fitted a tune-o-matic to, so this should be informative if I ever do another one.

User avatar
sjperry54
PAT. # 2.972.923
PAT. # 2.972.923
Posts: 703
Joined: Wed Dec 07, 2011 11:50 am
Location: Elizabethtown, Ky

Re: Butterscotch VM Jazzmaster Project

Post by sjperry54 » Mon Jan 21, 2013 6:55 am

Hey! Another Louisville guy! I think you're number 5 around here. Welcome! I've got a VM JM like yours that is waiting for some mods.

User avatar
pinkmoonfan
PAT. # 2.972.923
PAT. # 2.972.923
Posts: 764
Joined: Mon Mar 26, 2012 6:55 am
Location: Ireland
Contact:

Re: Butterscotch VM Jazzmaster Project

Post by pinkmoonfan » Mon Jan 21, 2013 7:05 am

Cool thread. You're pretty good for a noob! Looking forward to seeing the bridge replacement. I've the HH Jag version of this and cannot find a replacement bridge anywhere for it.

User avatar
Straight6DOHC
PAT. # 2.972.923
PAT. # 2.972.923
Posts: 802
Joined: Mon Nov 21, 2011 6:03 pm
Location: Lanark, Scotland

Re: Butterscotch VM Jazzmaster Project

Post by Straight6DOHC » Mon Jan 21, 2013 7:22 am

Great thread. Keep up the good work.

User avatar
Jakob
PAT. # 2.972.923
PAT. # 2.972.923
Posts: 72
Joined: Tue Sep 25, 2012 4:11 am

Re: Butterscotch VM Jazzmaster Project

Post by Jakob » Mon Jan 21, 2013 7:23 am

Looking forward to seeing how this one comes along! Looking good so far!

User avatar
MrMalopropism
PAT PEND
PAT PEND
Posts: 44
Joined: Thu Dec 06, 2012 8:44 am
Location: Louisville, Ky

Re: Butterscotch VM Jazzmaster Project

Post by MrMalopropism » Mon Jan 21, 2013 2:44 pm

Thanks for the encouragement everybody. I'm trying to decide if I should use Oak dowels or If I should buy some of those pre-cut hardwood dowels I saw with the grooves in them. Supposedly they expand when used with water based wood glue.
The Bridge post holes are about 0.340 in wide the closest dowel I have to that are 5/16 in (too Loose) and a 3/8 in. (slightly too wide).
Image
The Bridge holes in question
Image
5/16 right 3/8th on left.
My buddy does custom cabinetry and he suggested that I use sandpaper to sand the 3/8 down to fit. Any Thoughts or opinions would be appreciated.

User avatar
MrMalopropism
PAT PEND
PAT PEND
Posts: 44
Joined: Thu Dec 06, 2012 8:44 am
Location: Louisville, Ky

Re: Butterscotch VM Jazzmaster Project

Post by MrMalopropism » Mon Jan 21, 2013 3:10 pm

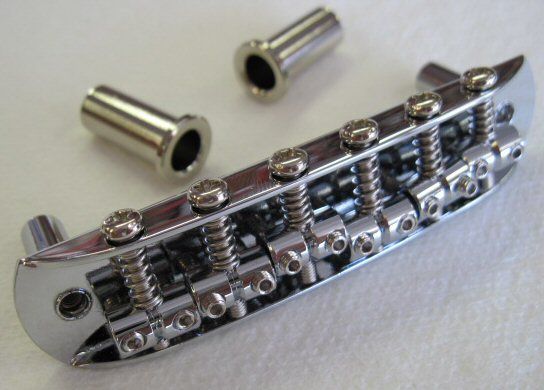
The VINTAGE MODIFIED JAGUAR has the same 9.5" Fingerboard Radius as mine. I WAS going to buy a modified Warmoth mustang bridge to match the radius of my fret board. The Original Mustang Bridges have that 7-1/4" radius that doesn't match the modern necks. Would have cost around 60 something buck with shipping. until I found this.

Image
Fender Jazzmaster Bridge Blacktop series # 0081239100

It has the same 9.5" radius as my fret board with all the advantages of a mustang bridge with adjustable posts and intonation. Got mine from Darren Riley.

User avatar
Straight6DOHC
PAT. # 2.972.923
PAT. # 2.972.923
Posts: 802
Joined: Mon Nov 21, 2011 6:03 pm
Location: Lanark, Scotland

Re: Butterscotch VM Jazzmaster Project

Post by Straight6DOHC » Mon Jan 21, 2013 4:30 pm

Sand the wider dowel down.

User avatar
Sinuata
PAT. # 2.972.923
PAT. # 2.972.923
Posts: 459
Joined: Thu Feb 23, 2012 4:55 am
Location: Japan

Re: Butterscotch VM Jazzmaster Project

Post by Sinuata » Tue Jan 22, 2013 7:37 am

I'm interested in seeing your bridge replacement, too, but just FYI, I was able to add a Bigsby to mine without changing the bridge. The strings just go straight through the bridge holes to the Bigsby. See this thread for pics.

User avatar
MrMalopropism
PAT PEND
PAT PEND
Posts: 44
Joined: Thu Dec 06, 2012 8:44 am
Location: Louisville, Ky

Re: Butterscotch VM Jazzmaster Project

Post by MrMalopropism » Tue Jan 22, 2013 9:12 am

:)
Last edited by MrMalopropism on Tue Jan 22, 2013 9:46 am, edited 1 time in total.

User avatar
MrMalopropism
PAT PEND
PAT PEND
Posts: 44
Joined: Thu Dec 06, 2012 8:44 am
Location: Louisville, Ky

Re: Butterscotch VM Jazzmaster Project

Post by MrMalopropism » Tue Jan 22, 2013 9:44 am

Sinuata wrote:I'm interested in seeing your bridge replacement, too, but just FYI, I was able to add a Bigsby to mine without changing the bridge. The strings just go straight through the bridge holes to the Bigsby. See this thread for pics.
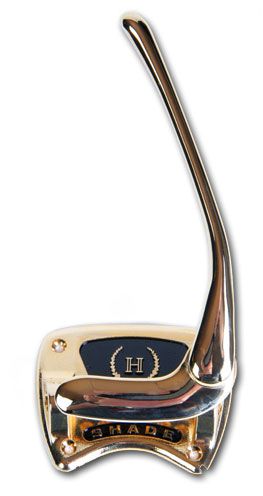
Sinuata I had the same thought cross my mind. I even went to GC to try a Bigsby out ( i think it was an B5 model) certainly looks cool but it just felt all weird and wrong in my hand. I also had the idea of using a different top mounting Trem. I think a Morsite-style trem would feel and look fantastic on a Jazzmaster. Maybe the Hallmark Shade trem. But I think Ill wait and buy one for my Mosrite Mark 1 project.

Image

Sorry about the delay, but I'm getting up the nerve to glue in the Dowels and take it over to my buddies to use his Drill press. Once i glue in those dowels there's no going back. I'm thinking that instead of shaving down the largest dowel by hand and hope I get it smooth all around for a good fit, I should drill the hole just a hair larger so the dowel will have a snug gap-less fit. I really need to find a Good press with at least a 7 or 8 in. throat. But that costs a bit.

User avatar
MrMalopropism
PAT PEND
PAT PEND
Posts: 44
Joined: Thu Dec 06, 2012 8:44 am
Location: Louisville, Ky

Re: Butterscotch VM Jazzmaster Project

Post by MrMalopropism » Thu Jan 24, 2013 8:10 pm

I think my Bridge post holes are 11/32" but not 100% sure. Dont own any drill bits that size to relocate/re-drill the holes. Before I go out and try to find a bit this size it would be good to confirm the exact size of bit that Fender uses. Does Anyone Know?

User avatar
MrMalopropism
PAT PEND
PAT PEND
Posts: 44
Joined: Thu Dec 06, 2012 8:44 am
Location: Louisville, Ky

Re: Butterscotch VM Jazzmaster Project

Post by MrMalopropism » Wed Jan 30, 2013 7:42 pm

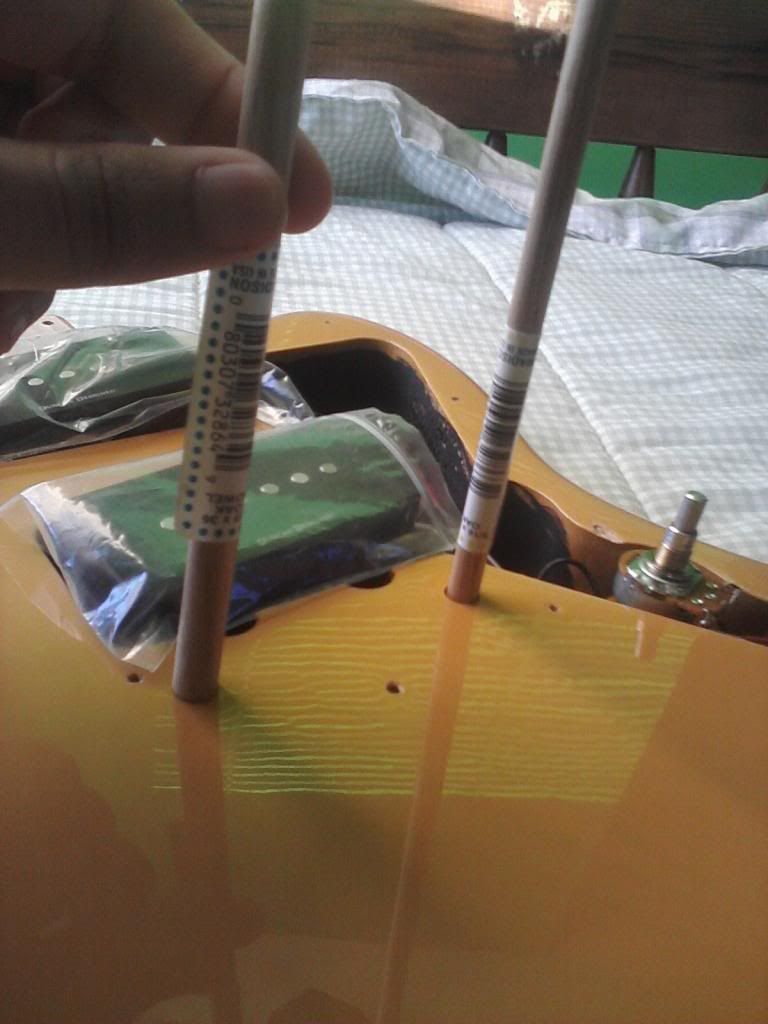
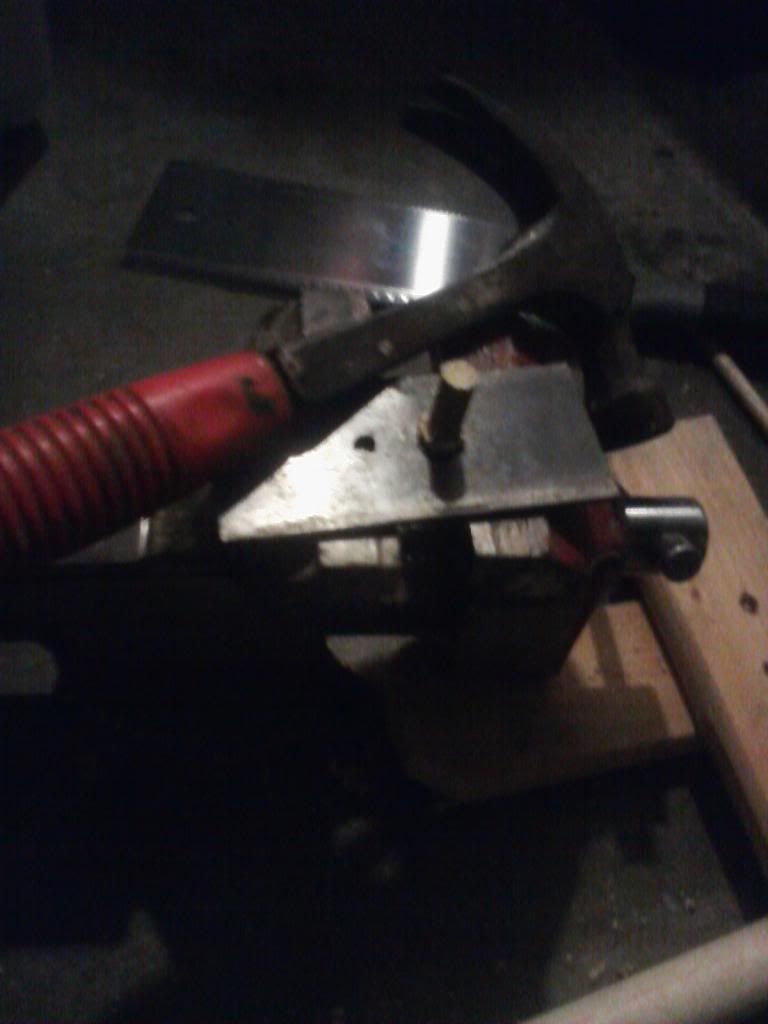
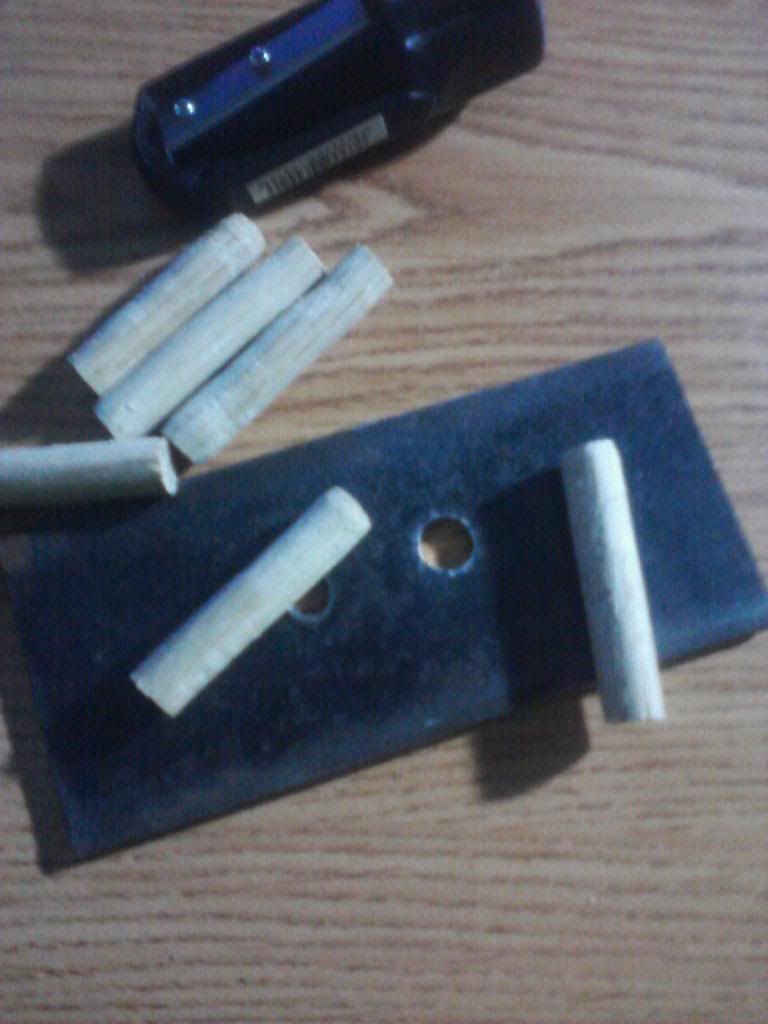
I needed 11/32 dowels to fill the post holes I'm going to fill. Since I could not source any locally, fashioning my own was the most logical step. I used a flat piece of steel and a 11/32 drill bit to make a Dowel plate. The closest size I had to work with was 3/8 inch oak stock. I chamfered the ends with a carpenters pencil sharpener and hammered them through shaving off the excess.

Image

They are far from perfect but hopefully Ill have two straight enough to use.

Image

Now I just have to decide If I should cut them level with the painted finish or just below and level with the rest of the wood.

Post Reply