Butterscotch VM Jazzmaster Project

Talk about modding or building your own guitar from scratch.
User avatar
MrMalopropism
PAT PEND
PAT PEND
Posts: 44
Joined: Thu Dec 06, 2012 8:44 am
Location: Louisville, Ky

Re: Butterscotch VM Jazzmaster Project

Post by MrMalopropism » Wed Feb 06, 2013 10:05 pm

All the Oaken Dowels I tried to shave were not quite square enough and would prove too misshapen to fit snugly so.... I finally got over to my buddy Cliffs' workshop to use his dads' Drill Press. Must be nice to have a Delta and any other wood workers tools you would ever need. :w00t:

Image

Image
I marked the Depth with painters tape.

Image
Secured body with clamps.

Image
Tightbond and Mallet.

Image
Oaken Dowel set. Glue a CURIN'. I have cut the dowels down with a Japanese flush-cut saw and sanded them smooth. Time to fit the neck back on so I can line up the Bridge and mark the new post holes and make another trip back to Cliff's.

User avatar
MrMalopropism
PAT PEND
PAT PEND
Posts: 44
Joined: Thu Dec 06, 2012 8:44 am
Location: Louisville, Ky

Re: Butterscotch VM Jazzmaster Project

Post by MrMalopropism » Thu Feb 21, 2013 6:10 pm

Its been a while. Shaved the Oak dowels down and sanded smooth. My crappy Kodak Inkjet printer was constantly drying up on me, so I upgraded to a Brother laser printer. That took time to arrive in the mail. But now I have a good PDF schematic to use in my labor of love. Plus I can use it to Etch the graphics on my Pedals .


Image

Image

Image

I taped a printout of a JM schematic to scale and taped it to the body. Now I can check and mark the new location of my Bridge post holes. I also ran strings from the nut to the saddles to double check.

Image

Figured a laser sight would also help lining up before I mark. The bridge post has pointed grub screws at the base. A slight tap with a rubber mallet put a dent in the wood to mark to place of the new post holes.

Image
Now I just have to do a few more things before I can make a Jig for my trem hole. If anyone has any suggestions or comments let me know.

User avatar
Straight6DOHC
PAT. # 2.972.923
PAT. # 2.972.923
Posts: 802
Joined: Mon Nov 21, 2011 6:03 pm
Location: Lanark, Scotland

Re: Butterscotch VM Jazzmaster Project

Post by Straight6DOHC » Fri Feb 22, 2013 3:22 am

Place an ad in the wanted section for a tremolo route template?

User avatar
MrMalopropism
PAT PEND
PAT PEND
Posts: 44
Joined: Thu Dec 06, 2012 8:44 am
Location: Louisville, Ky

Re: Butterscotch VM Jazzmaster Project

Post by MrMalopropism » Sun Mar 03, 2013 4:20 am

Straight6DOHC wrote:Place an ad in the wanted section for a tremolo route template?
I'm going to make my own, most likely. Shouldn't be too hard I hope

User avatar
MrMalopropism
PAT PEND
PAT PEND
Posts: 44
Joined: Thu Dec 06, 2012 8:44 am
Location: Louisville, Ky

Re: Butterscotch VM Jazzmaster Project

Post by MrMalopropism » Sun Mar 03, 2013 4:31 am

I'm in the process of making a new nut. Choose to use the Tusq Xl because I thought they would be the easiest to install. Being pre-slotted and self lubricated seemed logical for a trem-equipped JM. The Stat slyled Pql-5000 I choose was far too loose for the slot, however. I guess Squier VM has a slightly thicker nut than most Fenders and other squiers ??? My VM surf statocaster has the same nut dimenstions as the Jazzy. I emailed the good people at Graphtech and it was suggested that I get a blank Black Tusq Xl and shape it. I don't own any nut files however...

User avatar
MrMalopropism
PAT PEND
PAT PEND
Posts: 44
Joined: Thu Dec 06, 2012 8:44 am
Location: Louisville, Ky

Re: Butterscotch VM Jazzmaster Project

Post by MrMalopropism » Sun Mar 03, 2013 5:17 pm

So Here is my practice on a Proline bone nut. I will keep it for my Strat when I'm done with it.

Image

To the left is the Original stock nut. I used a Jigsaw to cut the width down to size. Bone is smelly stuff. Used 100grit sand paper.

Image

Time to get down to business and start shaping that Black Tusq. A caliper is a big help to frequently check progress. I had to take off 1/3 of the material to match the slot. I thought bone was stinky to shave off. Tusq smells like melted plastic and rubbber

Image

Test fit. Slight Gaps on sides. I thought the slot bottom was flat, apparently it was not. Gotta put a radius on it.

Image
Image
Perrrrrrrrfect. Say it with me. Perrrrrrrrfect Fitment. Now time to shape the top and Wait for StemMac to deliver my Nut slot files. Yes I broke down and and gave my money to Dan E. and his Cronies. Could'nt cheap out on the Gnut.

User avatar
MrMalopropism
PAT PEND
PAT PEND
Posts: 44
Joined: Thu Dec 06, 2012 8:44 am
Location: Louisville, Ky

Re: Butterscotch VM Jazzmaster Project

Post by MrMalopropism » Mon Mar 25, 2013 6:37 pm

2nd times a charm? Had to refill and red-rill bridge position again. No matter how I shifted the Bridge the strings always wanted to fall off one side or another. I suspect that the original necks on Jazzmaster were wider than newer Fender necks. Measured 57mm from E to E on original Mustang bridge. The main problem with the horrible hardtail that came on my VM JM the bridge was that E to E was far too spaced out. Then I remembed that GraphTech sold replacement saddles for Jazzmasters. Their specs were 52 mm E to E string spacing! I jumped on it and found a box on Ebay for 30 bucks. It worked out beautifully.

Image

Image
new saddles installed

Image
test looks good.

Image Redrilled and fitted.

Image

Image

Image
Now that the Bridge is properly installed that position for Tremolo cavity is marked and ready to go.

Image
Also made holes in scratch plate bigger to accomodate the new wider bridge. Messed up a lill' but the bridge will hide it.

User avatar
MrMalopropism
PAT PEND
PAT PEND
Posts: 44
Joined: Thu Dec 06, 2012 8:44 am
Location: Louisville, Ky

Re: Butterscotch VM Jazzmaster Project

Post by MrMalopropism » Thu Mar 28, 2013 10:30 pm

Made a template today for the Trem cavity out of 1/4" mdf. In hindsight plywood would last longer but I had the particle board on hand. Used my trusty Dremel to shape it.

Image

Image

Image

I think the Vintage location of the Trem cavity might cause buzzing. I might make it closer to the bridge like the modern players. Anybody got any recommendations? I intend on routing Saturday.

User avatar
MrMalopropism
PAT PEND
PAT PEND
Posts: 44
Joined: Thu Dec 06, 2012 8:44 am
Location: Louisville, Ky

Re: Butterscotch VM Jazzmaster Project

Post by MrMalopropism » Sun Mar 31, 2013 6:06 pm

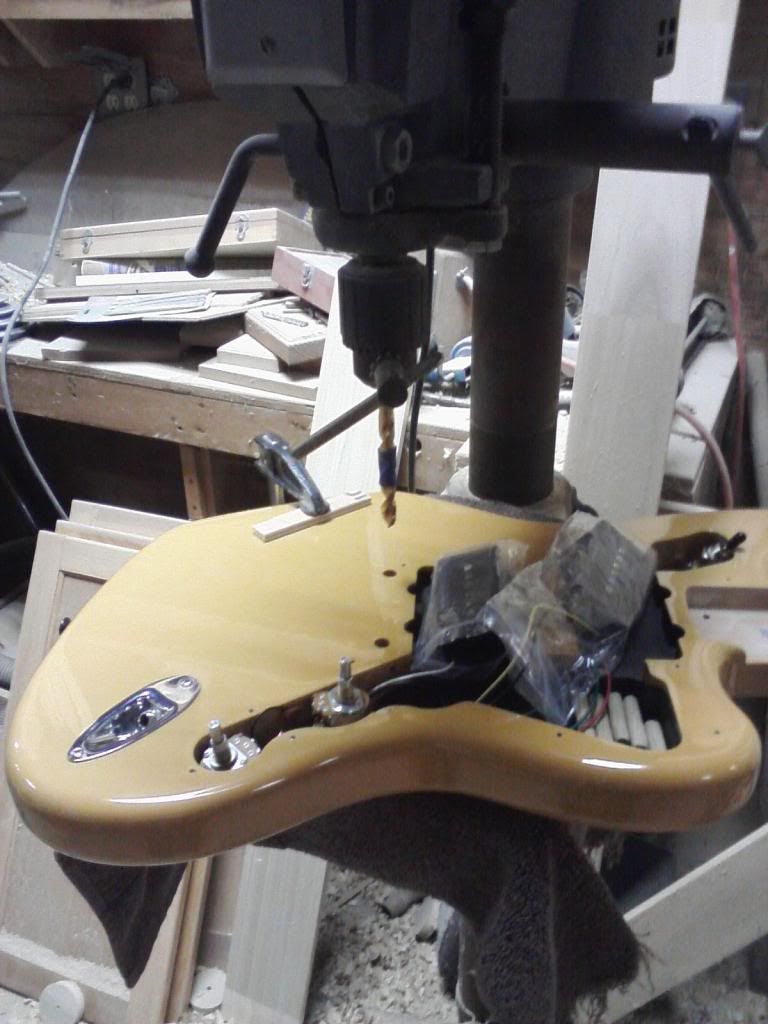
My friend had to go to some wedding on Saturday so instead of waiting for him to use his drill press, I opted to purchase my own.

And I like it. 15" Porter Cable Drill press, biggest throat I could afford. Got good reviews to I took the bait.

Image

Took all Saturday to get and assemble. Work went alot more quickly after that and I forsee more guitar building in the near future.


Image

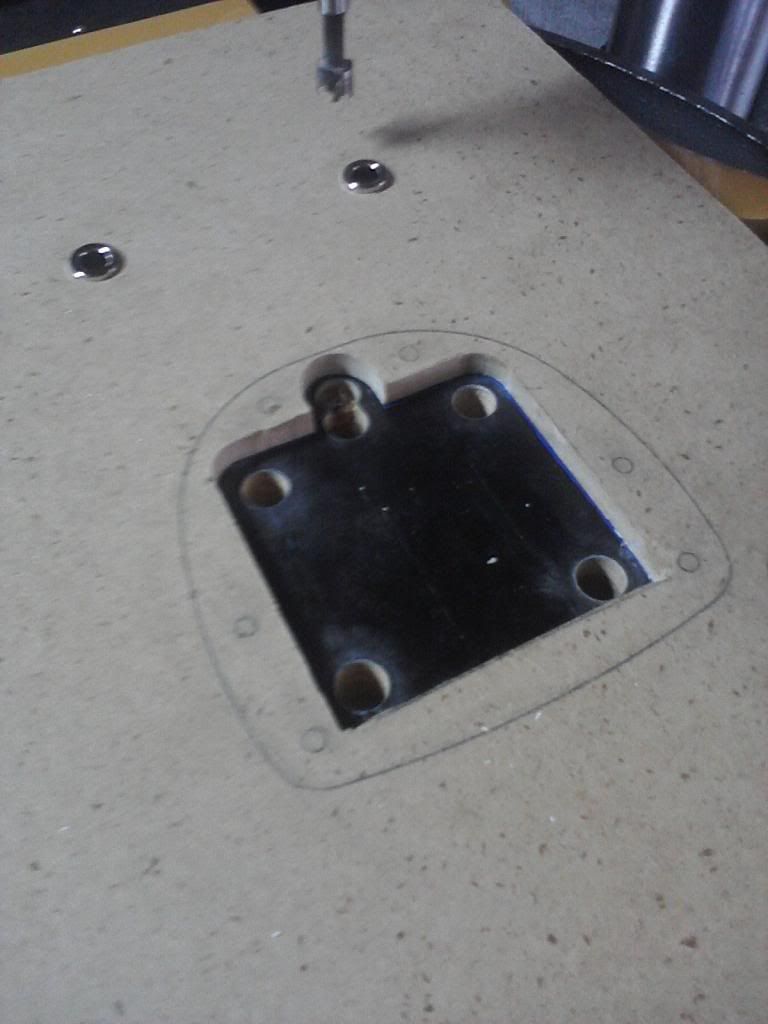
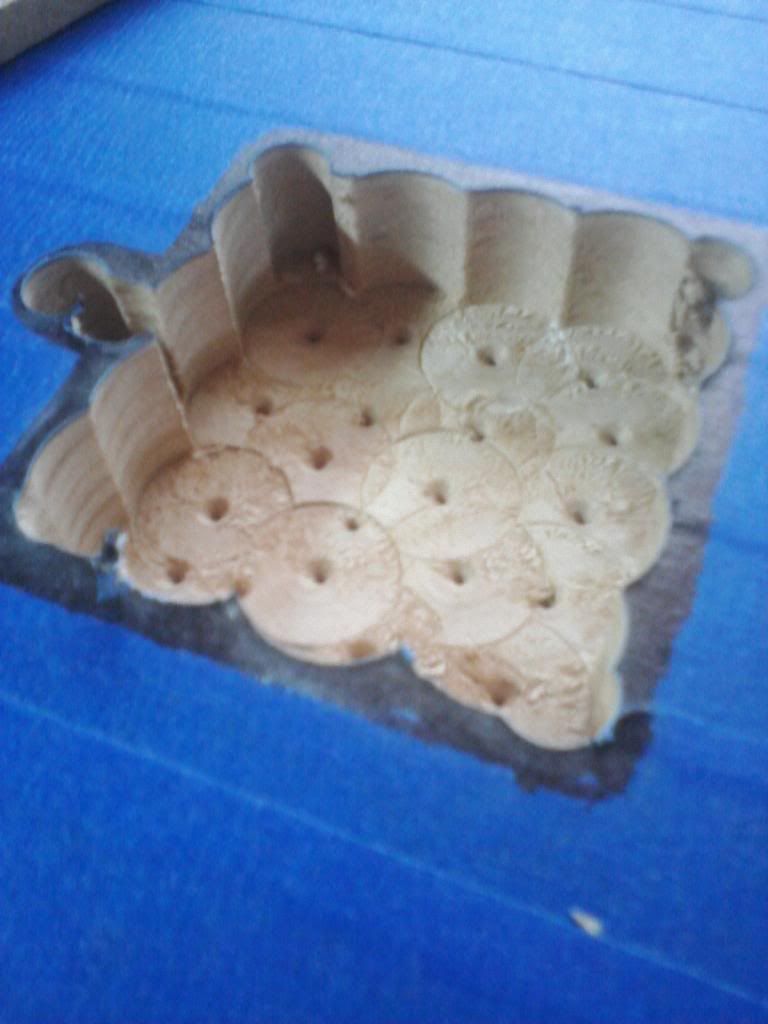
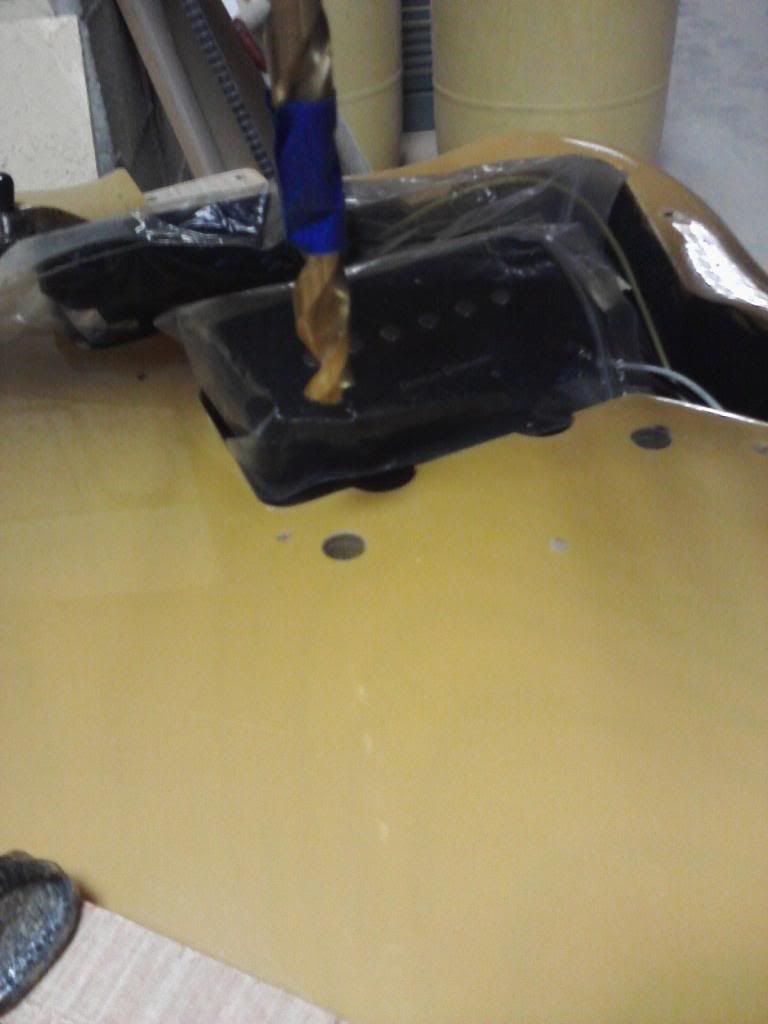
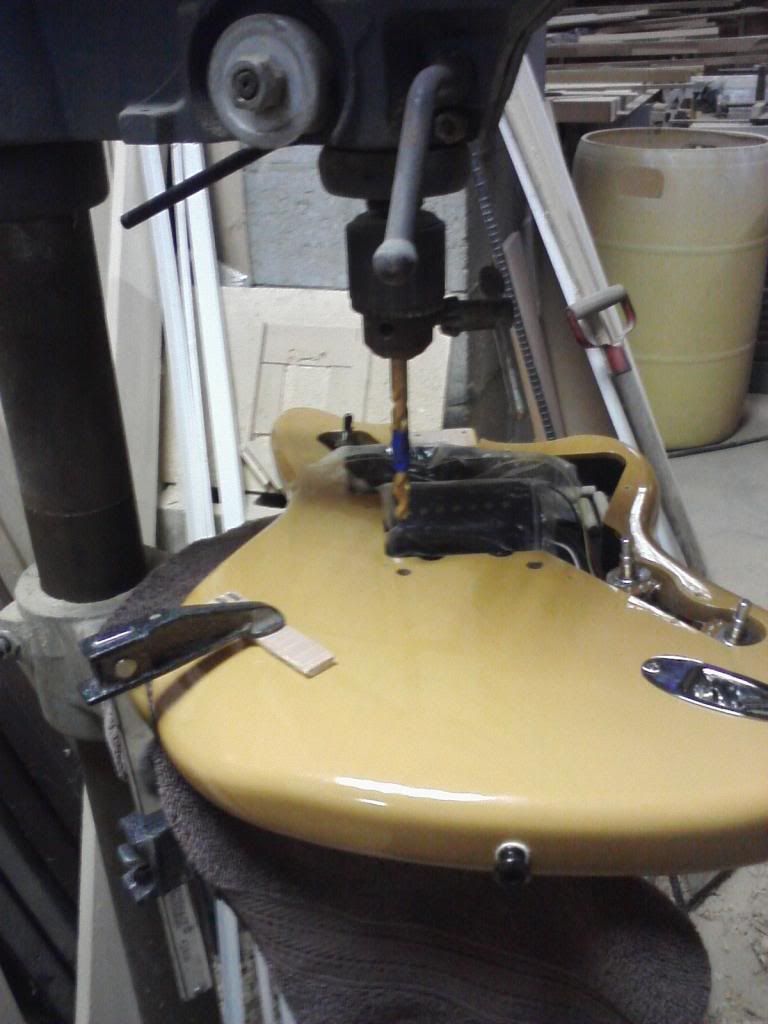
Forstner bits to about 1" depth

Image

Image

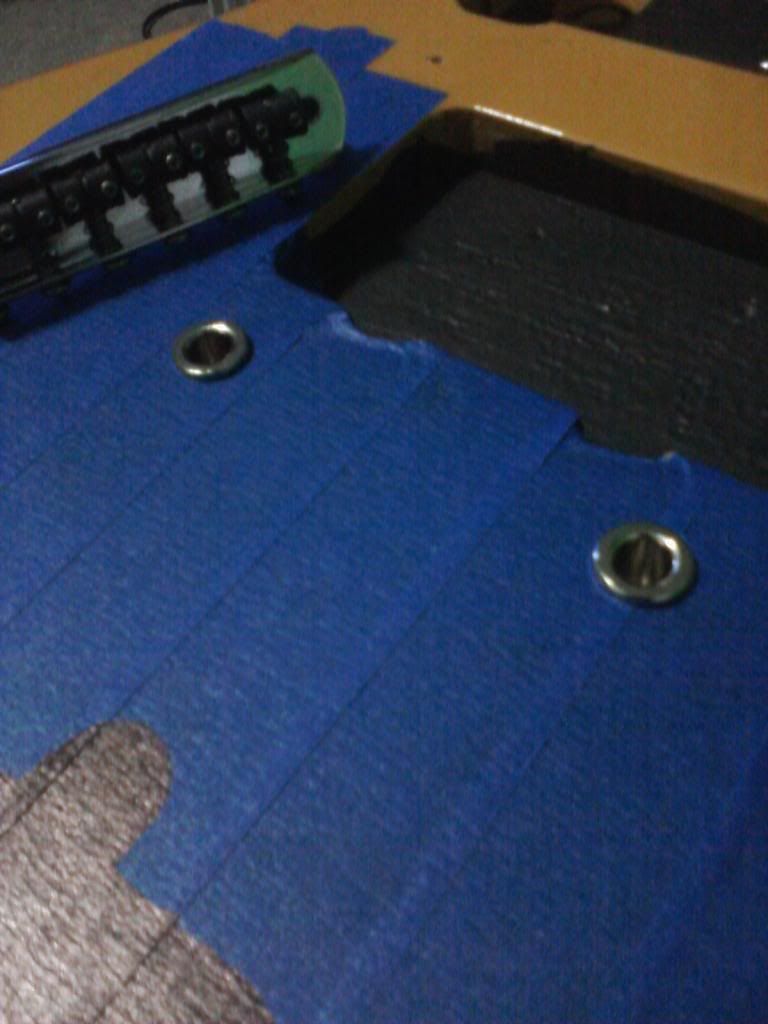
Screw holes are alot more accurate with your own press. That's an understatement.

Image
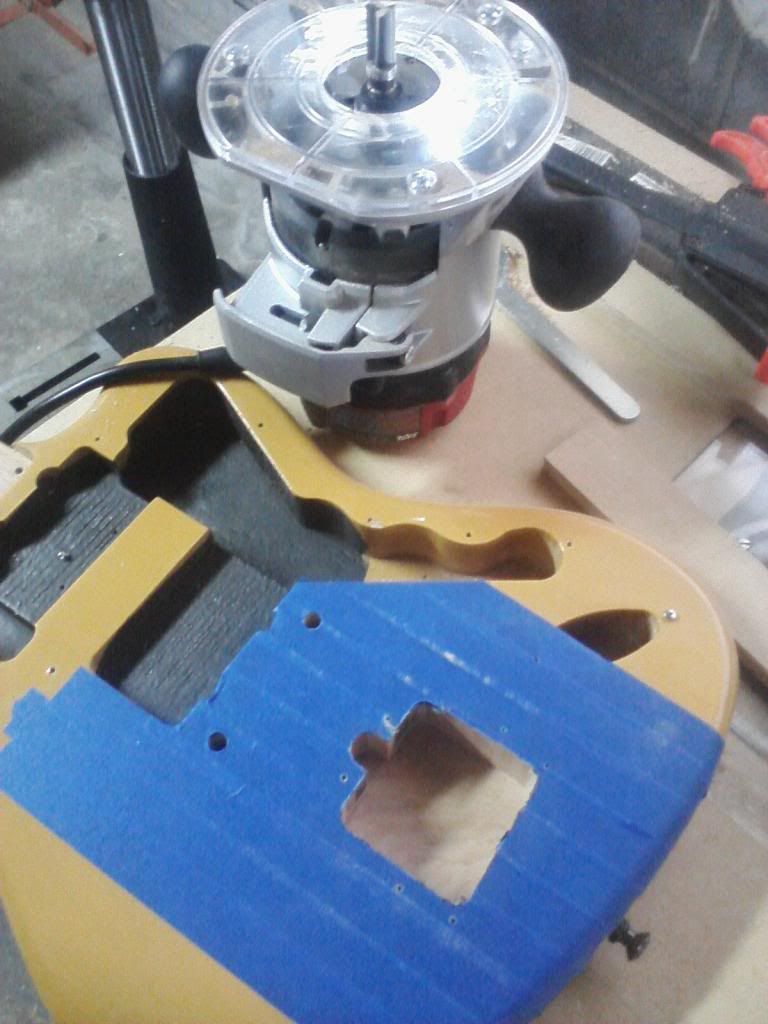
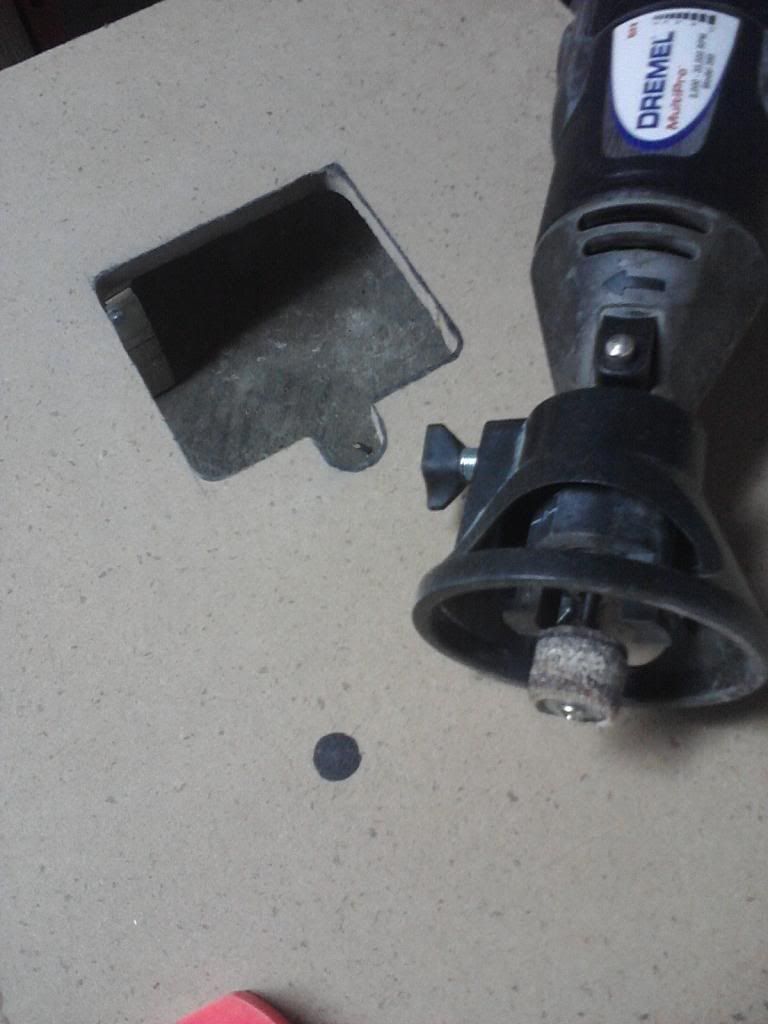
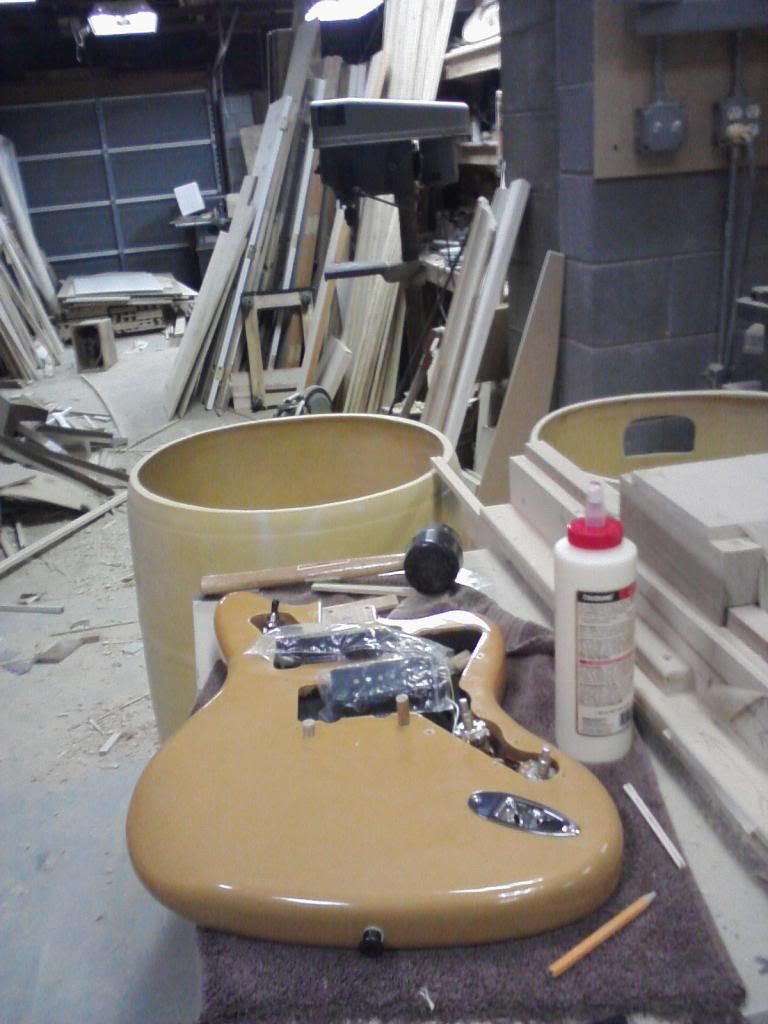
My trusty router with flush cut bit

Image

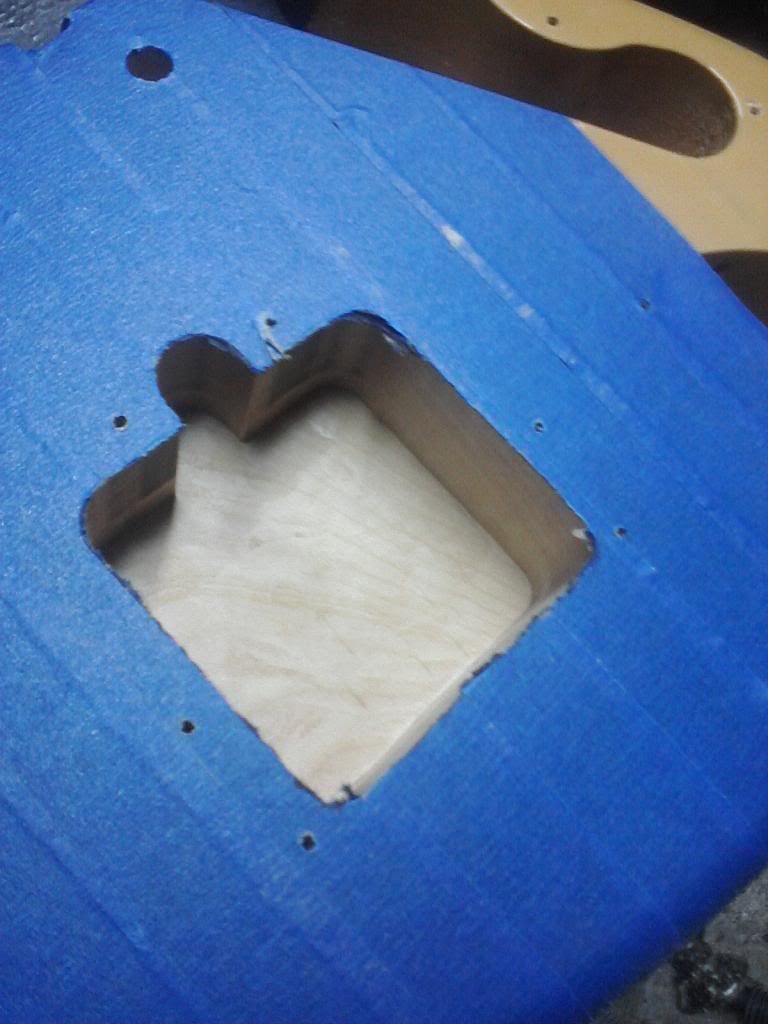
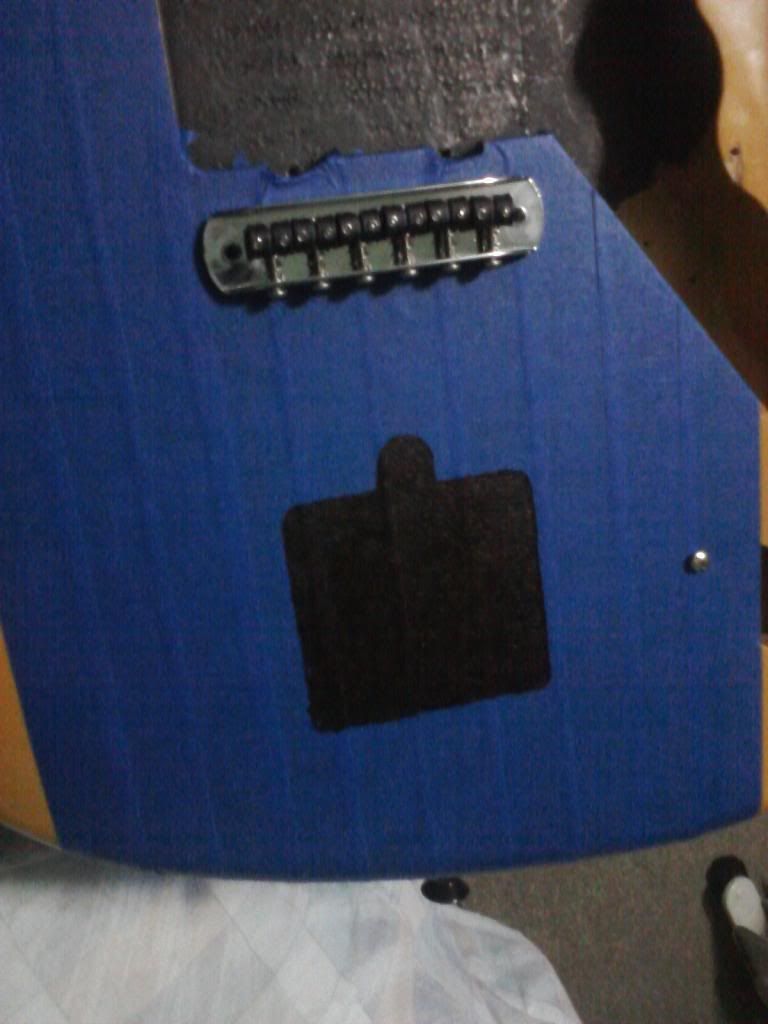
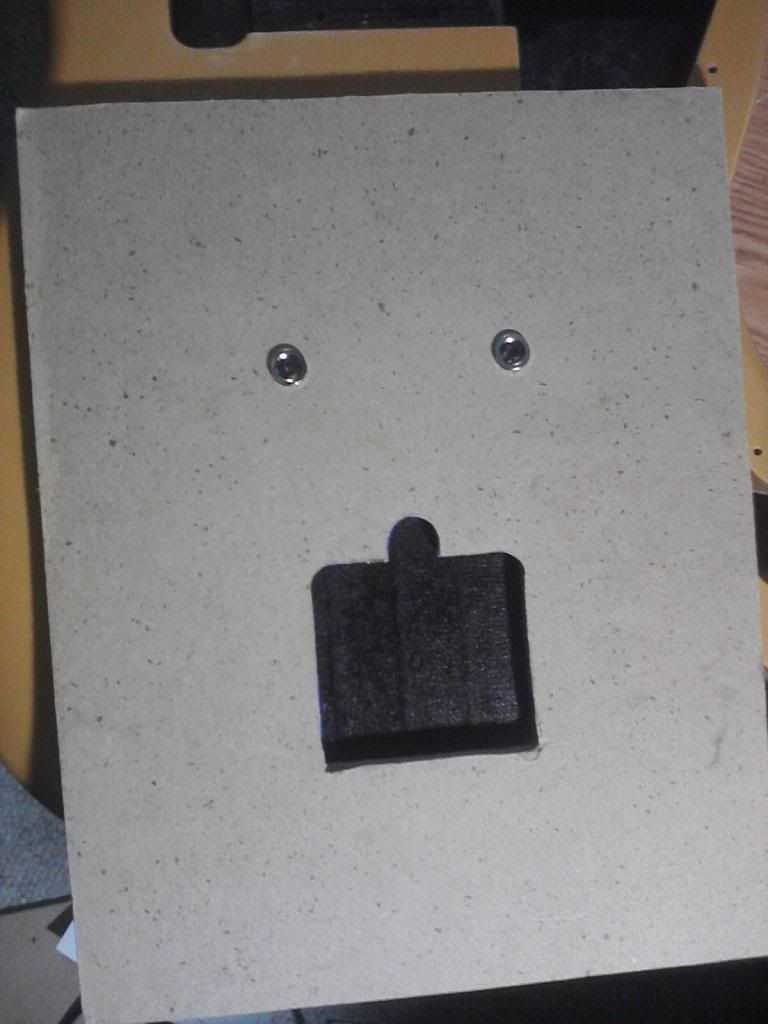
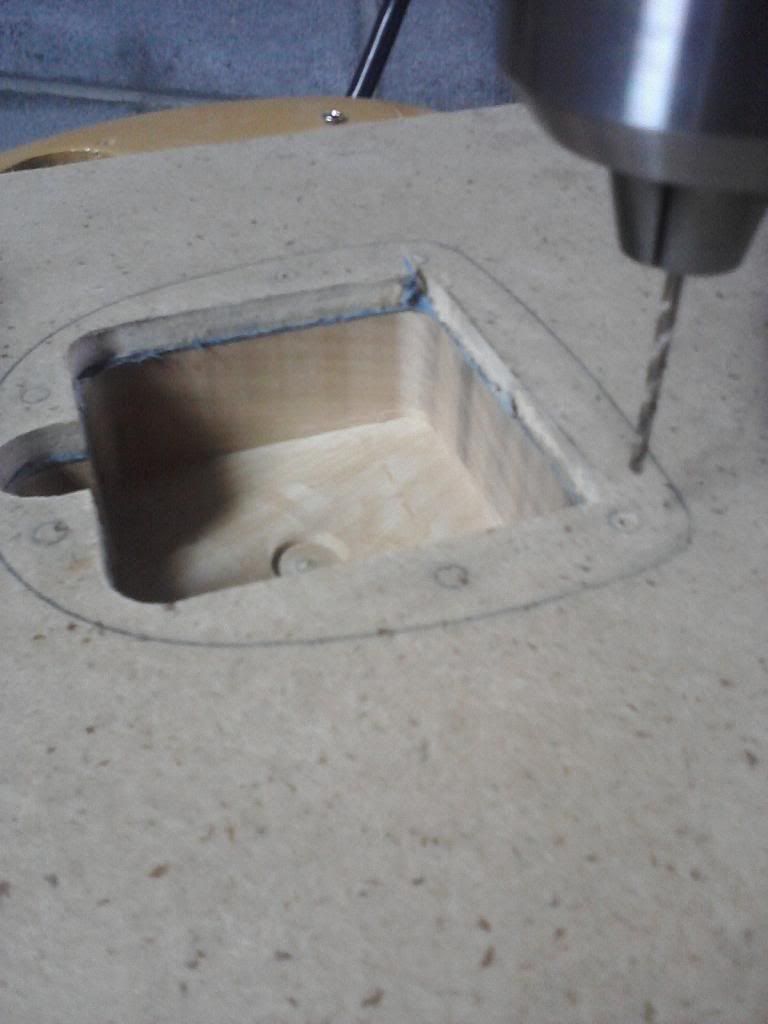
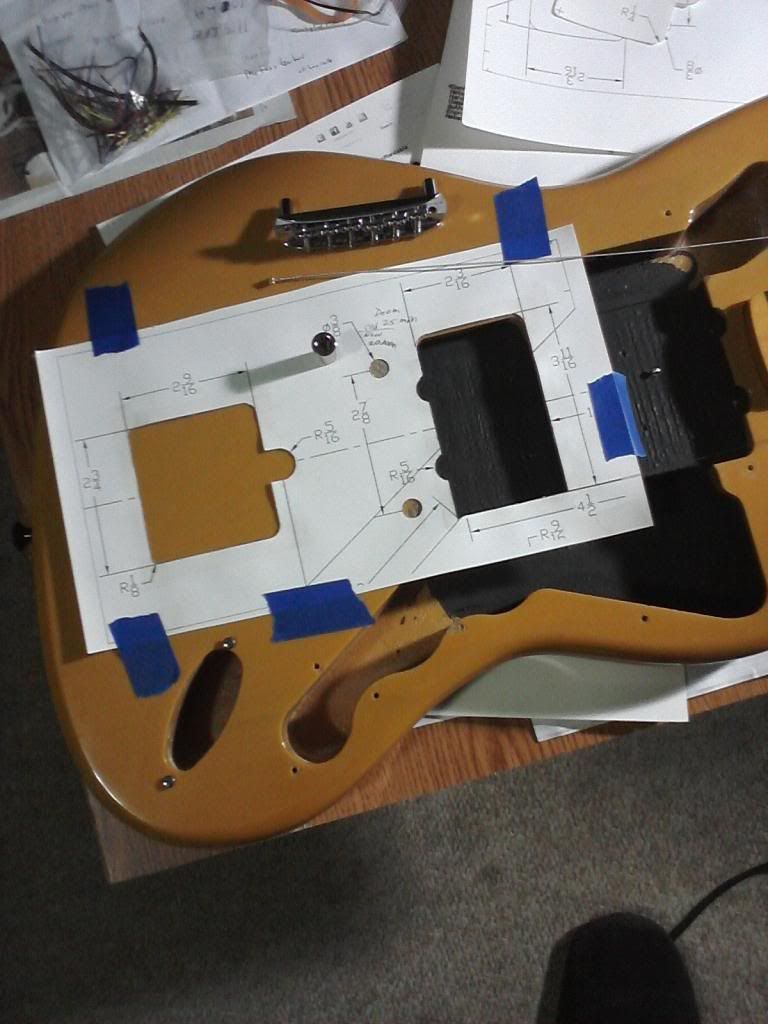
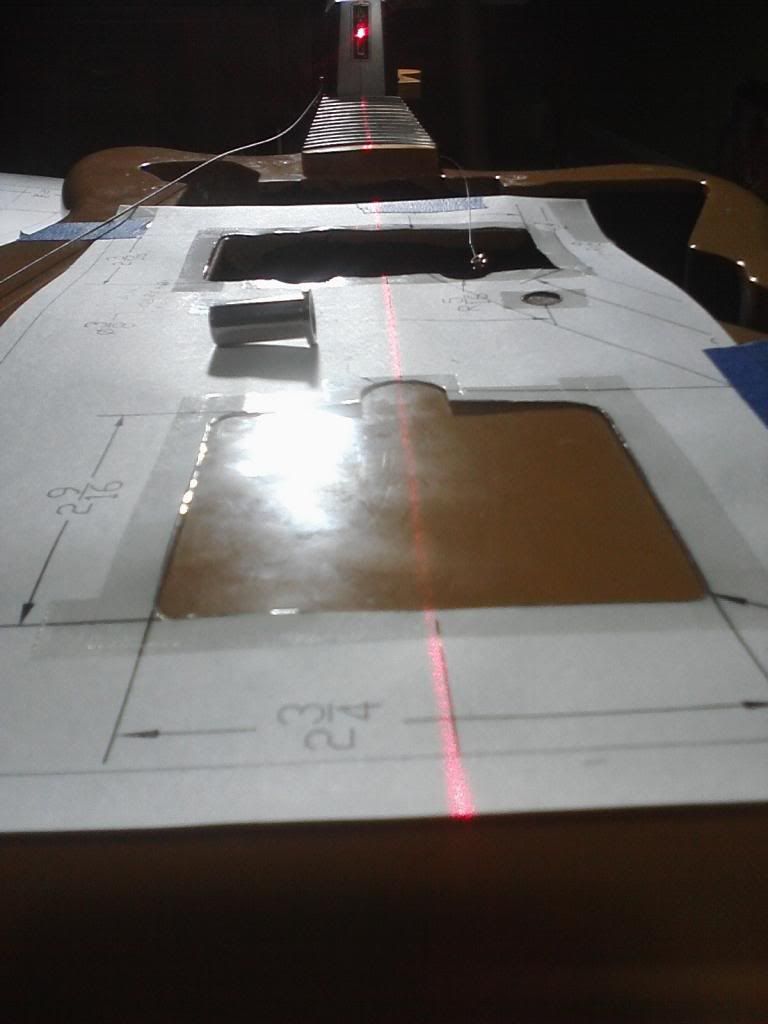
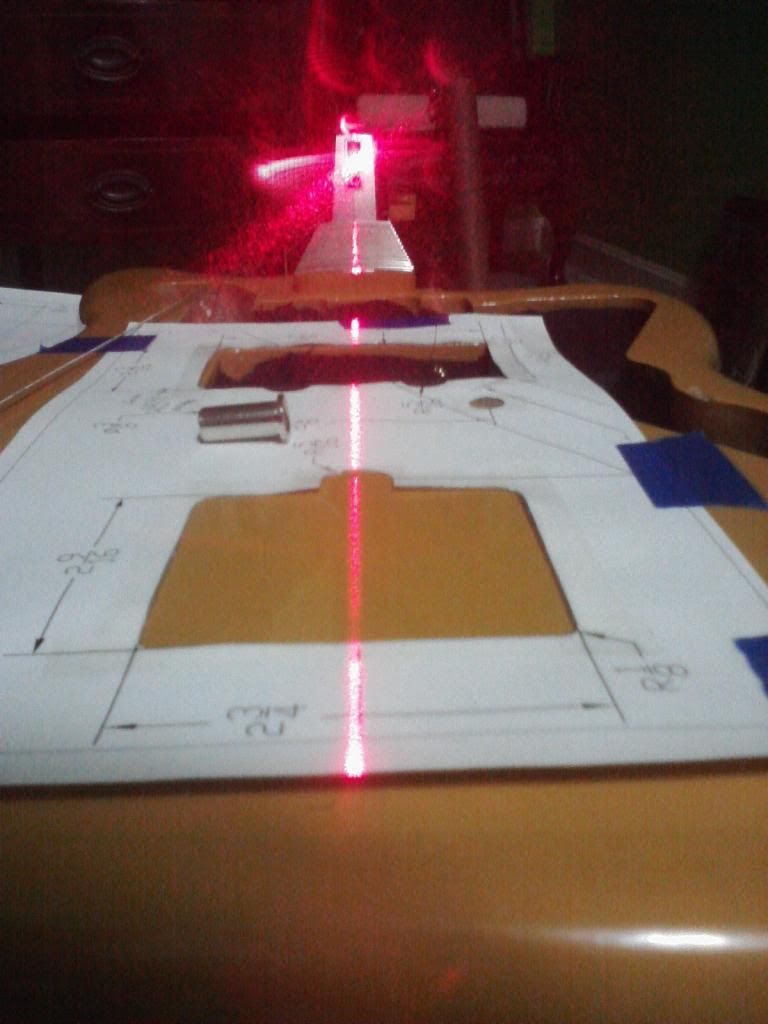
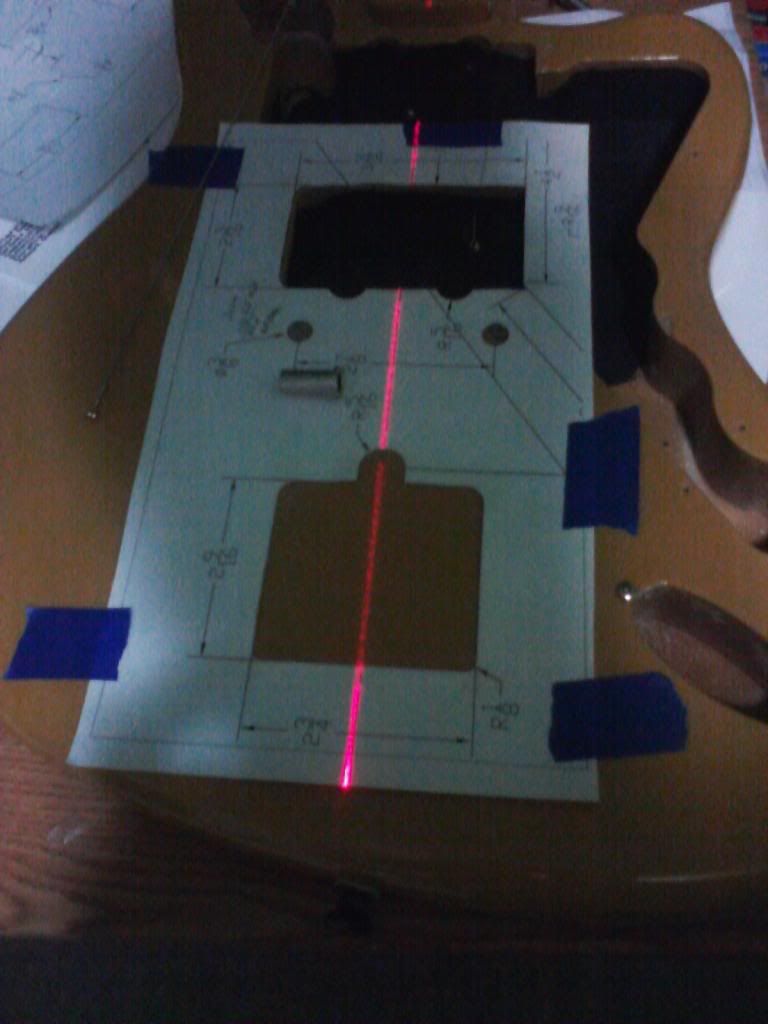
1 3/8" final cut depth for Trem Cavity. Hooray!
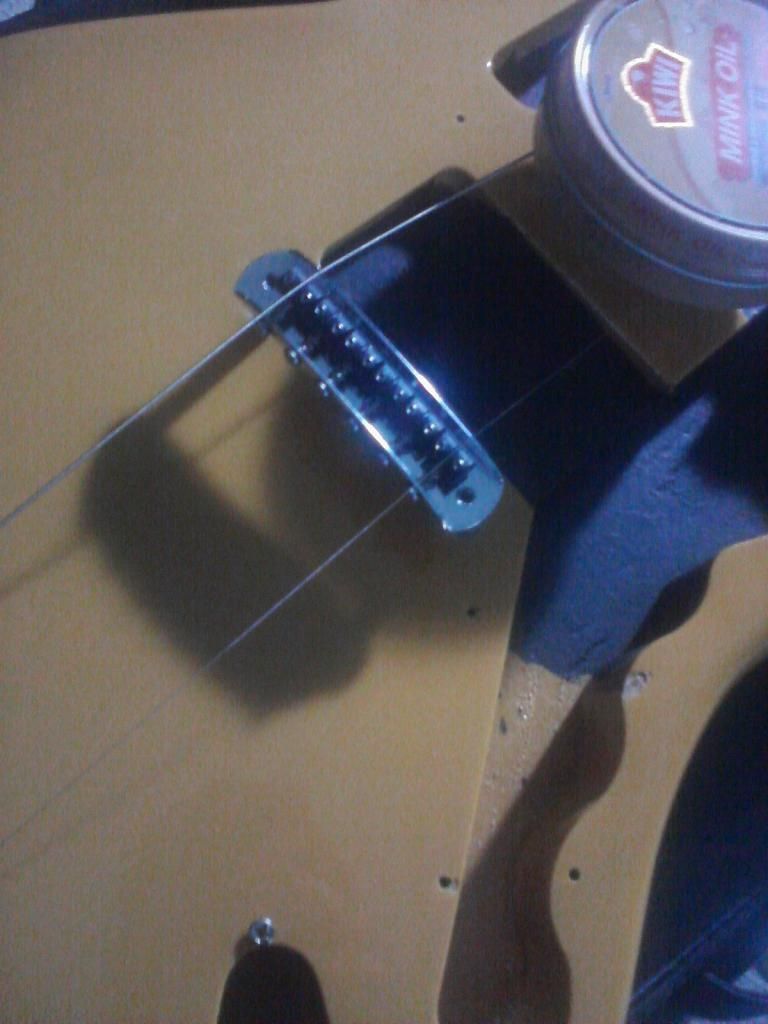
Image
Test fit. GOOOOOD.

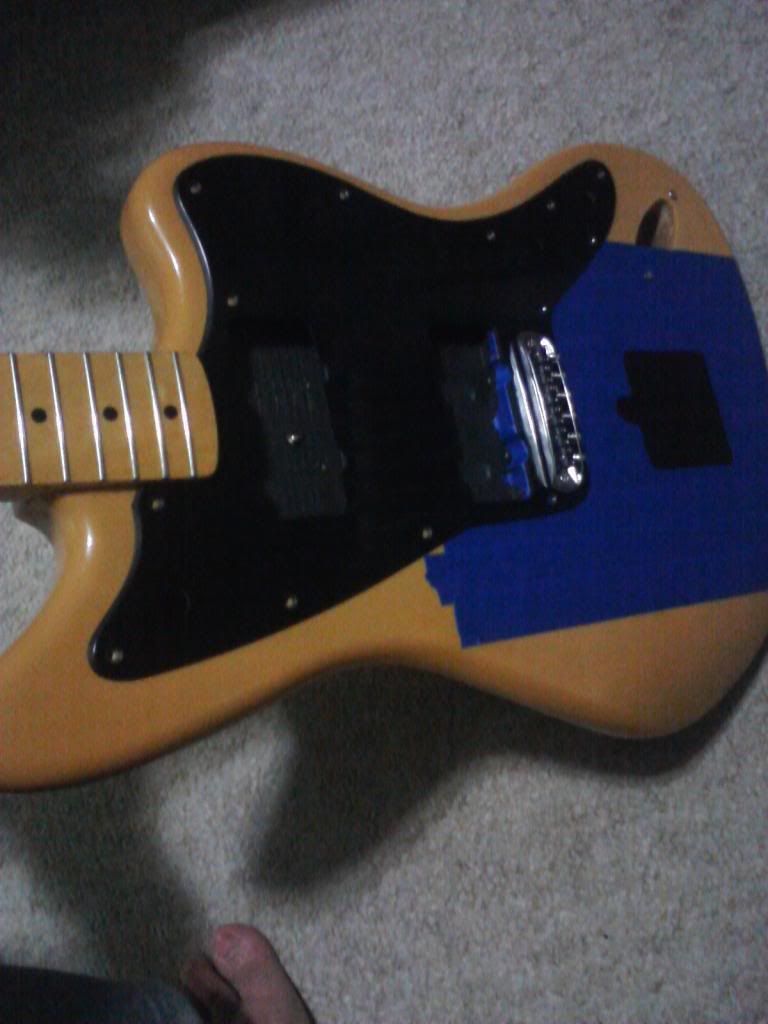
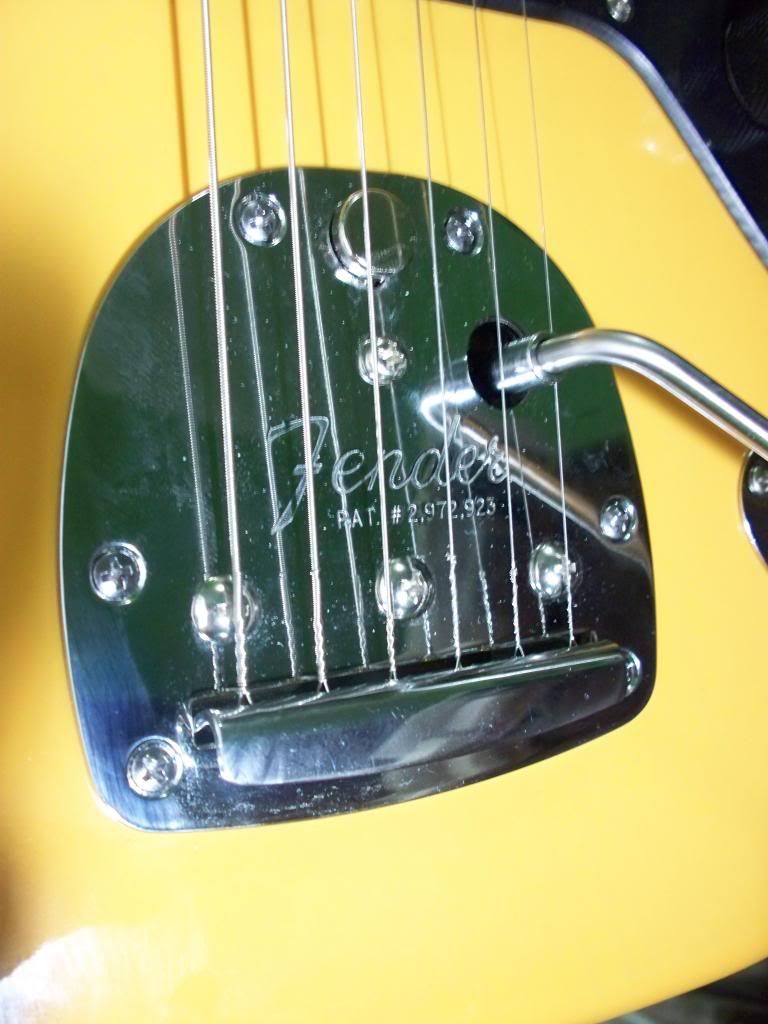
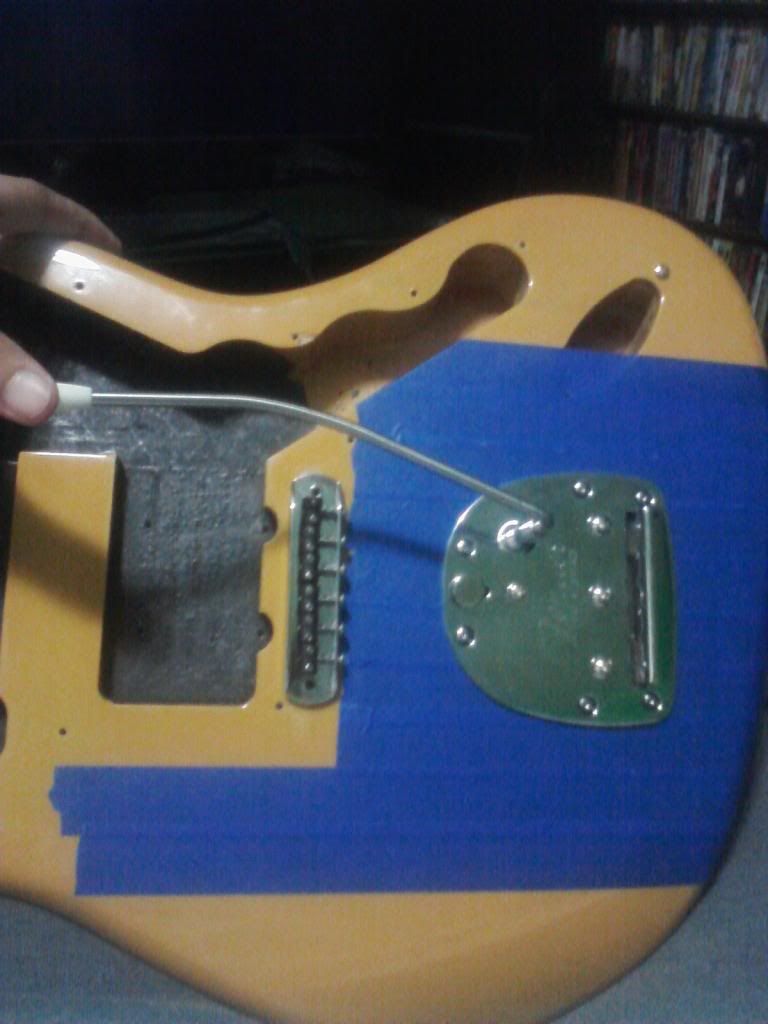
Now I have to get an extra long drill bit to make a hole from main control cavity to my new Trem. Due to the Tusq saddles being non conductive and all I have to make a new Ground connection to the strings and the Trem is it. Guess I should paint the new cavity as well. That's tomorrow's project.
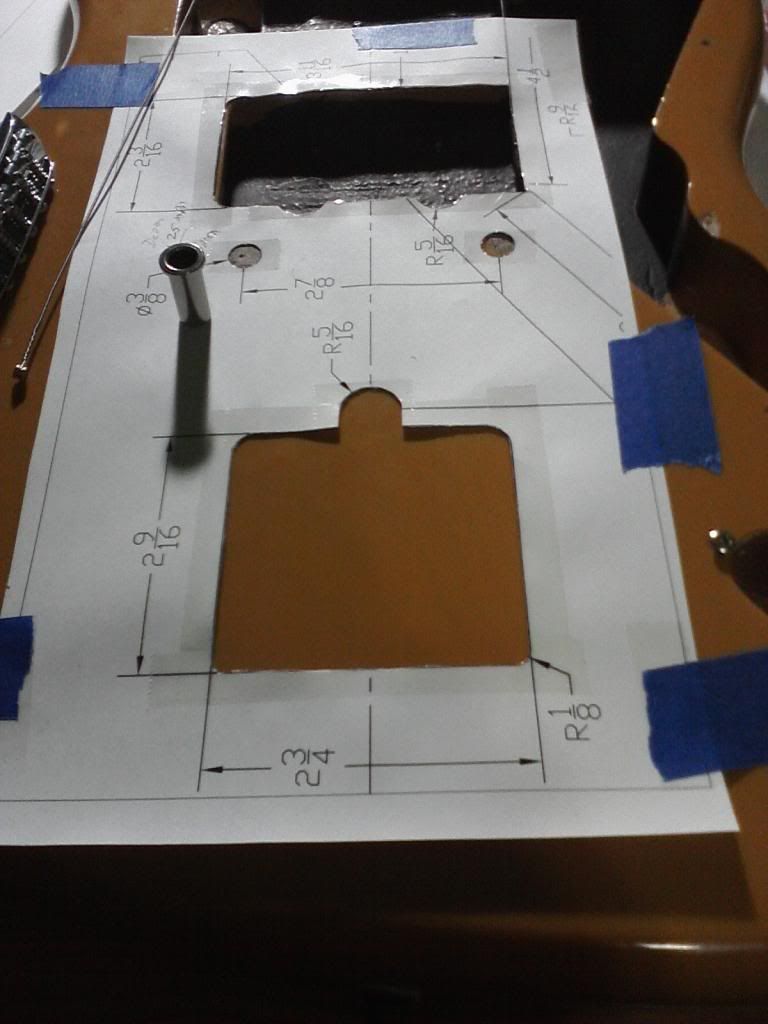
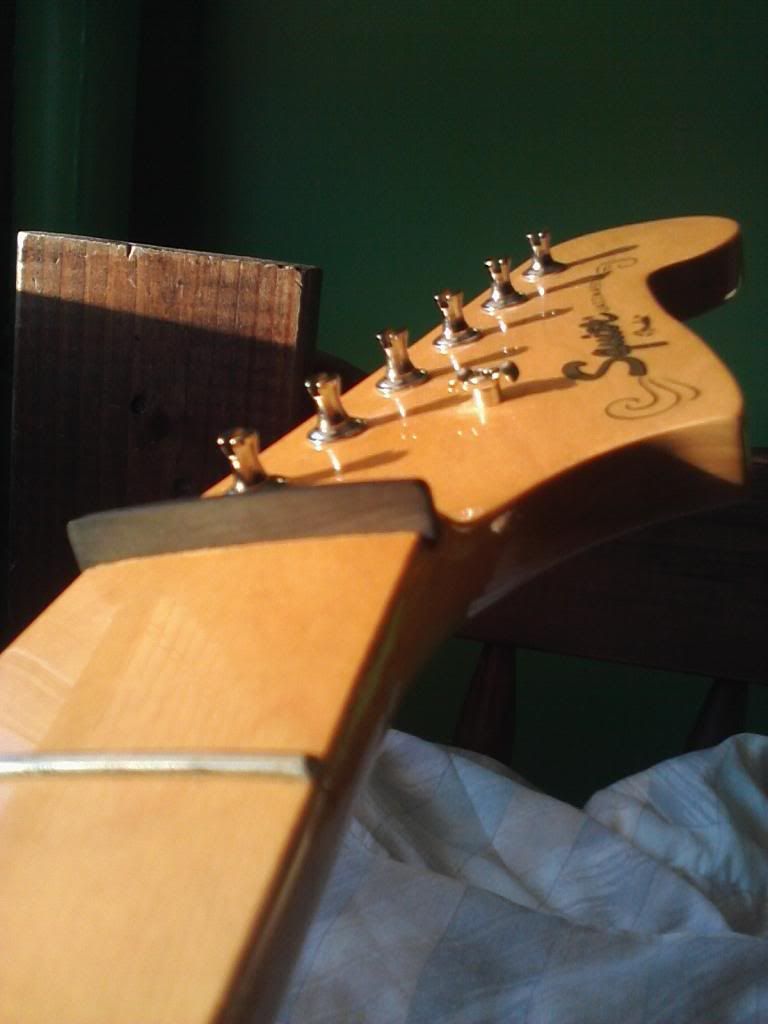
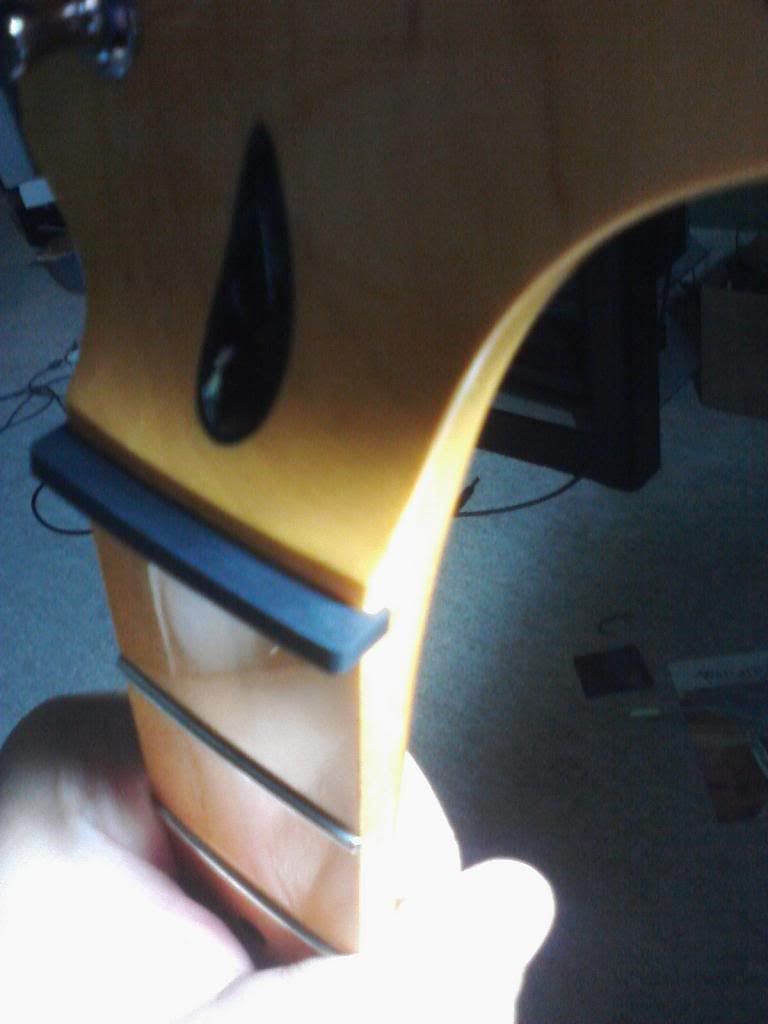
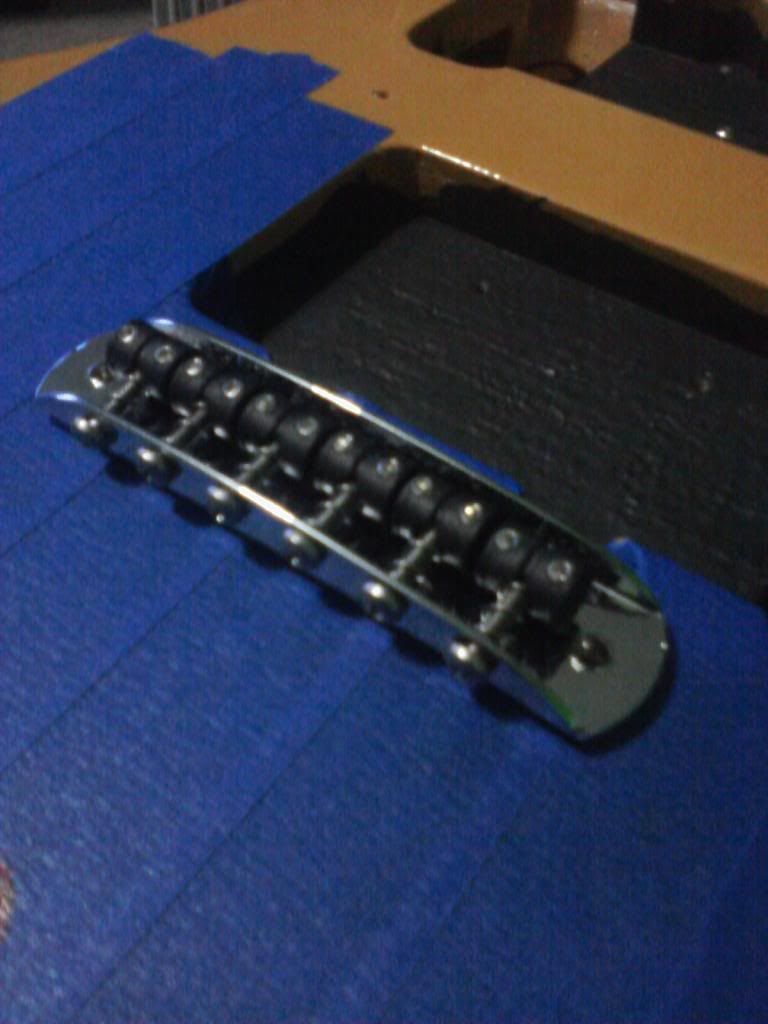
User avatar
choicepick
PAT. # 2.972.923
PAT. # 2.972.923
Posts: 180
Joined: Thu Feb 07, 2013 9:25 pm

Re: Butterscotch VM Jazzmaster Project

Post by choicepick » Sun Mar 31, 2013 8:48 pm

wow much props for being so hands on and doing a great job, and agreed the colour is awesome

User avatar
MrMalopropism
PAT PEND
PAT PEND
Posts: 44
Joined: Thu Dec 06, 2012 8:44 am
Location: Louisville, Ky

Re: Butterscotch VM Jazzmaster Project

Post by MrMalopropism » Wed Apr 03, 2013 5:10 pm

I finished installing the Trem and setting up. But I'm having trouble getting the thing to return to pitch I posted an SOS in the tech section with the details maybe someone with alot more experience will help me out, PLEASE. :(

Image

User avatar
MrMalopropism
PAT PEND
PAT PEND
Posts: 44
Joined: Thu Dec 06, 2012 8:44 am
Location: Louisville, Ky

Re: Butterscotch VM Jazzmaster Project

Post by MrMalopropism » Wed Apr 03, 2013 5:11 pm

choicepick wrote:wow much props for being so hands on and doing a great job, and agreed the colour is awesome
Thanks dude, I never would have gotten this far or even attempted this without the helpful suggestions of the folks in this forum. ;D

User avatar
MrMalopropism
PAT PEND
PAT PEND
Posts: 44
Joined: Thu Dec 06, 2012 8:44 am
Location: Louisville, Ky

Re: Butterscotch VM Jazzmaster Project

Post by MrMalopropism » Wed Apr 03, 2013 5:42 pm

Well my high E string just broke and slung itself to the other side of the room. 10's are definitely too light! Snapped at the ball end. I ordered some Fender bullet no. 11's the other day. guess I have to wait on them to show up or go to the store tomorrow...

User avatar
CROSS_guitars
PAT. # 2.972.923
PAT. # 2.972.923
Posts: 3334
Joined: Tue Sep 09, 2008 5:52 am
Location: Thornbury Melbourne

Re: Butterscotch VM Jazzmaster Project

Post by CROSS_guitars » Wed Apr 03, 2013 6:56 pm

I use bullet strings with Jazz/Jag tremolos. I was having problems with ball ends popping off. It might help to file out the string holes a bit to remove dags.

(whoa, there's a few "that's what she saids" in there)

User avatar
gutter rock
PAT. # 2.972.923
PAT. # 2.972.923
Posts: 3131
Joined: Thu Feb 15, 2007 11:39 pm
Location: Louisville, KY

Re: Butterscotch VM Jazzmaster Project

Post by gutter rock » Wed Apr 03, 2013 11:13 pm

sjperry54 wrote:Hey! Another Louisville guy! I think you're number 5 around here. Welcome! I've got a VM JM like yours that is waiting for some mods.
Indeed welcome, from another one of the Louisville guys! Is this town an offset hot spot or what? You certainly wouldn't think that by the rarity of a local guitar store stocking one! I almost bought one of those JM's on clearance for $200. This thread is making me kind of wish I had.

Post Reply